What I Used
My husband and I share a walk-in closet that's on the smaller side. I'll put the exact dimensions on screen, but let me tell you — making this space work for two people took some serious planning.
The first thing I did? Pull everything out and declutter. If you're going to reorganize, this is non-negotiable. You can't organize stuff you don't need.
- 4 Target bookshelves (the kind that are like cube storage)
- 2 IKEA Billy bookcases
- 4 two-cube shelves (for on top of the Target ones)
- 2 dressers
- 6 black closet rods
- Black hangers from Target
- Black contact paper
- Motion sensor lights from Amazon
- Wallpaper from Amazon
- 2x4s for base trim
- Clamps and trim for finishing edges
- Matte black pull-down door handle
- Polar Bear paint by Sherwin Williams
Step 1: Prep and Declutter
We emptied the whole closet. My husband kept asking "are you sure you know what you're doing?" — and honestly, I just had to trust the vision. Take your time here. Donate what you don't wear.
Step 2: Add the Bookshelves
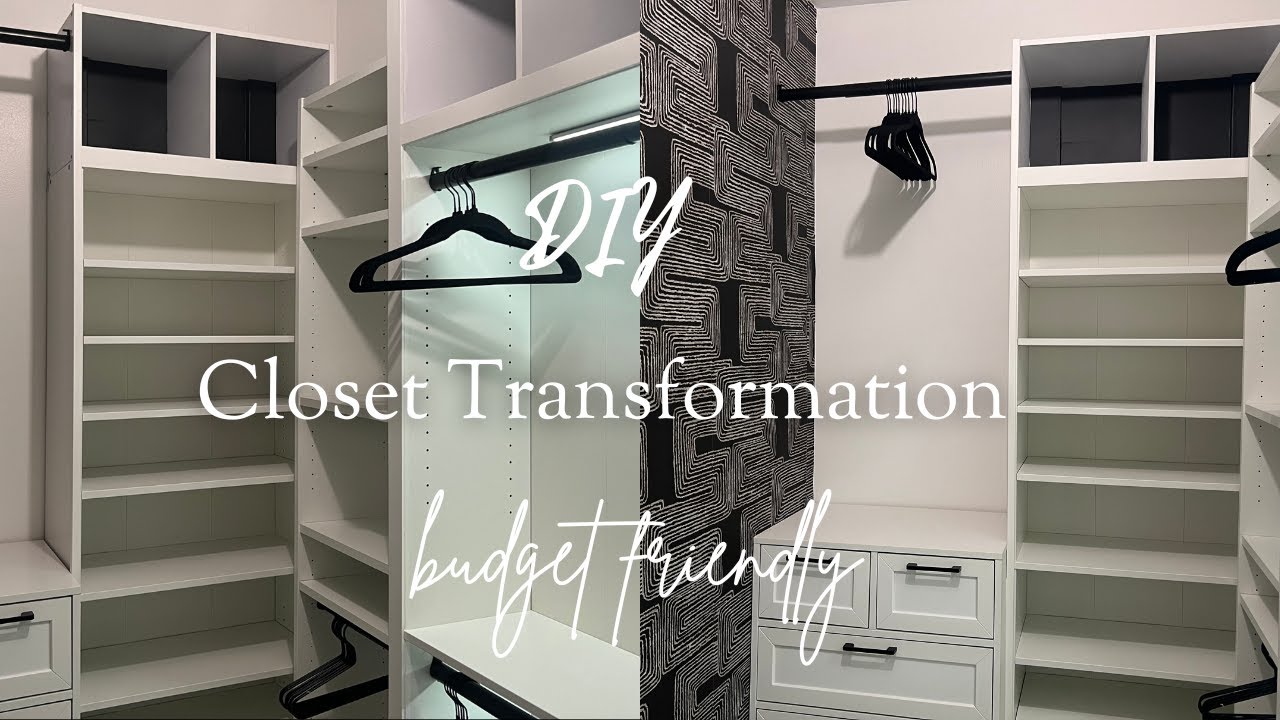
The Target bookshelves became the foundation. I put four of them in to create the base structure. Then I went to IKEA and grabbed two Billy bookcases for the middle section. They're taller than the Target ones, which actually adds nice dimension to the room. They fit perfectly, snug against each other.
Step 3: Level Everything
My husband added 2x4s to the bottom of every bookshelf. This does two things: gives a finished look and adds height. Make sure you anchor everything to wall studs — these shelves hold a lot of weight.
Step 4: Add the Top Shelves and Trim
I put four two-cube shelves on top of the Target bookshelves. Then we added clamps and trim around the outside of the bookcases to hide gaps and make everything look built-in.
Step 5: The Wallpaper
I got this wallpaper from Amazon. It looks beautiful but applying it was a nightmare. The material is thin and tore constantly. Took forever. If you want that look, just know what you're getting into.
Step 6: Rods and Hangers
Six black rods went in. I grabbed packs of black-on-black hangers from Target. All the black touches really pop against the white shelves.
Step 7: Contact Paper Details
I added black contact paper to the two-cube shelves on top. Honestly, you don't see it once clothes are in there, but for the empty closet photos? It looked good.
Step 8: Lighting
Motion sensor lights from Amazon. Do they serve a real purpose? Not really. But they make the closet feel luxurious when you walk in. Sometimes that's enough.
Step 9: The Door and Hardware
I painted the closet door Polar Bear by Sherwin Williams — same color as the walls. It makes the room feel bigger. Swapped the handle for a matte black pull-down.
Step 10: The Mirror
This was my favorite piece. I added a mirror inside the closet and it pulled everything together. Now I can check outfits without leaving the room.
Final Thoughts
The closet is functional, organized, and everything has a place. We didn't spend much money — mostly labor. I'm still looking for the right area rug (ordered one from Amazon, sent it back). But honestly? This is the most organized room in my house. Putting laundry away is actually enjoyable now.