What You’ll Need
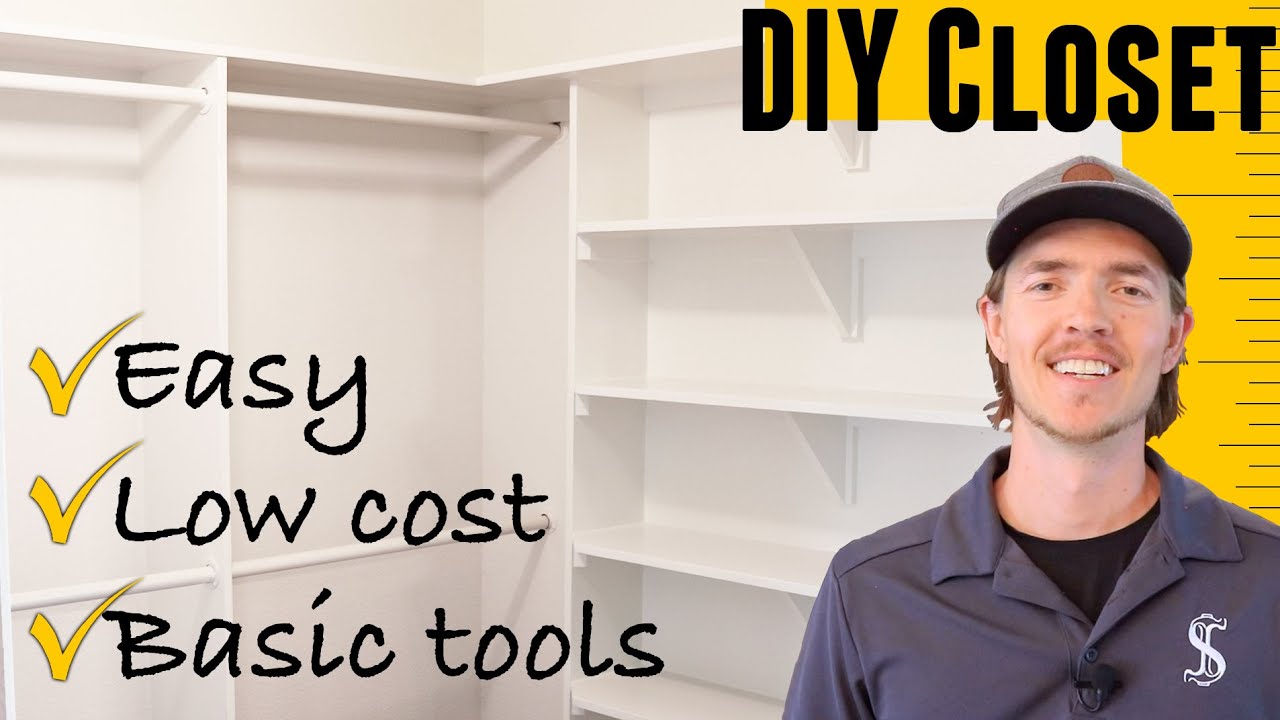
If you want a closet that looks like it cost a couple grand but actually uses cheap MDF and basic tools, here’s exactly how to do it. No need for a table saw or a paint sprayer. Just cut, paint, and nail to the wall.
- 3/4-inch MDF (4x8 sheets, $30–40 each)
- Circular saw or table saw (circular saw plus a straight edge guide works fine)
- Miter saw (optional, for cutting shelf supports to length)
- 180- or 220-grit sandpaper
- Oil-based primer (or water-based if you don’t mind sanding afterward)
- Paint (latex or whatever you like) and paint roller
- Stud finder, level, tape measure, pencil
- Brad nailer with 2-inch nails (or drill and 2-inch screws)
- Clothes rods from the home store, cut to length
- Caulk (optional, for a finished look)
Step-by-Step Guide
1. Measure, sketch, and make a cut list
Sit in your closet for a few minutes and think about where you want hanging space vs. shelves. Measure each wall’s width and height. Write down any outlets, light switches, or sloped ceilings. Sketch the layout on paper — try a few versions. Then translate that into a cut list with exact lengths for every shelf, support strip, and vertical divider. This step saves you more time than anything else.
2. Cut the MDF
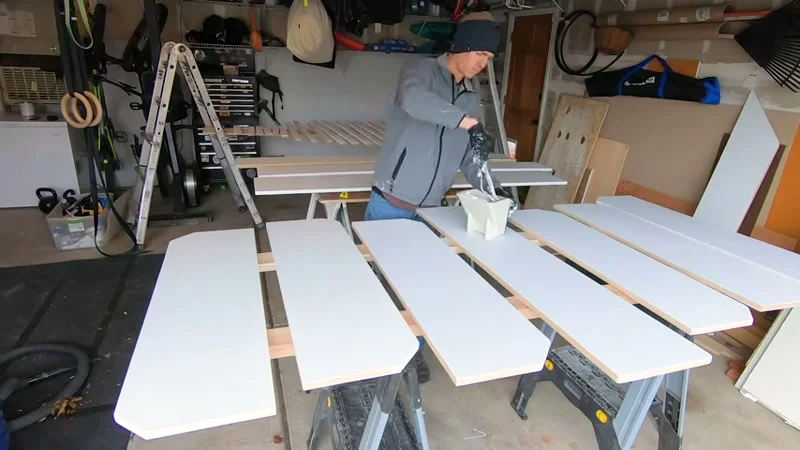
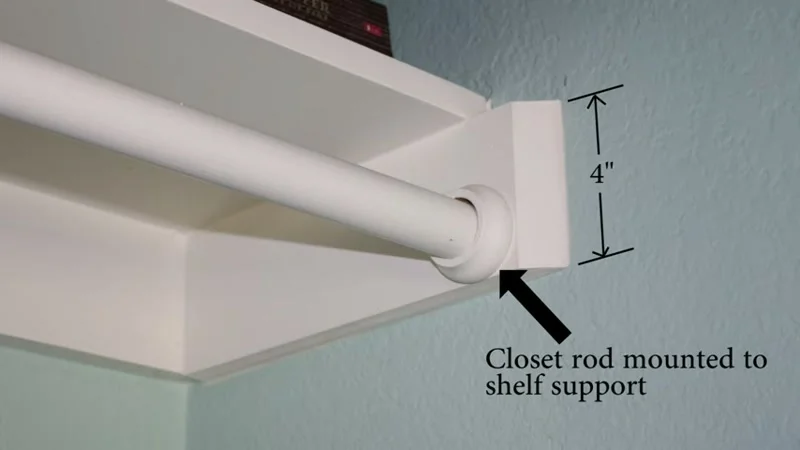
Set up your MDF sheet on a work surface. If you’re using a circular saw, clamp a straight piece of wood as a guide — it keeps the cut straight. For the shelves, I cut them 12 inches wide, but you can go wider or narrower. Cut strips for shelf supports at least 2 inches wide. I used a miter saw to cut those supports to exact length, but a circular saw works too. For shelves longer than 3 feet, you might want triangular support brackets (or buy metal shelf brackets).
3. Sand the edges
Hit all the cut edges with 180 or 220 grit sandpaper to soften them. Dust off the pieces before painting.
4. Prime and paint
I painted the shelves before installation to keep fumes out of the house. Roll one coat of oil-based primer on one side, let it dry, then flip and do the other side. Follow with two coats of paint (or one if you’re lazy — a closet doesn’t need to be perfect).
Note on primer: Water-based primer can rough up MDF fibers. If you use it, you’ll need to sand the shelves smooth before painting. I used water-based primer because I don’t like the smell of oil-based, then sanded only the tops of the shelves. Turned out fine.
5. Prep the closet
While the shelves dry, patch holes in the wall and paint the closet if needed. I used the same color as the shelves to keep things simple. (A paint sprayer would have been faster, but you can’t win them all.)
6. Mark the walls
Use a level to draw horizontal lines where each shelf will sit. Then run a stud finder across the wall and mark the center of each stud. Draw vertical lines at those spots so you know exactly where to nail.
7. Install the shelf supports
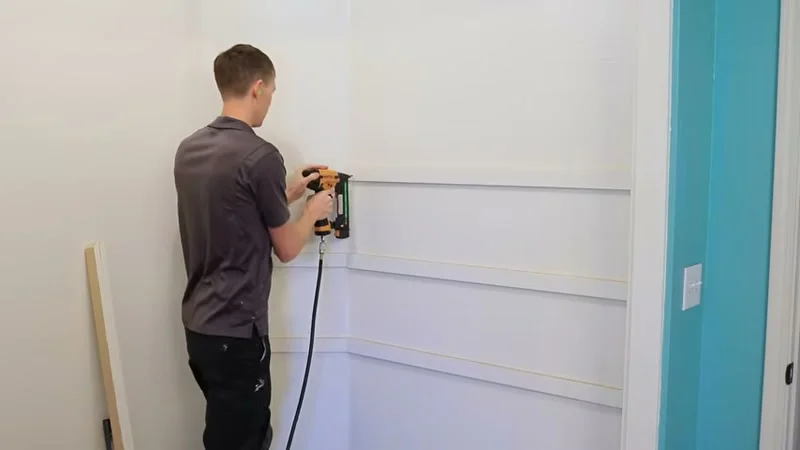
Nail the support strips to the wall, aligning them with your level lines. Use a brad nailer with 2-inch nails — three nails per stud location. No brad nailer? Use a drill and 2-inch screws into each stud.
8. Set the shelves in place
Drop the painted shelves onto the supports. If you measured carefully, they’ll fit. But expect to trim a piece or two on the fly. Tack each shelf down with a few nails into the supports.
9. Add vertical dividers (if needed)
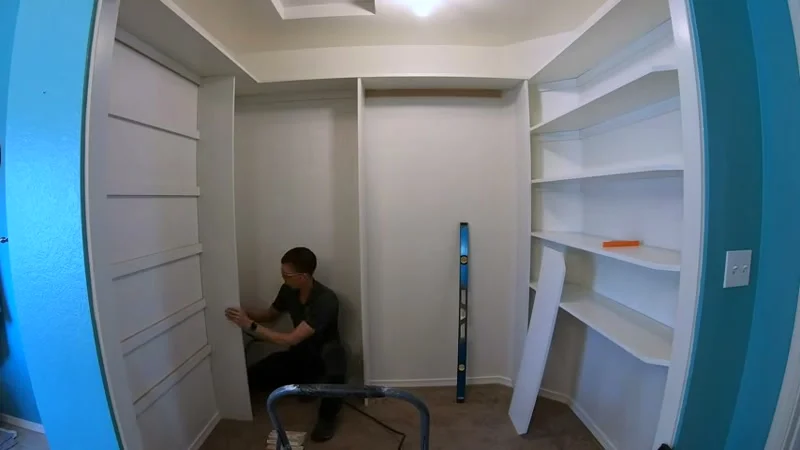
If your design includes vertical boards to separate sections, cut them to height. I had to slice through the carpet and baseboard to get them flush. Work from one side of the closet to the other.
10. Optional: caulk and touch up
For a built-in look, run a bead of caulk along the edges where shelves meet the wall. Paint over the caulk and the nail heads. Not necessary, but it looks professional.
11. Hang the clothes rods
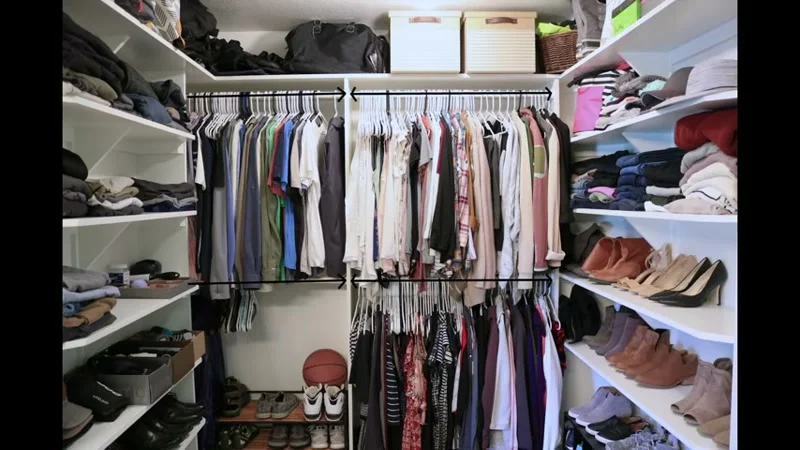
Buy standard closet rods from the hardware store, cut them to length with a hacksaw or pipe cutter, and mount the brackets (usually included). I spaced the rods 44 inches off the floor for long hanging, then 36 inches for double hanging.
Planning Tips That Actually Matter
- First figure out how much hanging space you need. Measure the length of your clothes on hangers.
- Then carve out spots for bulky stuff like laundry baskets or a shoe rack.
- Whatever space remains, fill it with shelves. I used 12-inch deep shelves spaced 12 inches apart vertically.
- The planning stage will take the longest — especially for a walk-in. Don’t rush it. I spread the work over five days, working a couple hours at a time. If you’re efficient, you can knock it out in two full days.
This same system works for a pantry or a kid’s closet. Cheap. Basic tools. Looks like you paid someone.