What You’ll Need
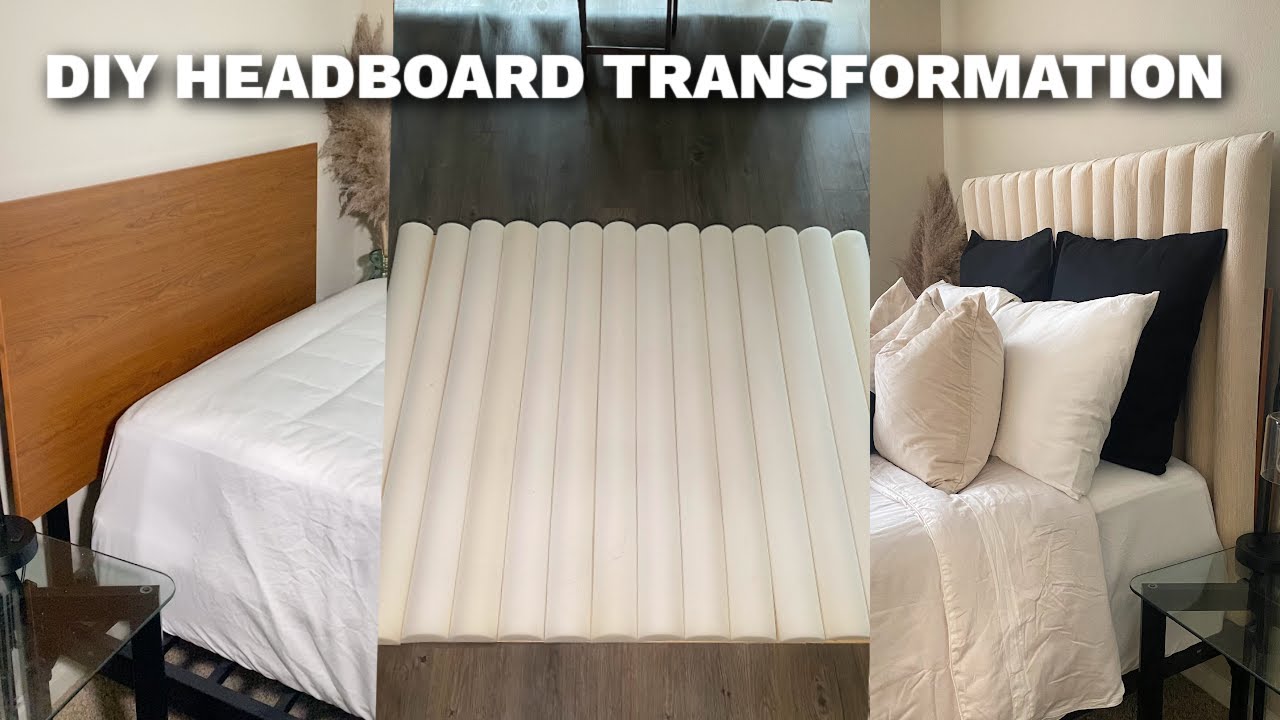
I’m gonna show you how to make a channel tufted headboard that looks like it cost a grand, but actually costs about fifty bucks and a weekend. No sewing, no complicated tufting buttons, no pool noodles. Just foam tubes, plywood, fabric, and a lot of spray adhesive.
I did this for my full-size bed — 56 inches wide by 45 inches tall. The width is your bed’s width. The height is whatever looks right in your room. You can go taller or shorter. I went with 45 because that’s what I wanted.
- Plywood – I got a 4x8 sheet from Home Depot and had them cut it to 56” x 45”. Do this after you measure your foam tubes (see tip below).
- Foam tubes – I ordered 4-inch diameter foam tubes from foamfactory.com. I got seven tubes, each cut in half (so 14 halves total). They let you order custom lengths. I ordered 45 inches but they came as 46 inches — more on that in a second.
- Spray adhesive – Get Gorilla Glue spray. I tried a cheaper brand too. Don’t. The Gorilla stuff works way better.
- Fabric – Enough to cover your headboard plus about double the width for the back. If your headboard is 56 inches wide, get at least 112 inches (about 3 yards). I found a roll at a discount fabric store for $10.
- Staple gun and staples
- Measuring tape
- Scissors (sharp ones)
- Box cutter or pocket knife
- Thin, sturdy tool to push fabric into gaps – I used a broken makeup palette cover. A plastic putty knife would work too.
Step-by-Step
1. Get your plywood the right size — after you measure the foam
Here’s what happened to me: I ordered the foam tubes at 45 inches. They showed up at 46 inches. I didn’t measure them before I bought the plywood, so I had to cut an inch off every tube with a knife. That sucked. So learn from my mistake — order the foam first, measure it when it arrives, then cut your plywood to match. You’ll save yourself a lot of carving.
2. Glue the foam halves to the plywood
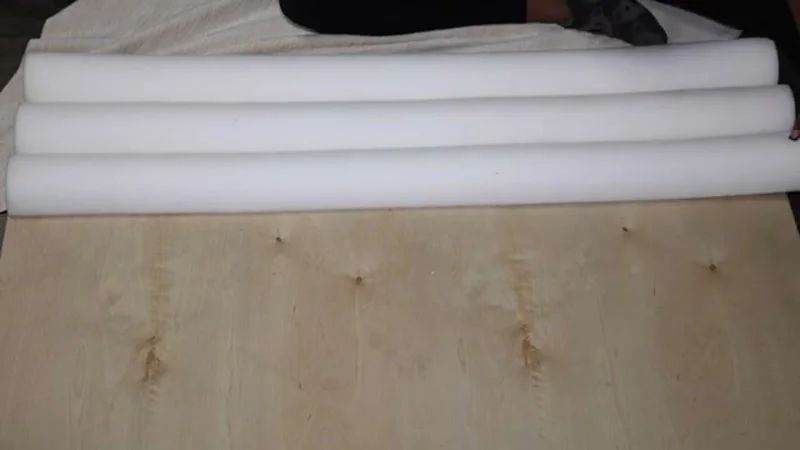
Lay out all the foam tube halves side by side. They should span exactly the width of your plywood with no gaps. If you ordered right, they will.
Spray a thick coat of adhesive on the back of the first tube, press it onto the plywood. Make sure it’s flush with the edge. Then do the next one, butted right up against the first — zero space. Keep going until all 14 are down.
Important: Spray an extra thick layer on the edges of the plywood. That’s where the tension will be when you fold fabric around later. You don’t want the foam lifting.
Let the adhesive dry for an hour or two. Go eat a snack.
3. Round the edges of the foam
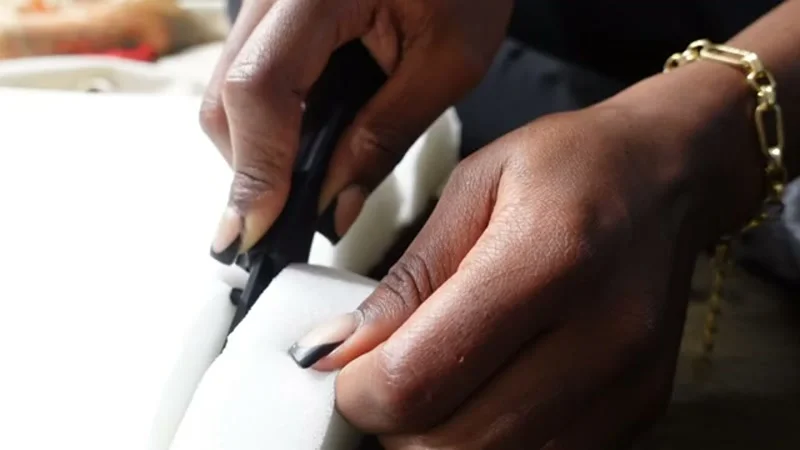
This step makes your headboard look soft and professional instead of like a bunch of foam blocks glued to a board. Take a pocket knife (or box cutter) and carve a smooth, gentle slope off the top edges of each foam tube — a half-circle shape about an inch deep. Use the first one as a guide for the rest. Don’t overdo it. Just a nice, easy transition.
4. Attach the fabric — column by column
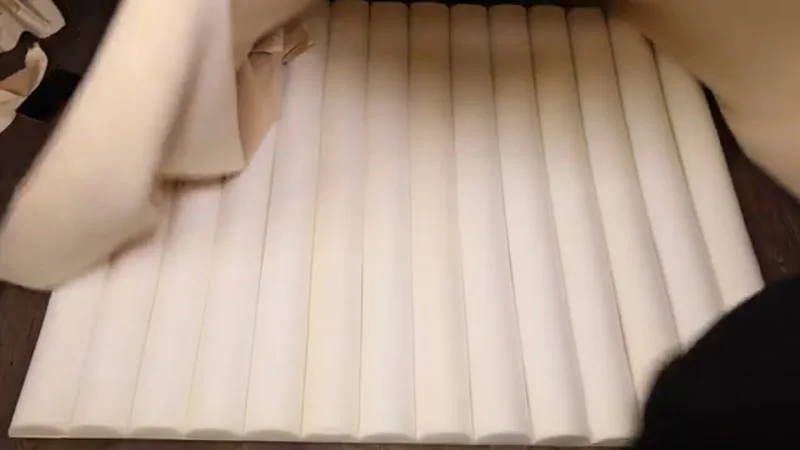
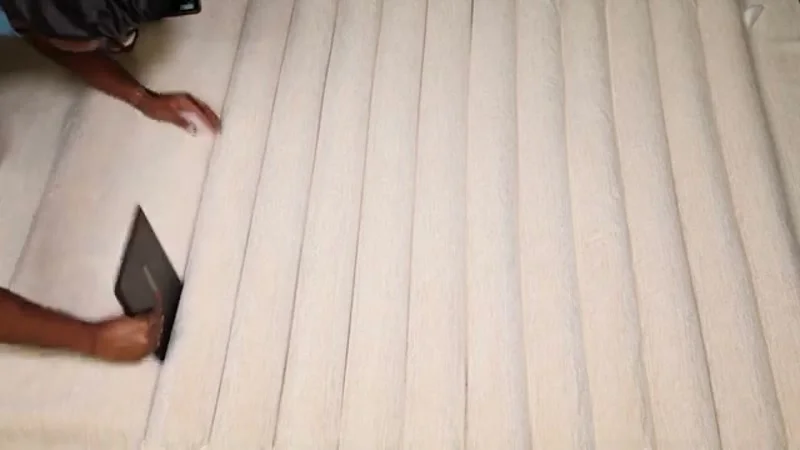
Lay your fabric out on a clean floor. Place the plywood foam-side-down on top of it. Center it so you have roughly equal overhang on all sides.
Now you’re going to work each foam column one at a time.
- Peel the fabric up on one side of the first column. Spray a thick layer of adhesive onto the foam face (the side facing you). Try to keep the spray on the foam, not on the fabric that’s still flat.
- Flip the fabric over onto the glue. Smooth it out with your hands — no wrinkles, no bubbles.
- Take your thin, sturdy tool and push the fabric down into the crack between the first and second foam tubes. You want the fabric to get jammed in there really tight. This is what gives you that clean channel look. Pull the fabric taut as you go.
- Repeat on the other side of the column: spray the foam again (only the side that still needs fabric), flip the fabric over, smooth, and then force it into the next crack.
Continue down the row. Each column gets both sides glued and pressed into the gaps. When you reach the last column, spray the foam on the end, smooth the fabric over, and then fold the excess fabric around the plywood edge and onto the back. Let it dry under pressure (put something heavy on it or just staple it loosely for now).
5. Finish the top and sides
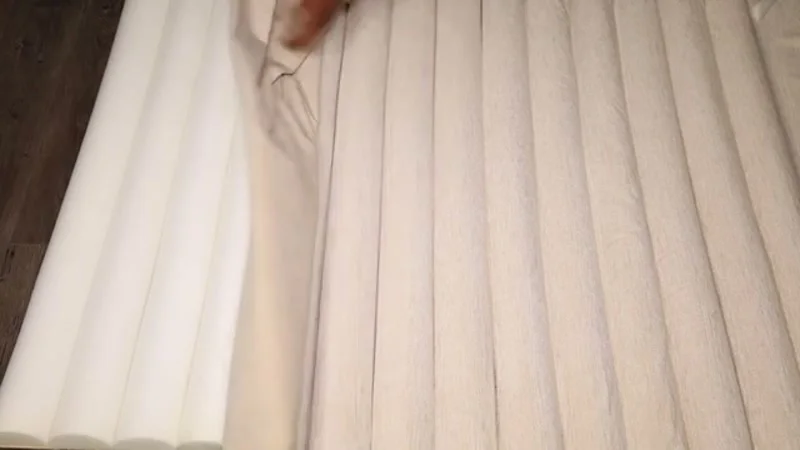
This is where the “I made this myself” can turn into “I bought this.” Take your time.
Work the fabric over the top edge of the headboard. You want crisp, flat folds — no lumps between the columns. The fold should happen in the crack between foam tubes, not on top of a column. Pull the fabric down tight, smooth it, and hold it in place.
When it looks clean, staple it to the back of the plywood. Use plenty of staples. If you’re not sure about a fold, don’t staple yet. Adjust until it’s perfect.
Repeat for both sides. The bottom doesn’t matter — nobody will see it. I barely stapled the bottom.
6. Mount it (optional)
You can screw it directly into wall studs, attach it to an old bed frame, or lean it against the wall. I just leaned mine because my bed frame has a low back already.
Now you’ve got a headboard that looks like it cost five hundred bucks and all your friends will say “no way you made that.” And you can honestly say yes.