What You’ll Need
DIY Gold Mirror Makeover – Turn a $20 Target Mirror into French Rococo Glam
I have a problem with mirrors. My house looks like a funhouse — gold, fancy, French Rococo-inspired mirrors everywhere. I bought most of them, and they cost me a small fortune. But when quarantine hit and I wanted another one for selfies, I wasn’t about to drop more cash. So I grabbed a plain brown wooden mirror from Target, some rubbery ornament onlays, and a can of gold spray paint. This is what happened.
- Plain wooden mirror (I used a basic Target one, about $20)
- Onlays – these are rubbery/plastic decorative appliqués. You can find them on Amazon (I used Pearl Works brand) or craft stores. I used bird and scroll designs.
- Gold spray paint – any brand, any shade you like
- Metallic gold craft paint – for an extra shiny topcoat
- Painter’s tape (or shopping bags if you’re resourceful)
- E6000 glue (I’m basically best friends with the E6000 company now – they replied to my tweet)
- Hot glue gun (optional, but E6000 is stronger)
- Paper towels (because I didn’t have brushes or sponges)
- Nail polish remover (for cleanup)
Step-by-Step
1. Tape off the mirror glass

You don’t want gold paint on the reflective surface. Run painter’s tape along the inner edge of the mirror frame, overlapping onto the glass. I did two layers to be safe. Then I stuffed some old shopping bags inside the mirror opening for extra protection. Finally, those Forever 21 bags paid off.
2. Spray paint the frame

Take the mirror outside to a well-ventilated area. Lay down craft paper or cardboard. Shake your gold spray paint, and spray the entire wooden frame in smooth, even passes. Don’t worry if it looks weird in certain light – it will dry gold. Let it dry completely (I’m impatient, so I only waited about 2 hours, but overnight is better).
3. Spray paint the onlays

While the frame dries, spray your onlays the same gold color. I laid them out on paper and gave them a quick coat. They’ll look like cheap plastic covered in gold – that’s fine. We’re about to fix that.
4. Add a hand-painted metallic layer
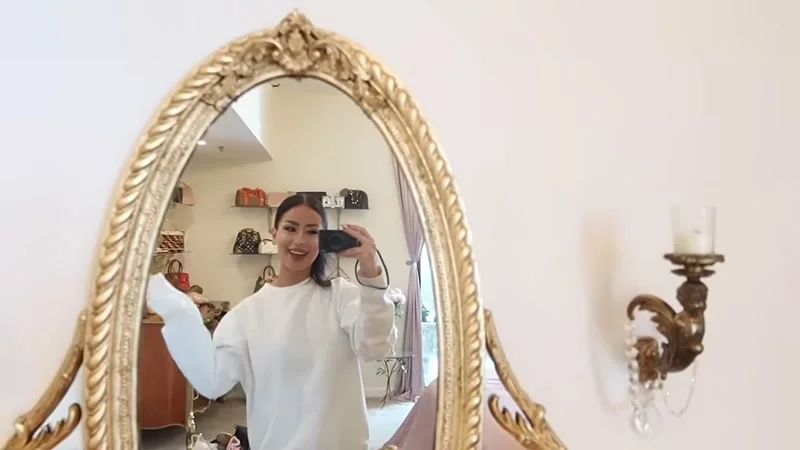
Once everything is dry, grab your metallic gold craft paint. I didn’t have a brush, so I crumpled up a paper towel, dipped it in the paint, and dabbed it onto the frame and the onlays. This gives it a slightly uneven, antique-y texture – way better than flat spray paint. It also adds that extra shine. Let this dry for at least a few hours.
5. Remove the tape
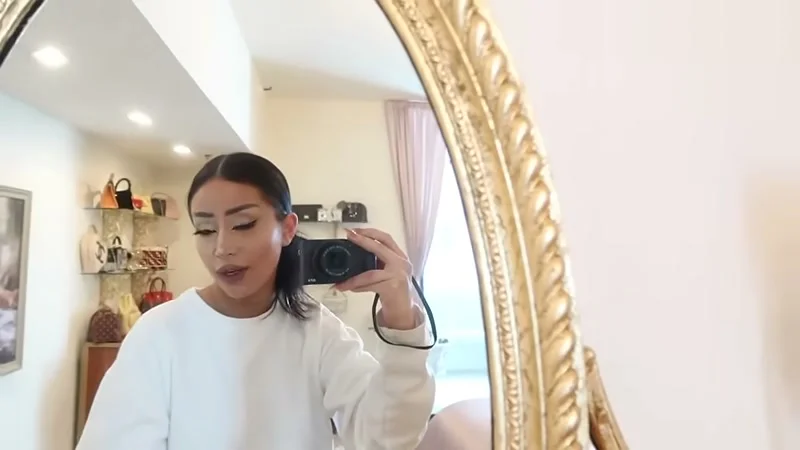
Carefully peel off the painter’s tape. If any gold paint bled onto the glass, just wipe it off with nail polish remover. Easy fix.
6. Attach the onlays

Figure out your layout. I put a couple of scroll onlays on the bottom corners, and a bird onlay at the top center. Use E6000 glue (or hot glue, but E6000 is stronger) on the back of each onlay, press it onto the frame, and hold for about 30 seconds. Let the glue cure for 24 hours before handling.
The Result
This mirror went from “basic Target brown” to “French queen’s dressing room.” The gold has a warm, shiny finish, the scrolls and birds give it that vintage Rococo feel, and the whole thing took maybe an hour of active work plus drying time. I honestly like it better than the expensive ones I bought. And the best part? I can take selfies in front of it without feeling guilty about my bank account.
If you try this, tag me – I love seeing other people’s versions. Happy mirroring.