What You’ll Need
So I wanted roller shades for my she shed. Not curtains — too much dust with all the sawdust. Not blinds — too complicated. Just simple rollers. But it took me a while to figure out without messing it up. Here's what I learned.
- Adjustable roller shade rod (I got mine from Walmart — they're basically curtain rods that twist to fit)
- Brackets (buy them separately — the rods don't come with hardware, for some reason)
- Blackout fabric (about $12/yard)
- Decorative fabric (your choice)
- Spray adhesive (optional, but I recommend it)
- Double-sided tape
- Sewing machine, iron, scissors, measuring tape, framing square
- The plastic bottom bar from the cheap roller shade (don't throw it away)
Step-by-Step
1. Measure and Prep Your Rod
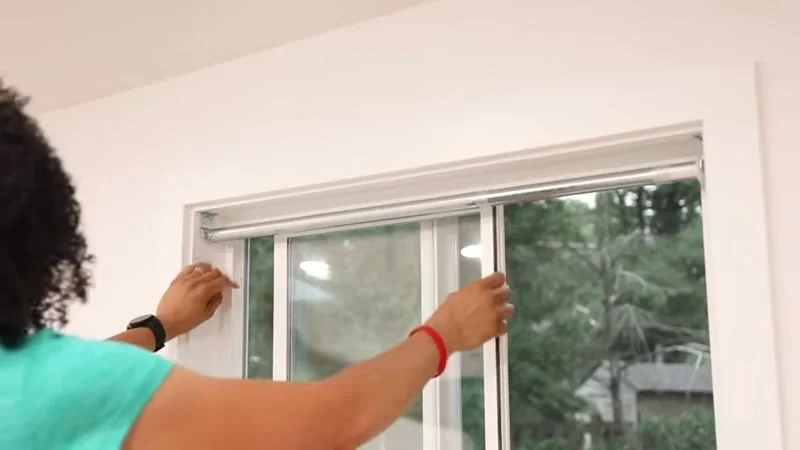 First, measure your window width. Buy an adjustable rod that fits that range. Mine was 35.5 inches from end to end after I adjusted it.
Remove the cheap vinyl shade off the rod — peel it off or cut it. Keep the plastic bar at the bottom.
2. Cut Your Fabric
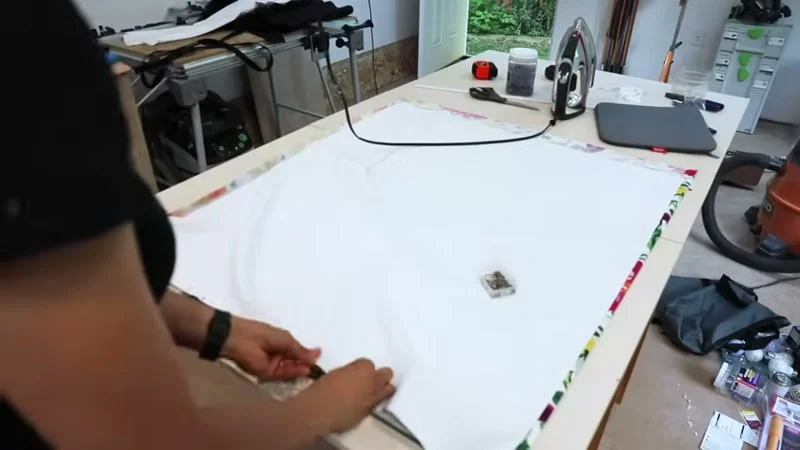 You want a right angle to start from. I used a framing square to trim off the selvedge edge, then lined that up with the edge of my table (which I knew was square). If your fabric isn't square, your shade will be crooked. I learned that the hard way on my first one.
For my 35.5-inch window, I cut my decorative fabric to 37.5 inches wide (adding 1 inch per side for seams). For the length, I added about 6 inches at the top for rolling around the rod, and 2–2.5 inches at the bottom for a hem.
Cut the blackout fabric a little smaller — it'll be the lining.
3. Sew the Seams (Without Spray Adhesive First)
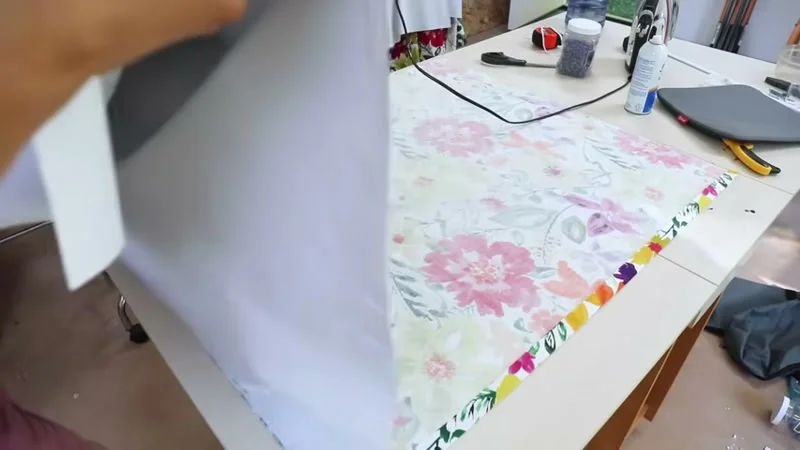 Fold the decorative fabric 1 inch on each side. Don't fold the lining into those edges yet. Pin the blackout fabric to the back of the decorative fabric so the folded edges will wrap over the blackout. This keeps the edges clean and not bulky.
At the top, just line them up with pins. At the bottom, fold the decorative fabric up ½ inch, then fold again to make a ½-inch hem. Sew that down.
Then fold the side seams over the blackout fabric and sew with a ½-inch seam. You should have a neat pocket at the bottom for the plastic bar.
Iron everything flat.
4. Better Method: Use Spray Adhesive
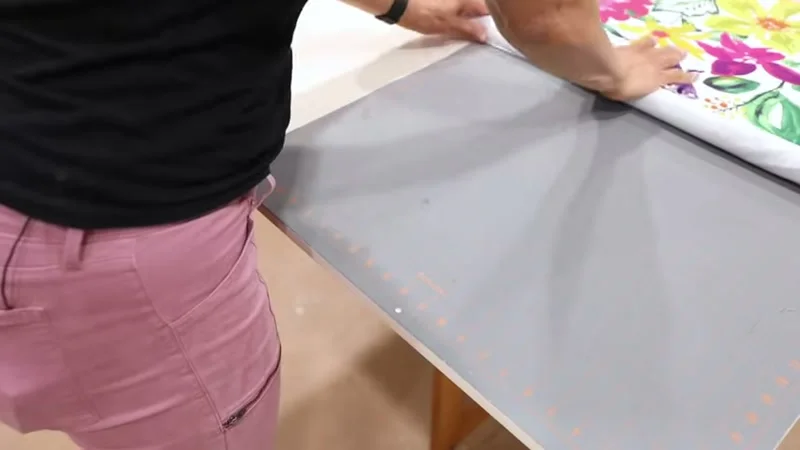 My first shade I made without adhesive — it was puffy and the layers shifted. All the rest I used spray adhesive, and it was way better. Work in small sections. Spray a strip, press the fabric together, then spray the next strip. If you spray the whole thing at once, it gets messy and won't lie flat.
That gap between fabric and lining? That's what happens when you skip the spray.
5. Attach Fabric to the Rod
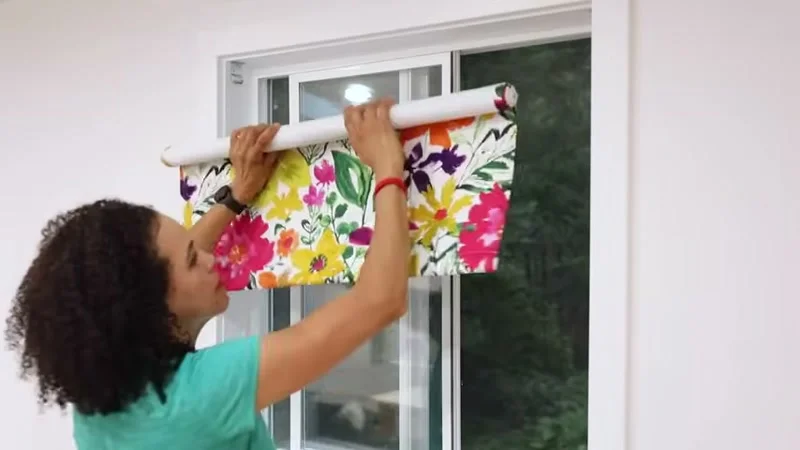 The rod has a pin on one end and a flat part on the other — that's the tension mechanism. Turn the flat end counterclockwise to release all tension before you start.
Put two strips of double-sided tape along the rod. Line up your fabric straight along the grooves on the rod. This is critical — if it's off, the shade won't roll up straight. Again, I learned that the hard way.
Roll the fabric onto the rod, making sure it's even.
6. Mount the Brackets and Set Tension I did an inside mount (under-mount, so the shade sits close to the window). The blackout fabric shows at the top, but I don't mind — it helps block heat and cold.
Slide the rod into the brackets. To set the tension, pull the shade down about 18 inches, then roll it up by hand. Keep doing that until it retracts. Cheap rods need the tension set pretty tight. Mine doesn't roll all the way up unless I release it and let it snap, but it works.
7. Insert the Plastic Bottom Bar Slide that plastic bar into the pocket you sewed at the bottom. It gives the shade rigidity so you've got something to grab.
8. Repeat for Each Window I made six shades total. The fabric cost $12/yard, plus $1.95 per rod — about $33 per window. Not bad for custom colors.
A Few Tips
- Check your fabric alignment before sewing. If it's crooked, your shade will be crooked.
- Spray adhesive is worth the extra step. But use it in small sections, not all at once.
- Don't throw away the cheap plastic bottom bar. It's perfect for the hem pocket.
- For skylights, just buy pre-made shades. Rolling ones are easier to open and close up there.
This project wasn't hard, but it involved some trial and error. Hope it saves you some of that.