What You’ll Need
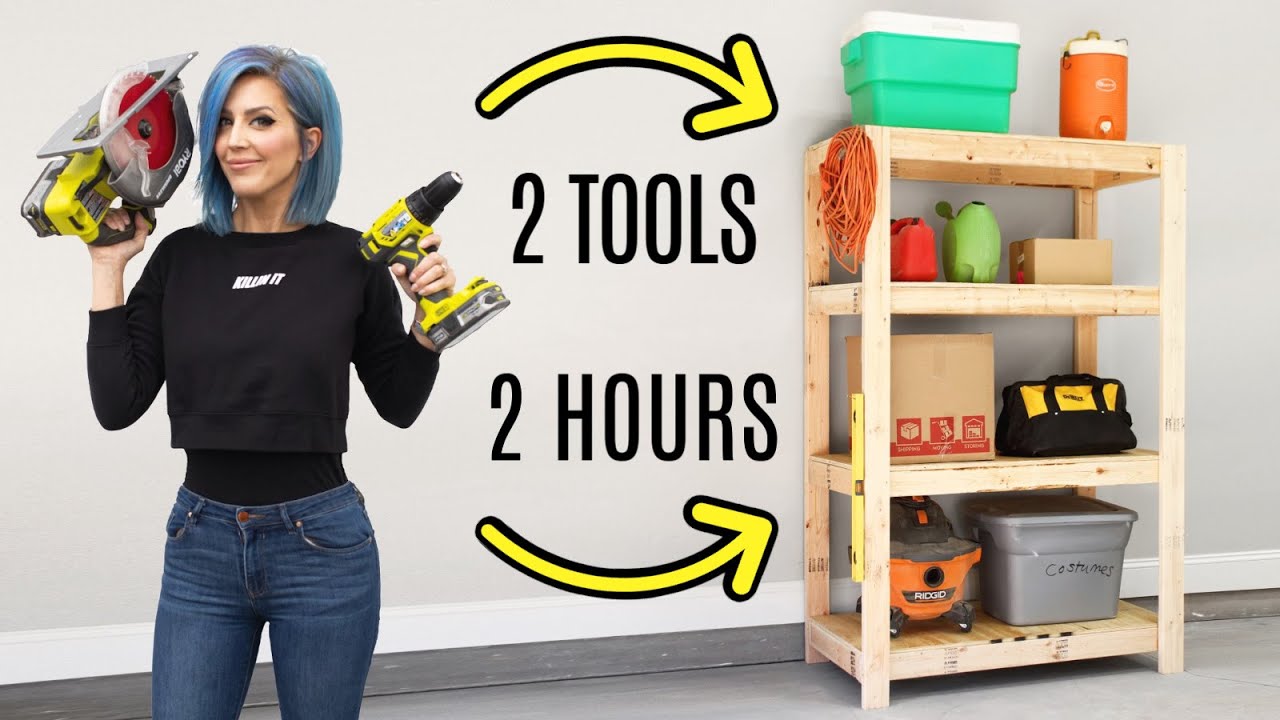
Garage shelves don’t have to cost a fortune. If you’ve got a circular saw and a power drill, you can build a set of heavy-duty shelves for less than most store-bought metal racks. I’ve made half a dozen of these over the years, and they hold all the heavy tools, paint cans, and random junk that piles up in a garage. Even if you’ve never done a DIY project before, this is a good one to start with. I’ll walk you through it – no fancy joinery, no expensive tools.
Materials: - 1 sheet of ½-inch plywood (4x8 feet) - 2x4 lumber (enough for four legs ~6 ft long and rails for four shelves – see cut list below) - Wood glue - 1¼-inch wood screws (for attaching plywood to frame) - 2½-inch wood screws (for attaching shelves to legs) - Rigid foam insulation panel (optional but really helps – used as a cutting surface)
Tools: - Circular saw - Power drill - Speed square - Measuring tape - Clamps (handy)
Full free building plans with exact cut list and all measurements are linked in the description on my website – grab those before you start.
Step-by-Step
1. Cut the plywood
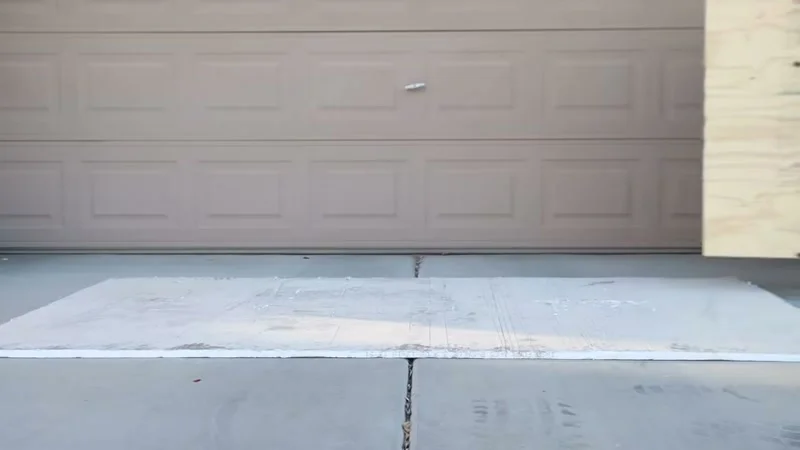 Lay your plywood sheet on top of a piece of rigid foam insulation (the foam keeps the saw blade from hitting the floor and gives you clean, safe cuts). Set your circular saw blade depth just a hair deeper than the ½-inch plywood. Cut the sheet into four panels, each 2 feet by 4 feet. That gives you the shelf tops.
2. Cut the 2x4s
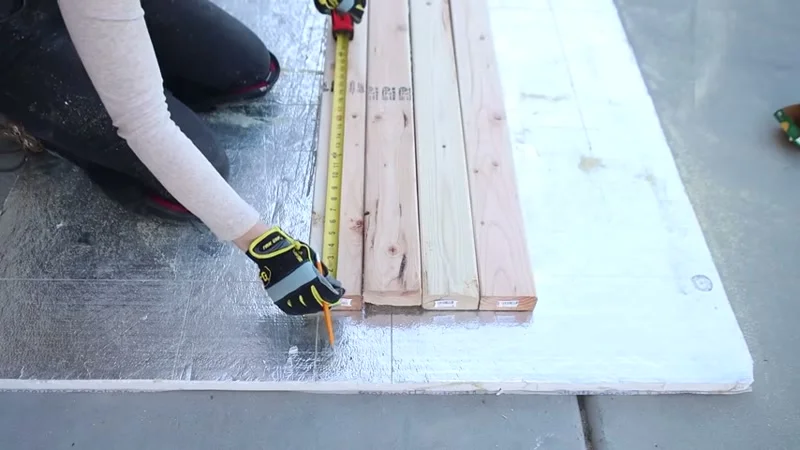 You’ll need short rails for the shelf frames. I cut them 21 inches long – that’s the width between the legs. To save time, line up all your 2x4s and mark them at once instead of measuring each one individually. Use a speed square to guide your circular saw for straight crosscuts. Then cut your four legs to length – mine are about 6 feet, but adjust for your garage height.
Pro tip: The foam insulation works for cutting 2x4s too. Set the blade depth deeper – maybe 1½ inches – and you’ll get smooth cuts without binding.
3. Build the shelf frames
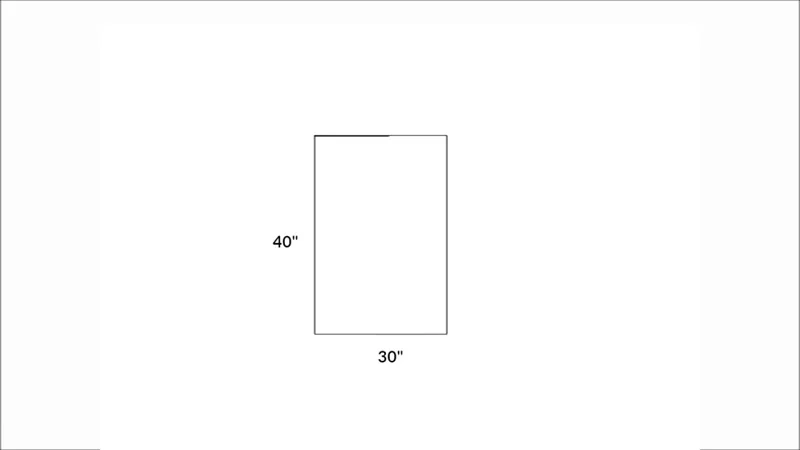
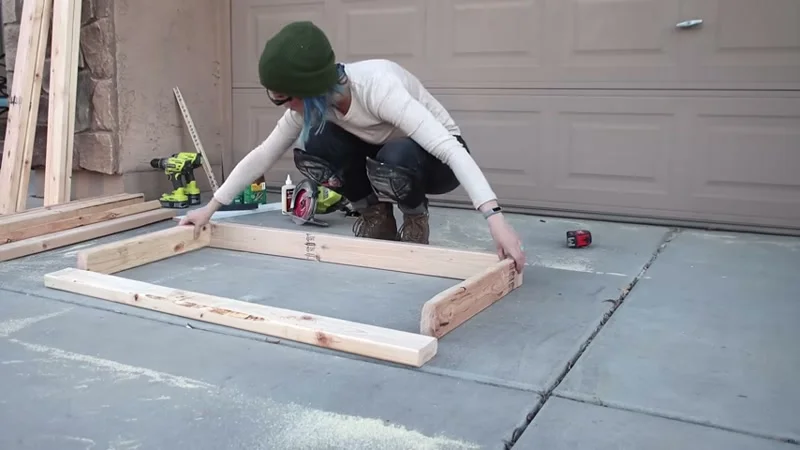 Each shelf needs a rectangular frame of 2x4s. I made four frames: two long sides (48 inches – the depth of the plywood) and two short sides (21 inches). Put glue on the ends of the short rails, then screw them into the long sides. Pre-drill all holes – wood loves to split, especially near ends. I used 2½-inch screws for the frame joints.
4. Attach the plywood tops
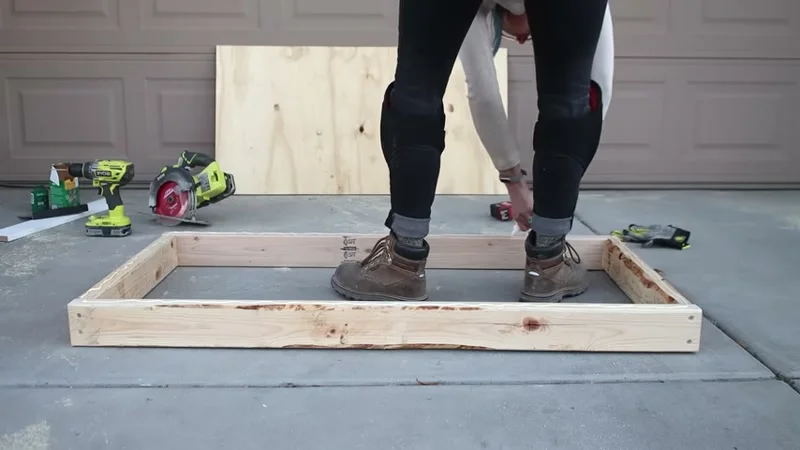 Lay one of your plywood panels on top of each frame. Spread glue on the frame, then drive 1¼-inch screws from the top down into the frame. Space them about every 8 inches. Now you’ve got four solid shelf assemblies.
5. Assemble the legs and shelves
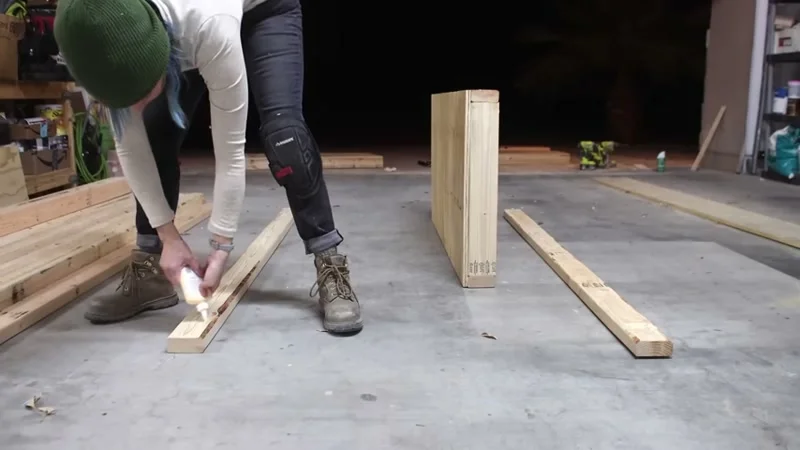 Lay the back two legs on your work surface, parallel and about 48 inches apart. Mark where each shelf will attach – I measure once and mark all four legs at the same height to keep things square. Apply glue to the leg where the shelf will go, then set the shelf frame in place. Use a speed square to check that the shelf is perpendicular to the leg. Pre-drill through the inside frame into the leg, then drive two 2½-inch screws per joint.
Attach all four shelves to the back legs the same way. Then bring in the front two legs. Glue them, lower them onto the front edges of the shelves, and screw them in from the inside frame.
6. Square it up
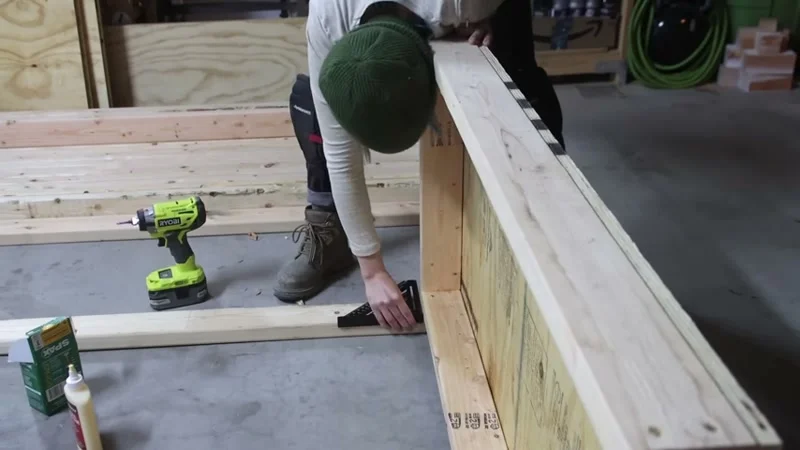 I forgot to film this part, but it’s critical: measure diagonally from opposite corners of the whole unit. If the two diagonal measurements are equal, your shelves are square. If not, push or pull the unit until they match. Once square, you can add extra screws or let the glue cure.
7. Stand it up
 This thing gets heavy. I tried to lift mine alone – bad idea. Recruit a buddy or your father-in-law like I did. Once it’s upright, load it up. I tested mine with heavy stuff – it held fine.
Tips & Tricks
- Glue is your friend. It stops squeaks and keeps screws from loosening over time. Don’t skip it.
- Self-tapping screws sometimes work on soft pine without pre-drilling, but test on a scrap piece first. If it splits, don’t blame me – just pre-drill.
- Use the sides. Since it’s wood, you can hammer a nail or screw into the legs to hang tools, cords, or whatever.
- These work in basements and storage rooms too, not just garages.
If you like creative storage solutions, check out my other videos – I’ve got a link in the description for the full building plans with all measurements.