What You'll Need
Here's a step-by-step guide to tinting your own car windows at home. It takes some patience, but you can get pro results without spending a fortune.
- Window tint film (any brand works, better film = better finish)
- Glass cleaner
- Blue Max squeegee (or any squeegee from Amazon)
- Stainless steel razor blade (plastic handles are fine; stainless won't scratch your glass)
- Sharpie
- Scrubby pad (dishwasher pad works)
- Straight edge (ruler, level — anything straight)
- Hard card (debit card or a dedicated "blue card" from a DIY kit)
- Tri-edge soft triangle card (comes with most DIY kits)
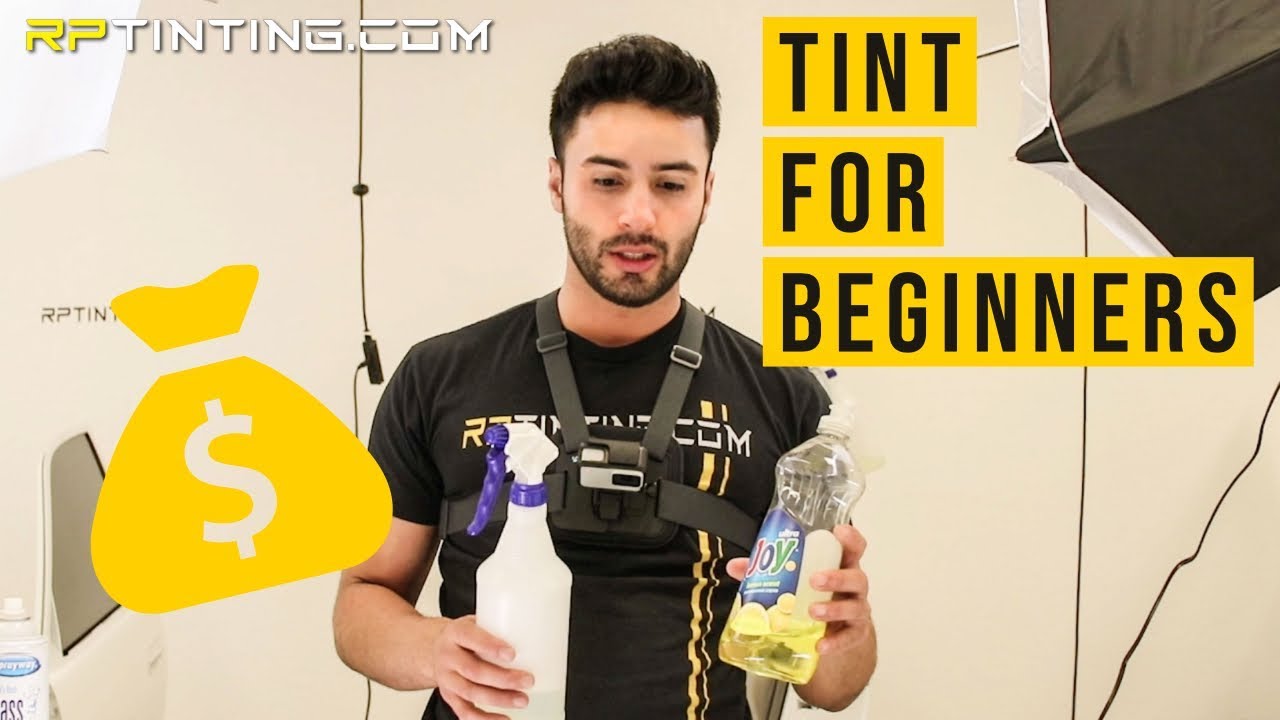
- Spray bottle
- Joy dish soap (blue or yellow)
- Tape measure
- Microfiber towels
- Heat gun or blow dryer
For the soap solution: Fill a spray bottle about three-quarters full with water (distilled is best, tap works). Add about one to two seconds of Joy soap. That's it.
Step 1: Cut Your Film Rough
Lay your film on a flat surface. The bottom edge of the film is naturally flat — use that as your starting point. Hold the film up to your window and leave about three to six inches of excess all the way around. You'll trim it down later.
Line the film up so the bottom sits just at the seal. Mark the left side with your Sharpie first — always start with the smaller side. Then move to the right side. Make your first cut straight up along the line.
You should have two marks now: one about an inch from the top of the rubber and one about an inch from the bottom. You'll cut those out later.
Step 2: Cut the Top Pattern
Lift the film up and roll the window down about three inches from the top. Spray behind the film with your soap solution. Cut off the excess film at the top.
Now grab your stainless steel blade — extend it about two clicks out. Spray the glass so it's wet, insert the blade at the top, and cut across while holding the film tight. This gives you a clean top pattern.
Step 3: Cut the Sides and Corners
With a fresh blade (won't scratch glass), cut the remaining edges. Use a straight edge to guide your cuts. Keep the blade flat against the glass — don't dig in. Two clicks out, finger flat like this.
Line up each corner pattern, cut, then use your fingernail to press the corner down. Flip the film over, match the lines, and cut the last corner. Take your time.
Step 4: Clean the Window
Use your squeegee or a microfiber to clean off the window. Spray it down, scrub with your scrubby pad, then squeegee it dry. Go over it with your microfiber to pick up any leftover dirt.
Step 5: Shrink the Film
Lay the film on the outside of the window. Use your hard card or debit card to squeeze out bubbles from top to bottom, forcing everything to the bottom.
Now grab your heat gun or blow dryer. Heat the film until it starts to wiggle, then push it down. Keep the heat moving — never sit in one spot longer than a second. Go over it two to three times. If you burn the film, you start over from step one.
Step 6: Prep the Inside
Roll the window up. Spray the inside of the window and wipe it down. Roll the window down about an inch or two. Scrape the edges sideways and down with your blade. Overlap everything — don't miss any spots.
Roll the window back up. Spray it down again. Use your scrubby pad, then squeegee from the bottom up in a rainbow motion. Roll the window down a little, spray, scrub, squeegee again. Wipe the door panel clean.
Step 7: Install the Film
Spray the window and the seals. Peel the liner off the film — bite the corner to start it, then spray the liner as you pull it away. Leave about four inches of liner on at the bottom.
Line the top of the film up with your cut pattern. Spray the film so it slides. Use your yellow squeegee or hard card to push out all the bubbles.
Step 8: Finish the Bottom
Roll the window up. Lift the bottom of the film and spray underneath to flush out any dirt that got trapped when the window was down. Squeegee it out.
Use your tri-edge card to tuck the film under the bottom panel. Gently guide it into the crack — don't wrinkle the film. Once it's in, squeegee out the rest of the solution.
Bend your corner card a little and go over the whole bottom and sides. That's it.