What You'll Need
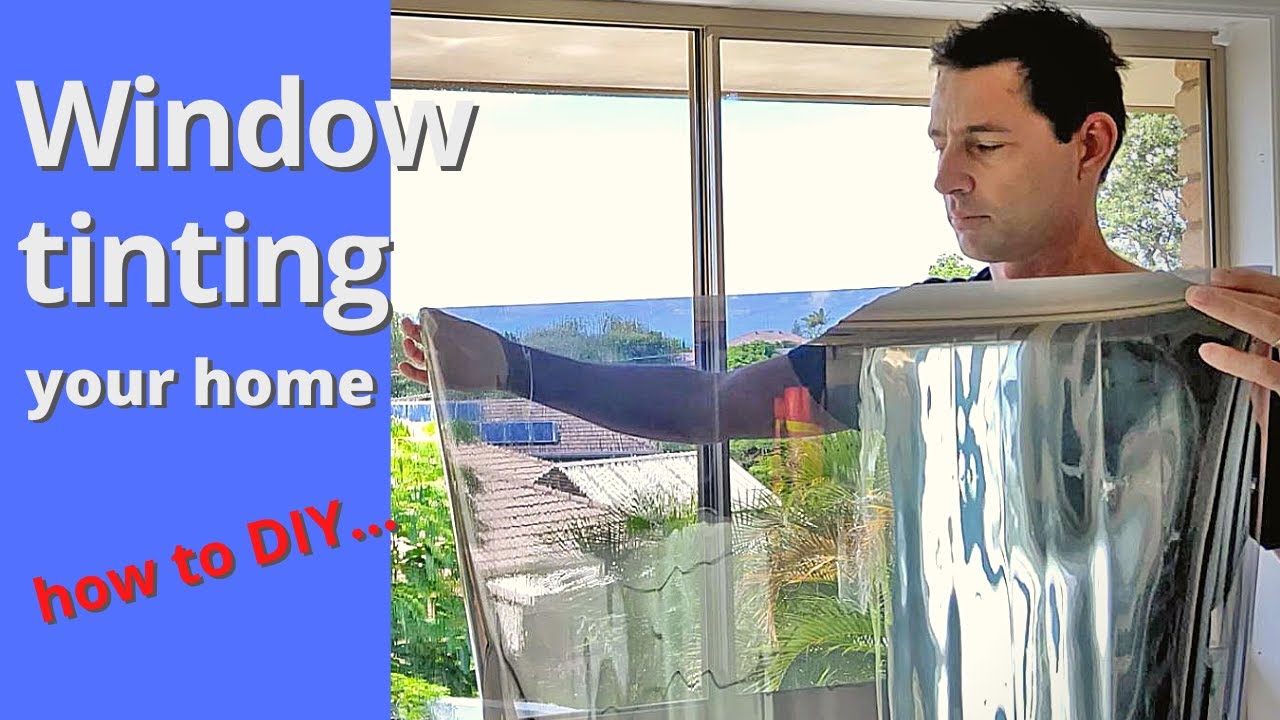
Window tinting is one of those jobs that looks simple until you're standing there with wet hands and a film that wants to stick to itself. I've done it, and it's doable — but honestly, next time I'm getting a second pair of hands. Not that kind of help, I don't need that. Just someone to hold the other end.
Here's the six-step process I used on my bedroom windows.
- Window tint film
- Baby shampoo
- Spray bottle
- Squeegee (the firm one, not a window cleaner squeegee — about $7 where you buy the tint)
- Sharp blade/scraper with new blades
- Lint-free cloth (old t-shirts work great)
- Paper towels
- Tape (masking or sellotape)
- Credit card (for guiding cuts)
- Measuring tape
Step 1: Clean Off Old Film and Glue
If you're removing old tint like I was, you need to get rid of every bit of glue residue. Spray some baby shampoo on the glass and use your scraper with a new blade. Work the edges especially hard — you can feel and hear when the scraper catches bits of glue.
You probably won't need to do this on new windows. Once it's clean, squeegee the contaminated water off and dry the edges with paper towel.
Step 2: Clean the Windows Normally
Use a lint-free cloth with a standard glass cleaner. Old t-shirts are perfect. One important thing — don't use a cleaner with ammonia. It reacts with the adhesive on the tint film.
Step 3: Cut the Film to Size
Measure your windows and add an inch or two to each dimension. You'll trim it down later.
Roll the film out on a clean surface. I taped the end to my dining table. Mark your measurements with pieces of tape as a cutting guide. Put sticky tape on each side of the film to help separate it from the backing later — just don't peel the backing off yet.
Step 4: Apply the Film
Spray your water and baby shampoo mix generously onto the window. This lubrication is the only thing stopping the film from sticking permanently as soon as it touches.
This is where I struggled. If you're on your own, expose just one corner of the film and stick it to the window first. That corner holds it in place while you peel the rest of the backing off. If you have a friend, get them to peel the backing and spray the film as you go.
Use baby shampoo — it dries clear and lets you reposition the film. Don't use anything with grease-cutting properties. It will mess with the adhesive.
Hang the film so it's square to the window and overlapping the bottom and sides. Check it's straight before you start squeegeeing.
Step 5: Squeegee the Film
Spray more of the baby shampoo mix on the film so your squeegee glides smoothly. Start gently. Work across the top first, then down the middle in a T-shape, squeegeeing from the center outward.
Here's a mistake I made — don't squeegee right to the edges. Leave about 20mm (an inch) around the perimeter. If you push the squeegee tip to the edge, it picks up grit and dust from the window seal and traps it under the film.
Step 6: Trim the Excess
Cut the corners at 45 degrees — this helps the film sit neatly into the corner. Use a credit card to guide your blade along. The rounded edges of the card stop the film from tearing. Cut from the edges toward the center, not the other way around. The film tears less that way.
The manufacturer recommends leaving a 1-2mm gap around the film. This lets you squeegee out any remaining solution from behind.
Go over the film checking your edges and trimming where needed. My cuts weren't that straight either. It happens.
Go over it once more, check for bubbles, and you're done.