Clutter has a way of spreading into every corner of a home — the overflowing junk drawer, the bathroom counter buried in bottles, the pantry shelf where snacks topple over the moment the door opens. Getting organized often feels expensive, with coordinated bins and matching baskets quickly costing more than the mess seems worth. This is where Dollar Tree changes the equation. With a base price of just $1.25 (and some items at $1.50, plus a higher-priced Plus range in many stores), it stocks an enormous selection of bins, baskets, jars, and crafting supplies that can be turned into genuinely useful, good-looking storage. This collection is organized room by room, so you can jump straight to the space that is driving you up the wall and build a system that fits it exactly.
What "DIY" Actually Means
DIY stands for "do it yourself" — making, building, repairing, or personalising something with your own hands instead of buying it ready-made. It spans everything from home renovation and woodworking down to small organizing projects finished in an afternoon. The common thread is choosing to create rather than purchase, and shaping a result to fit your exact needs rather than settling for whatever a store happens to sell.
Storage is one of the most rewarding places to apply that mindset. A handful of inexpensive containers, customised with paint, labels, or a little assembly, can solve a problem precisely — sized to your shelf, matched to your décor, and arranged around how you actually live. The "do it yourself" approach turns a pile of budget basics into a system that looks and works like something far more expensive.
Why Dollar Tree Works So Well for Storage
The secret to a tidy, expensive-looking space is rarely the price of the containers — it is consistency. A shelf lined with ten matching bins looks intentional and calm, even if each cost just over a dollar. Because Dollar Tree stocks the same basic items in large quantities, it is easy to buy several identical pieces and create that uniform, professionally organized effect for a fraction of what a home store charges.
Dollar Tree basics are also an ideal canvas for customizing. Plain plastic and cardboard take paint, contact paper, ribbon, and labels well, so you can match your décor instead of settling for whatever colour was on the shelf. One measurement note carries across every project below: measure your shelves, drawers, and cabinets before shopping, because budget storage only saves space when the containers fit the area exactly.
Kitchen & Pantry Storage
The kitchen is where uniform storage pays off fastest. Clear plastic shoeboxes grouped by category turn a chaotic pantry into neat, labeled zones, while jars and caddies corral the small items that always go missing. For more kitchen-specific projects, the wider Kitchen category has plenty of complementary ideas.
Materials
Steps
- 1Group like items together — snacks, baking supplies, packets — so you know how many bins each category needs.
- 2Fill each clear bin with one category, keeping similar heights together so the boxes stack evenly.
- 3Decant loose dry goods into matching jars for a uniform, easy-to-scan shelf.
- 4Add a clear label to every bin and jar, then place everyday items at eye level.
Bathroom & Vanity Storage
Bathrooms accumulate small items fast, and Dollar Tree jars, trays, and wire baskets are made for the job. Grouped on a tray or hung on the back of the door, they keep toiletries and grooming tools sorted and within reach. For more vanity and grooming organization, the Beauty category covers related projects.
Materials
Steps
- 1Sort items by type — cotton supplies, brushes, daily essentials — so you know what containers you need.
- 2Arrange jars on a tray, tallest at the back, to keep the counter contained and easy to wipe down.
- 3Mount adhesive hooks on the door and hang wire baskets for backups and bulky bottles.
- 4Label anything that looks alike so items are quick to find and return.
Closet & Bedroom Storage
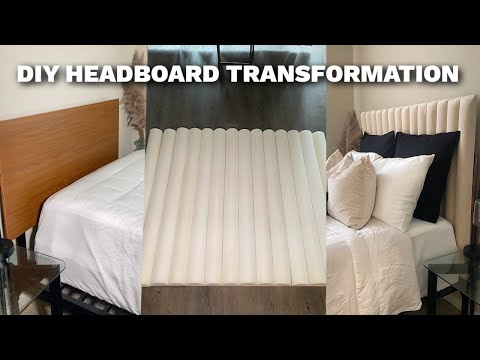
In closets and bedrooms, a few customised baskets and some simple drawer dividers transform daily chaos into calm. Plain plastic baskets upgraded with paint or fabric look far more expensive than they are, and dividers give every item its own compartment.
Materials
Steps
- 1Wipe baskets clean, then paint them or wrap them in fabric secured with a thin line of hot glue.
- 2Group baskets by use — accessories, off-season items, spare linens — and label each.
- 3For drawers, arrange small bins to fit, or cut foam-board strips into custom divider walls.
- 4Sort items into their new compartments by how often you reach for each.
Craft Room & Home Office Storage
Craft supplies and stationery are notoriously hard to keep tidy, which makes them perfect for jar-based and small-bin systems. A row of jars on a tray or mounted to a board keeps beads, pens, and tools sorted and visible. For more making and supply-organization ideas, browse the Crafts category.
Materials
Steps
- 1Sort supplies by type and size so you know how many jars and bins you need.
- 2Line jars up on a tray, or attach them to a board with strong hook-and-loop strips for a wall-mounted version.
- 3Use small divided bins for tiny items like beads, clips, and screws.
- 4Label everything that looks similar so projects stay quick to set up and pack away.
Match the Project to the Room
The beauty of budget storage is that the same handful of containers adapts to almost any space — only the contents and labels change. As you work through the house, it helps to pull ideas from the area most relevant to each room. For cooking and pantry projects, start with the Kitchen category; for grooming and vanity organizing, the Beauty category; for supplies and hobby storage, the Crafts category; and for tools, hardware, and the garage, the Workshop category. Outdoor and shed storage ideas live under the Garden category. Mixing a few of these together is the fastest way to build a complete, whole-home system on a small budget.
Entryway & Mudroom Storage
The entryway is where keys, mail, and daily bits pile up. A small landing zone built from hooks, a tray, and a couple of labeled bins keeps the chaos contained the moment it walks through the door.
Materials
Steps
- 1Mount a row of adhesive hooks at a comfortable height for keys, bags, and lanyards.
- 2Set a small tray or dish on a nearby surface as a drop spot for keys and loose change.
- 3Add a labeled bin per family member for hats, gloves, or mail.
- 4Hang a wall basket for items that need to leave with you the next morning.
Garage & Workshop Storage
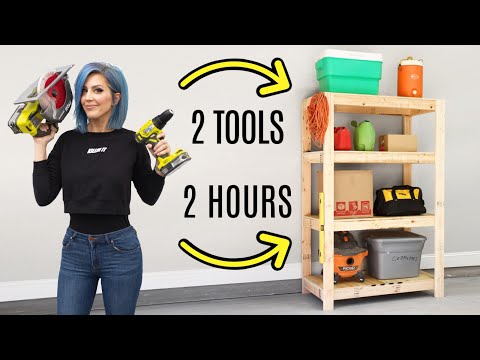
The garage and workshop reward visible, grab-and-go storage. Jars for hardware, hooks for hand tools, and labeled bins for supplies keep a workspace tidy and fast to use. For more tool and workspace projects, the Workshop category has dedicated ideas.
Materials
Steps
- 1Sort hardware — screws, nails, fasteners — into clear jars so contents are visible at a glance.
- 2Mount hooks on a wall or board to hang frequently used hand tools.
- 3Use stackable bins for bulkier supplies, keeping the heaviest on the bottom.
- 4Label every jar and bin so anything can be found and returned quickly.
Smart Shopping & Final Thoughts
- →Buy in multiples for a uniform look. Matching containers are the single biggest factor in making budget storage look polished and deliberate.
- →Measure before you shop. Storage only saves space when it fits the shelf, drawer, or cabinet exactly, so bring your dimensions along.
- →Customize to match your home. Paint, contact paper, and labels turn generic basics into pieces that suit your style for just a little extra effort.
- →Start with one room. Tackling a single space first builds momentum and proves how much a few dollars can accomplish.
Getting organized does not require a big budget or a weekend-long overhaul. With a handful of affordable supplies and a little creativity, Dollar Tree storage projects can bring real order to any room in the house. Pick the space that bothers you most, grab a few matching bins on your next trip, and enjoy the calm of an area that finally works the way you want it to.