What You'll Need
So you want to paint your kitchen cabinets. It's one of the most dramatic things you can do in your home – better value, better looks, better durability. But it's also a ton of work. I'm going to walk you through every step so you don't screw it up.
First thing: not all cabinets are the same. You've got the doors and you've got the box (the cabinet frame). In my case, the doors are solid wood and the box is melamine (particle board with a vinyl finish). You need to treat each surface differently.
Solid wood is simple – it's wood, you paint it. But that door might have a stain on it. Could be water-based, could be oil-based. That matters because no matter how much you sand oak, you'll never get all that stain out of the grain. You need to know what you're dealing with before you pick your products.
Here's the trick: grab some nail polish remover with acetone (or straight acetone from the garage) and rub it on the surface. If the finish comes off, it's water-based. If it doesn't, it's oil-based. Problem solved.
- Orbital sander (vibrating or circular)
- Sanding sponge
- Sandpaper: 120 grit and 220 grit
- Steel wool (4/0 grade)
- Degreaser or TSP
- Blue shop towels
- Nitrile gloves
- Paint tray (with liner or garbage bag hack)
- 10mm microfiber roller
- Angled brush
- 5-in-1 tool
- Transition primer (I use Dulux)
- Melamine paint (or high-quality latex)
- Shellac-based stain blocker (like Kilz aerosol)
- Ziploc bags (freezer bags are best)
- Marker
- Painter's tape
- Drop cloths (black garbage bags work great)
Step 1: Remove Everything
Take all the doors off. Don't try to paint them in the kitchen – you still need to live there and eat. Set up a workstation in your garage, basement, or even your living room with tarps down.
Number every door and drawer. Start at the top left, go left to right like reading a book. Put a piece of tape on each one and mark the number. This saves you from having to readjust all your hinges later.
Most modern hinges have a quick-release tab – just pop them off. If not, you might need to undo screws. IKEA hinges have a locking cam mechanism – pry that up with a knife and they pop out. Leave the plastic plugs in the wood – they're important for the screws.
Remove handles and any little rubber bumpers on the doors. Put all the screws and hardware in a Ziploc bag, mark the bag with the door number. If your hardware is in good shape and you're keeping it, this is quick. If it dates your kitchen, now's the time to plan for new hardware – you'll need to fill old holes and drill new ones.
Step 2: Clean Everything
Don't start sanding until you've cleaned. If you sand into grease, you'll grind it into the grain and trap it there. Your paint will look terrible.
Use TSP (trisodium phosphate) or an all-purpose degreaser. Spray it on, wipe it off. Check your rag – if it's coming up clean, you're good. Most of the dirt will be around the handles from people's hands.
Step 3: Sand the Doors
For solid wood doors: use 120 grit on your orbital sander. You're not trying to strip it back to bare wood – you just want to scuff the surface so the primer can grab. Don't over-sand. Do all the edges and the back too – that one time someone's ring scratches across the back, you'll be glad you prepped it.
For the detailed panels, use a sanding sponge to get into the grooves. Press it in and work the detail.
Wear a mask. If you're dealing with old cabinets or solvents, get a proper respirator.
When you're done, wipe the surface with a damp cloth or blow it off with an air compressor to remove dust.
Step 4: Prime
For the detail work, I use a shellac-based spray primer (Kilz). This saves time because you can hit all the grooves in minutes. Just be careful – it will drip. Wipe any runs immediately.
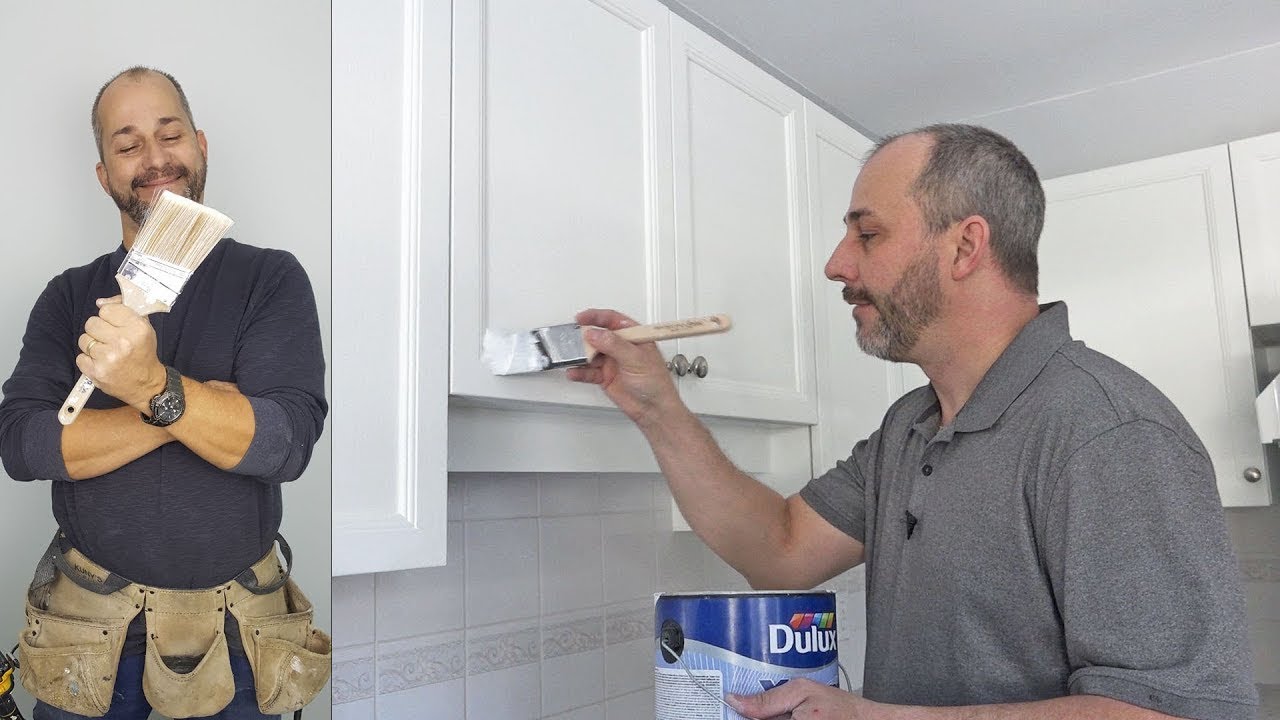
For the flat surfaces, use a brush and roller. I prefer a 10mm microfiber roller over foam rollers – foam picks up air bubbles and leaves texture. Use a 5-in-1 tool to open the can and clean the roller.
Here's the technique: fill your brush from the inside, not the outside. Start at the edges and pull toward the middle. Get the paint into the cracks where the wood pieces join. Don't try to fill those cracks with caulk – it'll look terrible.
For the flat surfaces, don't load up the roller. Dry roll it – you want just enough paint for coverage, not so much that it drips off the edges. Stretch the paint out over the surface and let it self-level.
Let the primer dry completely – at least a couple hours. Overnight is better.
Step 5: Sand Between Coats
Switch to 220 grit. You're not trying to remove paint – you're just taking off any bumps, dust nibs, or ridges. Light touch.
Use a sanding sponge for the grooves and corners. When you're done, tack cloth or air blast the dust off.
Step 6: Paint
I use Dulux melamine paint – it's super durable, self-levels nicely, and gives that smooth finish without being too glossy. You don't need a separate lacquer coat.
Same process as priming: cut in the edges with a brush, roll the flats. Less is more. The paint will spread out as it dries.
Do two coats. Let the first coat dry 5-6 hours or overnight. Sand lightly with 220 between coats.
Step 7: Handle the Vinyl Surfaces
Your cabinets will have fillers, valances, microwave shelves, and exposed sides made of MDF with a vinyl skin. You can't sand these with a mechanical sander – it'll eat right through.
Use steel wool (4/0 grade) to scuff the surface. Rub in circles. You're just creating enough texture for the primer to bond.
Then prime and paint just like the doors. The transition primer will bond to anything.
Step 8: Paint the Drawer Faces In Place
If your drawer faces are stapled on (common with particle board drawers), don't try to remove them – you'll destroy the drawer. Leave them in place and paint them with the cabinet.
Remove the handles and bumpers. Clean, scuff with a sanding block (don't use the orbital – too much dust in the kitchen), and paint. Cut in the edges with a brush, roll the flats.
Step 9: Reinstall and Touch Up
Let everything cure for a day before reinstalling hardware. Wait a few weeks for the paint to fully cure – you'll see some stain bleed-through from the oak sap. That's normal. Hit those spots with a shellac-based stain blocker (Kilz aerosol).
If you're reinstalling doors, expect to spend a couple hours leveling them. Be patient.
Tips
- If you're using a dark color, tint your primer to match – it saves coats and prevents bleed-through.
- Keep a little paint stored for touch-ups. Since you don't have a lacquer coat, touching up is simple.
- On a sunny day, check your work in natural light – you'll see spots that need another light coat.
- The whole project took me about 3-4 days, mostly waiting for drying time.
Total material cost was under $100 for primer, paint, and new bumpers. Not bad for a brand-new kitchen.