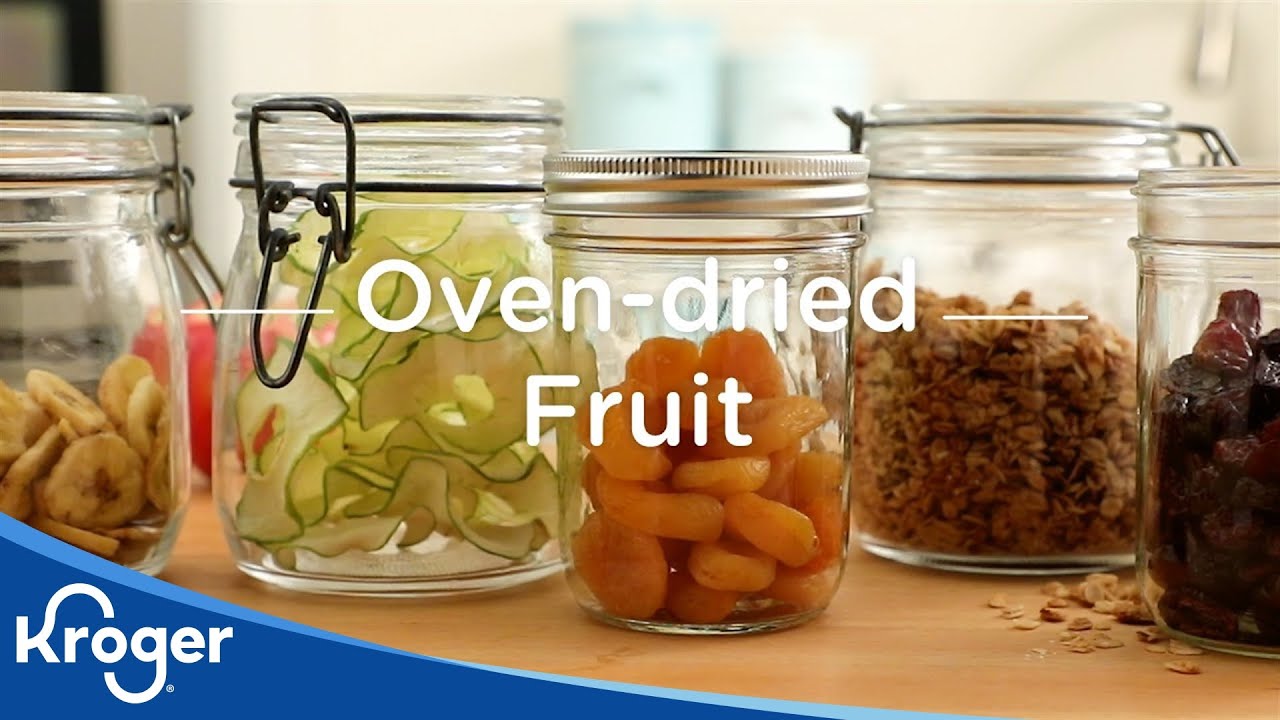
What You'll Need
You don't need a fancy dehydrator to preserve summer fruit. Your oven works just fine.
- Fresh, ripe fruit
- Baking sheets
- Parchment paper
- Airtight containers for storage
Step-by-Step
1. Prep your fruit

Wash everything well. Remove stems, seeds, and pits. Cut away any bruised spots. Slice your fruit into even-sized pieces — this is the most important part for consistent drying. If some pieces are thicker than others, they won't finish at the same time.
2. Arrange on baking sheets

Line your baking sheets with parchment paper. Lay the fruit in a single layer. Don't overlap pieces or they'll take forever to dry and might spoil before they finish.
3. Set your oven low

Crank your oven to 175°F. That's the sweet spot — hot enough to dry, low enough not to cook the fruit.
4. Wait (and check)

This takes 4 to 12 hours depending on what you're drying. Check at 3 hours to see how things are going. Rotate your pans every few hours — even at low temps, ovens have hot spots.
Thin apple slices might be done in 4 hours. Whole pitted cherries? Plan on 8 hours or more. The thicker the piece and the more moisture it holds, the longer it takes.
5. Cool completely before storing

This isn't optional. If you seal warm fruit, condensation forms inside the container and you'll get mold.
6. Store smart

Some dried fruit still has enough moisture to grow mold at room temperature over time. For the longest shelf life, put your dried fruit in airtight containers and stick them in the fridge or freezer.
That's it. No dehydrator required.