What You'll Need
I've installed over 200 backsplashes and about 10,000 square feet of flooring. This is the method I actually use. No theory, no guesswork — just what works.
- Ceramic tile (buy for the space, not the other way around)
- Type 1 premixed adhesive (fine for kitchens, skip it for wet areas)
- 1/8" tile spacers
- V-notch trowel (1/4" x 3/16")
- Laser level
- Grinder with tile blade
- Roto-zip or drywall saw
- Stud finder
- Marker or wax pencil
- Grout (unsanded, no sealer or hardener added)
- Grout sealer (water-based)
- Microfiber cloths
- Sponge
- Grout float
- Plastic edging (color-matched to your grout)
- Floating shelf brackets and wood
- Construction screws
- 2x6 lumber for blocking
Before You Even Buy Tile
Measure your space first. This is the biggest secret in the industry — buy tile that fits the space, don't cut tile to fit the space.
The wall I'm tiling is just under 56 inches tall. I found a tile that's a little over 7-3/4 inches. Eight divides into 56 perfectly. When I add my 1/8" spacers between each tile, the math works out so I get full tiles on top and bottom.
If you're tiling under cabinets — most kitchen cabinets sit at 18 inches — buy tile that's just under 3 inches. That gives you five full pieces to the cabinet with grout lines. Don't buy 2-1/2 inch tile for an 18-inch space. You'll end up with half-cuts everywhere and it'll look terrible.
Check your walls. I put a long level on this wall and found a hump in the middle. If I installed horizontally, the tile would follow that curve and look like garbage. Going vertical solves that problem — vertical stack eliminates lippage issues because you're not fighting wall bows.
Check your corners. Inside corners are never square. I dropped a laser in the corner and found it opens up about 1/4 inch from top to bottom. That means I need to start my tile on a line that accounts for this gap, not fight it all the way up.
Step 1: Layout and Planning
Find your studs. Mark every stud location. I'm installing floating shelves, so I need solid backing. Those plastic wall anchors that come with shelf brackets? Don't trust them.
Find your center. The counter is 93-1/4 inches wide, so the center is 45-1/2 inches. But here's the thing — your tile center and your counter center probably won't match. I laid out my tile physically on the counter and found that working from the counter center would leave me with cuts on both ends. Instead, I measured 45 inches from the corner where I'm starting and made that my tile center.
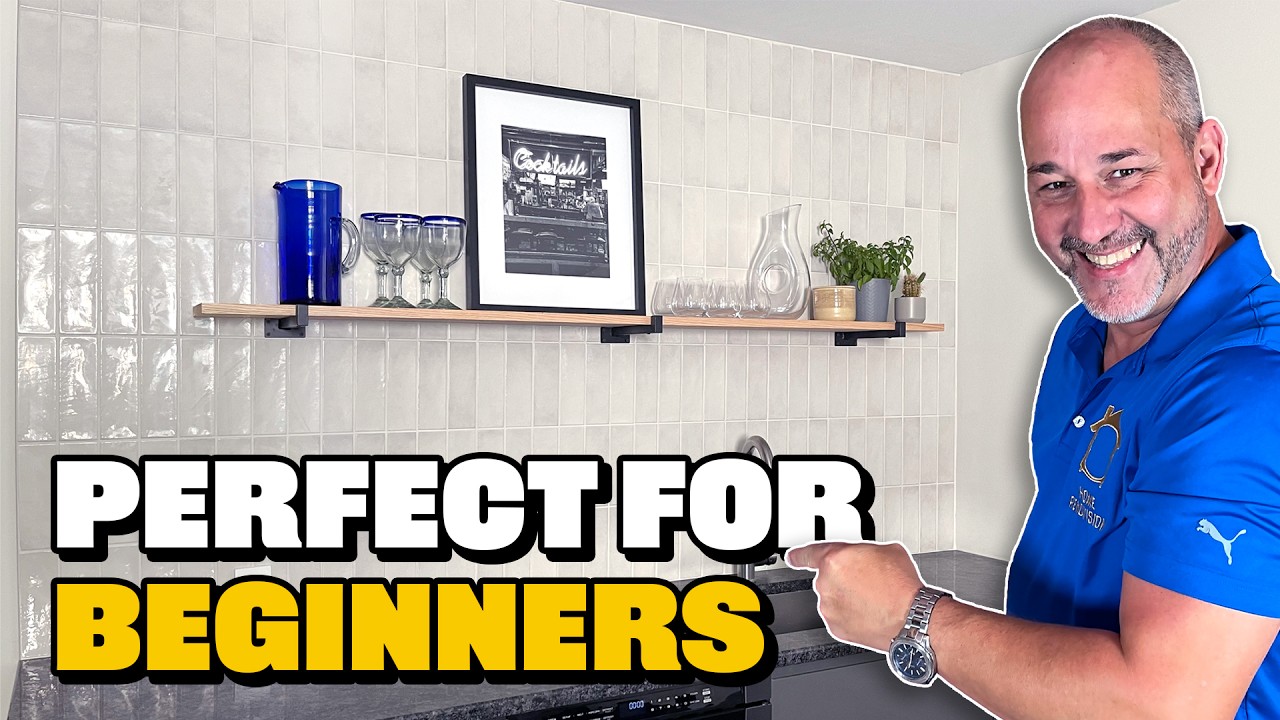
Mark your shelf locations. I'm putting a 6-foot shelf on an 8-foot counter. One bracket goes dead center of the finished tile. The other two go at the ends. I measured 6 inches in from each end of the shelf for bracket placement. The height? Three tiles up with spacers puts me at about 24 inches. That's a good height for a shelf.
Install blocking. I cut open the drywall where the brackets go, installed 2x6 blocking between the studs, and patched it up. Each block gets four construction screws rated at 80 pounds shear strength each. That's over 2,000 pounds of load capacity. This shelf isn't going anywhere.
Step 2: Install the First Row
Set your laser. I'm starting from the corner where the wall is straight. My first tile goes on that red line.
Apply adhesive. Use the V-notch trowel. The secret is using the right trowel size so adhesive doesn't squeeze out everywhere. If you're cleaning up adhesive from between tiles, your trowel is wrong.
Start the first row. I put adhesive on the wall, not the tile. Press the tile in, give it a gentle slide left and up — that keeps adhesive out of the gaps. Use spacers between every tile.
Leave a gap at the counter. I used wedges to lift the first row about 1/16 inch off the counter. This allows for expansion and contraction, especially in a basement.
Cut around outlets. Measure, mark with a marker (it wipes off glazed tile), and cut outside with a grinder. Cut above the box so you can get the mounting screw in.
Step 3: Keep Going Up
Check your work constantly. Even though I'm using spacers, I check with my laser after every few rows. Tiles from different boxes can vary slightly in size. If you don't catch it, your lines will start to sag.
Transfer your marks. Before I grouted, I put tape on the tile and transferred my bracket center lines. This way I can find them again after the grout is done.
Finish to the ceiling. Because I did the math right, my last row of tiles hits the ceiling with a full tile. No cuts. If your ceiling isn't straight (most aren't), you can cheat your grout lines slightly — you've got about 3/16 inch to play with.
Step 4: Grout
Clean the tile first. Those tiles have a factory coating that looks like squiggly glue lines. It protects the tile during shipping but will ruin your grout job if you don't remove it. A sanding sponge works great on glazed tile — won't scratch it but knocks that coating right off.
Mix the grout. I use unsanded grout without a hardener or sealer. Start with slightly less water than the bag recommends — you can always add more. Mix for a full 10 minutes until it's creamy. If it's too thin, it'll shrink when it dries.
Apply the grout. Use your float on a 45-degree angle to push it into the joints. Work diagonally across the lines. Don't worry about getting it perfect — you'll clean it up in a minute.
Clean with a sponge. Use a circular motion to buff and polish the grout. Keep your sponge clean — change your water frequently. The goal is to have a clean tile with the grout slightly recessed in the joints.
Don't skip the corners. Use your finger to finish inside corners and around outlets. Big chunks of grout in corners look terrible.
Step 5: Seal and Finish
Let the grout dry. I waited about 3 hours. Then buff the haze off with a microfiber cloth.
Apply sealer. It's water-based and looks milky. Brush it into the grout lines. If you get it on the tile, wipe it off — it won't hurt glazed tile. I don't bother sealing at the ceiling because I'll use clear silicone there later.
Install the outlets. You'll need longer screws for the outlets since the tile made the wall thicker. Go buy 6-32 by 1-1/4 inch screws. And use those two-piece wall plates — they snap on and off and let you avoid drilling through tile.
Step 6: Mount the Shelves
Drill through the tile. Use a carbide bit. Start all your holes first to save the bit — the glaze wears it down faster than the ceramic. Once you're through the glaze, punch through the rest. Stop when you hit wood.
Mount the brackets. Don't tighten everything yet. Leave some play so you can adjust.
Attach the wood. Pre-drill with a 1/8-inch bit. Use coarse thread screws. Don't overtighten — you'll crack the tile.
Level everything. Use spacers or washers behind the brackets if the wood has a twist (it probably does — it sat at Home Depot for who knows how long).
A Few Things I Learned the Hard Way
Buy extra tile. If you need 40 square feet, buy 50. You'll have cracked corners, bad cuts, and that one box that got dropped. Returning extra tile is easier than running to the store mid-job.
Don't use colored silicone. I tried matching silicone to grout for years. It never looks right. Just grout everything and use clear silicone at the ceiling and counter. Keeps the grout from cracking and looks consistent.
Skip the "all-in-one" grout. Lowe's sells Ultracolor grout that has sealer built in. Sounds great until you realize you have 15 minutes to work with it before it sets. On a small wall like this, fine. On a shower with three sides? Forget it. Use regular grout and seal it after.
Check your boxes. Not every box of tile is the same size. Open a few boxes and measure before you start. If one box runs 1/16 inch smaller, your lines will collapse by the time you're across the wall.
The whole job took two afternoons. Most of the first day was planning and prep. The actual tiling was the easy part. That's how it should be — measure twice, cut once, and buy the tile that fits the space.