
What You'll Need
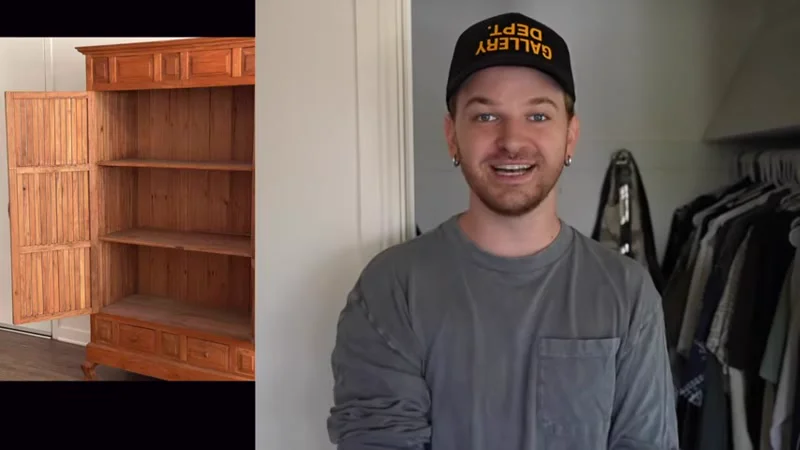
I walked into my closet this morning and almost tripped. Not because I'm clumsy — because my entire floor was covered in shoes. Clothes piled up on both sides, stuff everywhere. And then I found it: a vintage armoire on Facebook Marketplace for $400.
That's the whole reason this makeover exists. I saw it, I wanted it, and I figured it could fix my shoe storage problem. So I grabbed my camera guy (Justin), we drove out to pick it up, and I decided to turn this into a weekend project.
Let me show you how it went.
- Vintage armoire (or any large cabinet for shoe storage)
- 1x4 boards (for bracket supports)
- Wooden dowel (for clothing rods)
- Clothing rods (I picked these up at Lowe's)
- Paint (Sherwin Williams Antiquarian Brown — historic color collection)
- Joint compound (for patching holes)
- Sandpaper
- Brad nails and screws
- Drill with large drill bit
- Jigsaw
- Laser level
- Metal hangers (chrome/silver to reflect light)
- Shoe stackers (Amazon, 24 for $30)
- Push-in light fixture (Amazon, star motif)
- French bamboo mirror (vintage find)
Step-by-Step Guide
Step 1: Clear Everything Out

Before I could do anything, I needed to empty the closet. I moved all my clothes to the guest room bed. If you're doing this, start by purging. I'd already gone through everything recently, so that part was done — but if you haven't, do that first. Donate, sell, keep.
I also removed the old cedar box that was original to the house. It was in the way, so it had to go. Patched the holes with joint compound, sanded it smooth, and cleaned up.
Step 2: Paint
I wanted something unexpected — brown. Not just any brown, but Sherwin Williams Antiquarian Brown. It's a warm, moody color that looks almost copper in certain light. I'd used it before on a hutch, and I knew it would make the closet feel like a cozy 70s dressing space.
Two coats on all the walls. Small room, went quick.
Step 3: Build Custom Hanging Rod Brackets
Here's where I got clever. I measured the rod distance in another closet — 12 inches from the wall. So I cut my 1x4s down to 15 inches, then cut four pieces total.
I traced the dowel onto each piece, then drilled a hole using a large drill bit. On two of them, I cut a channel with my jigsaw so the rod could slide in from the side and drop down into place. Don't stress if your cut isn't perfect — as long as the rod fits, you're good.
Step 4: Install the Rods

I wanted jackets and pants on the bottom, tops on top. Grabbed a longer jacket, held it up, marked the height with my laser level. Mounted the brackets with brad nails first (just to hold them), then added screws for real support.
Slid the rod into one bracket, dropped it into the channel on the other side. Level. Perfect.
Added a second bar above it using the same method. Now this one wall holds more clothes than the entire closet did before.
Step 5: Add the Shelf
I repurposed the old shelf from the other side. It was two pieces nailed together, so I cut them down, painted them, and installed a back brace to hold it up. Now I have storage space on top for baskets.
Step 6: Swap the Light
The closet had a pull-chain light. I found a cute star-motif push-in fixture on Amazon. Super easy swap — just pulled the old one out, put the new one in.
Step 7: Bring in the Armoire
This was the big moment. We carried it in, and it fit perfectly flush against the wall. The sides are slatted, which means ventilation for the shoes — I didn't even know that when I bought it. Bonus.
Step 8: Organize Everything

I transferred all my clothes onto the new chrome hangers. They're thick, not flimsy wire. They reflect light, which helps in a small, dark room.
For the shoes, I used those stacker clips that let you store pairs on top of each other without them touching. They adjust to different heights. Boots on top and bottom shelves, smaller sneakers in the middle. Everything fit.
Bottom drawers hold belts on one side, ties on the other. Snow clothes go in a vintage basket on top.
Step 9: Final Touches

I've got a lot of hats — saves me from doing my hair every day. I put them on a serving tray on top of the armoire. Pull it down, pick one, pop it back up.
The French bamboo mirror was the last piece. I'd had it in my booth at a vintage shop for months and nobody bought it. Brought it home, hung it on the back wall. Looks incredible.
Added a little stool at the bottom, and I'll put baskets on top of the armoire for legal papers and tax stuff.
The Reveal
Three, two, one — and that's it. The floor is clear. The shoes are contained. I have more storage than I know what to do with.
This whole thing took a couple of days. If you're looking for a weekend project, start with your closet. You can get creative in there, and if it's not perfect, close the door and fix it later.
But honestly? You're going to love it.