What You'll Need
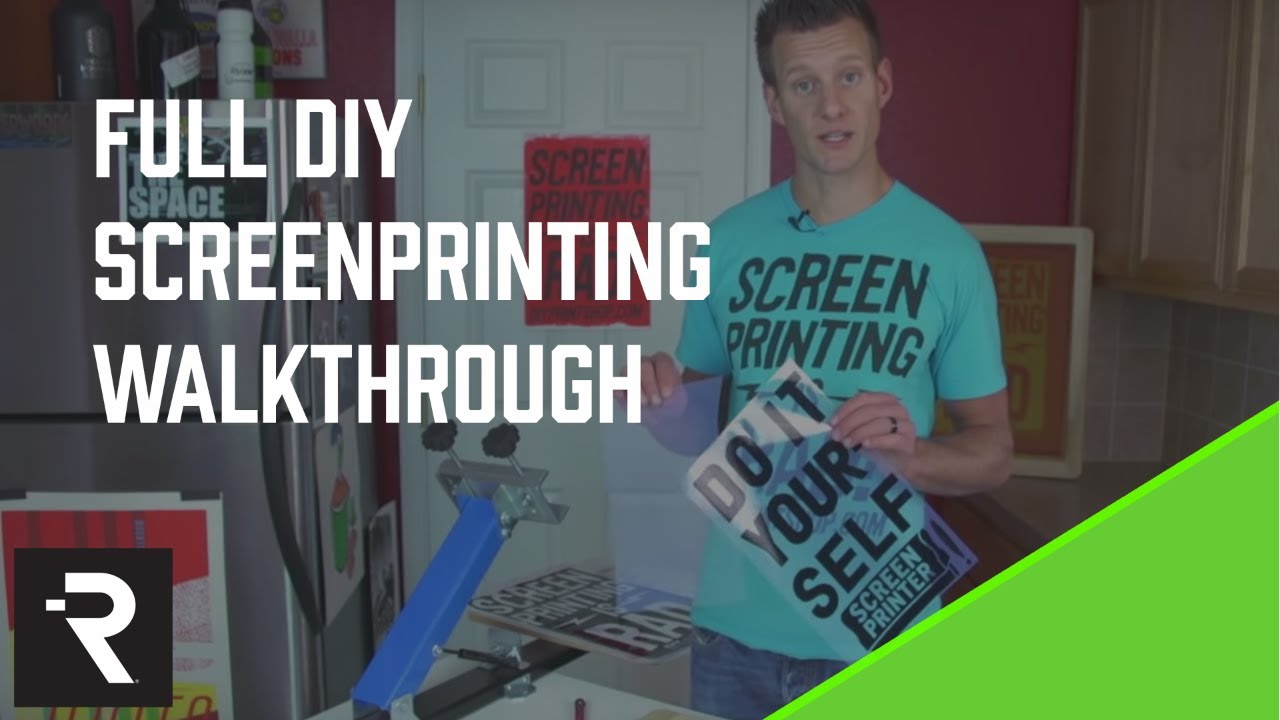
Screen printing is one of those things that seems way more complicated than it actually is. I learned it in my kitchen and garage without any of the fancy gear, and it's actually pretty straightforward once you understand the basic process.
Here's how it works: You coat a screen with light-sensitive emulsion, put your design on it, expose it to light, wash out the unexposed parts, and then push ink through the open areas onto a shirt. That's it.
Let me show you how to set up and do this yourself.
From your DIY kit:
- Screen printing screen
- Hinge kit or press
- Squeegee
- Emulsion and scoop coater
- Ink
- Exposure bulb
- Light-safe yellow bulb
- Degreaser
- Tape
- Teflon paper
Household items you need to grab:
- 1/2-inch or crescent wrench
- Power drill or screw gun
- Light fixture or desk lamp
- Tape measure or T-square
- Sharpie or opaque black marker
- Iron or heat gun
- Black trash bags
- Heavy-duty paper towels
- Scotch tape
- Rubber gloves
- A T-shirt
Setting Up Your Press
Hinge Kit Assembly
Your DIY hinge comes apart. The male end attaches to your table, and the female end goes on the screen frame.
Take two male ends and use them as spacers under the frame. Place the female end on the notch of the wood frame and screw it in. Put the male part back in, line it up where you want it on the table, and screw those two down.
Press Setup
If you're using a one-color press (the four-color works the same way), start with the screen clamp. Put the clamp brackets and off-contact adjustments so the large side faces down at the bottom and the large side faces inside the clamp. Set them at midpoint, add washers and nuts, hand-tighten.
Put the clamp on the print arm. Top bolt goes in without a spacer — nut on the outside, hand-tighten. Bottom bolt gets a spacer, squeeze it in, add washer and nut. Hand-tighten.
Attach the shock by pressing the receiver onto the ball. It'll pop right in.
For the platen, flip the press upside down. Put the platen on the edge of a table, hold it with one hand, and screw in one screw to get a base. Then put the rest of the screws in.
Mounting to a Table
Keep the press roughly waist-high. The platen should hang off the table by about 3-4 inches. Screw it down to something solid. If you're working in a kitchen, attach it to a big piece of wood and clamp it to the counter so it doesn't move.
Making Your Screen
The Exposure Process Explained
When you expose a coated screen to light, the emulsion hardens. Your film positive blocks light where your design is, leaving that area unexposed. Those unexposed parts wash out with water, creating the open areas ink will travel through.
Printing Your Film
Use inkjet waterproof film on an inkjet printer. The film has two sides — the slightly sticky side is the inkjet receptive side. Lick your finger and touch it; the sticky side is the one to print on.
Set your printer to best quality photo with premium glossy photo paper. This lays down the most ink for the darkest, most opaque film. Design black images or text on a white background.
Start with solid images, not gradients. You can also draw directly on the film with a Sharpie if you want to add or adjust things.
Add a center line to your film. Fold it in half and make tiny creases at top and bottom, then mark with your Sharpie. Do this after printing so the crease doesn't mess up your printer.
Degreasing the Screen
Take your screen to the sink. Fill the degreaser bottle with water. Spray some on the wet screen — just a few squirts. Scrub with a brush, including the frame and hinges. Rinse well with lukewarm water (not scalding hot). Let it dry in a clean area with a fan. If you dry it outside or near a dirty fan, you'll blow dust back into it and undo all that work.
Mixing Emulsion
This needs to happen in a light-safe environment. Use the yellow bulb that came in your kit — it doesn't put out UV rays. Cover any windows with black trash bags.
Open your emulsion. Mix the diazo activator with distilled water — fill the little bottle halfway, cap it, shake aggressively. Dump that into the emulsion and stir until it's uniform in color. Leave the lid slightly open to let air bubbles work out. Let it sit for about an hour.
The emulsion has a 3-month shelf life once mixed. Date it. You can store it in the fridge but never let it freeze.
Coating the Screen
Use the sharp side of your scoop coater (the round side is for advanced applications). Fill it about a quarter full.
Put the screen on the edge of a table. Hold the scoop coater about a quarter inch from the bottom of the frame. Tilt the screen back and the scoop coater so the emulsion dams up against the mesh. Zip it upward — you want to hear that zip sound. Stop about a quarter inch from the top and saw it off.
Flip the screen and do the same on the other side. You're looking for a thin, smooth, glossy coat. If it's too thick, do a clean pass with an empty scoop coater to remove excess.
Let the screen dry face down with pieces of wood or kitchen items holding it up off the surface. A clean fan helps — 3-4 hours with airflow, about a day without. Humidity is your enemy here.
Exposing the Screen
Line your film up on the flat (shirt) side of the screen. For a one-color job, just center it roughly. For multiple colors, use a T-square to be precise. Tape it down with Scotch tape.
Put your exposure bulb in a desk lamp and position it about 12-14 inches above the center of the screen. Plug it in and start a timer for 9 minutes.
Developing the Screen
Take the film off. You should see your image faintly on the screen. If you don't, your emulsion is bad or your film wasn't dark enough.
Take the screen to the sink. Get both sides wet with lukewarm water and let it sit for about a minute. Spray from the flat side with as much pressure as you can — a strong shower nozzle works great. Don't let the screen get too wet or the edges will wrinkle and the design might wash away.
If some areas are stubborn, scrub gently with your hand. Once it's all washed out, tap the water off and let it dry. Sun works great. You can also put it back under the exposure light to bake the emulsion harder.
Printing Your First Shirt
With the Hinge Kit
Put the screen back in the hinges. Tape the edges of the screen on the inside so ink doesn't sneak around the frame. Put half the tape on the mesh, seam it against the wood, and apply it to the edge. Tape off any pinholes or center marks from the outside.
For off-contact, you need some space between the screen and shirt so the screen can bounce and lay ink down. Use a piece of cardboard or 1/4-inch plexiglass as a spacer under the screen.
To align your shirt, take a piece of cardboard or melamine, put some adhesive on it, and slide it inside the shirt. Center the shirt collar between the two hinges. The bottom of your design should be about three fingers (3 inches) up from the bottom of the shirt.
Applying Ink
Use water-based ink for this. Dip your ink card and lay a bead of ink near the edge of the screen, outside the image area. Flood the screen by pulling the ink across the image area. Hold the screen down with one hand and pull the squeegee toward you at about 75 degrees. Do two passes.
If you're printing more shirts, leave the screen flooded so the ink doesn't dry in the mesh.
Curing the Ink
This is critical. The ink has to reach 320°F or it won't stay on the shirt. Use an iron on the hottest setting with the Teflon paper between the iron and shirt. Go over each section for 90 seconds to 2 minutes.
You can also use a heat gun — about 30 seconds to a minute per section. You'll see steam coming out of the ink as the water evaporates.
Test by rubbing a wet finger on the design. If ink comes off, it's not cured yet.
Printing Posters
Level your press first. Use two wrenches. Push the screen all the way down, tighten the tilt screws. For off-contact, loosen the adjustment screws, put a 1/8-inch spacer under the screen, lower the screen onto it, then tighten everything down.
Draw a center line on your platen with a Sharpie. Align the center marks on your screen to this line.
Apply a little adhesive to hold the paper. Set your paper and center it. Flood the screen, then pull the squeegee. One pass should do it on paper with the higher mesh screen.
Cleaning Up
Scrape as much ink back into the container as you can. Wash the screen with warm water — water-based ink cleans up easily. Don't spray globs of ink down the drain.
If you're saving the stencil, don't get the screen too wet. If you're reclaiming the screen, use emulsion remover. Spray it on both sides, scrub with a brush (not the same brush you use for degreaser), and rinse with pressure. Never let emulsion remover dry on the screen.
What to Watch Out For
- Your film must be dark. If your printer can't do it, invest in one that can.
- Thin emulsion coats work better than thick ones.
- Off-contact is everything for white ink and dark shirts. An 1/8-inch gap changes everything.
- Curing is not optional. Test every time.