What's Wrong With the Super Simple Oscillator?
This is episode 2 of building a modular synthesizer from scratch. Last time we made the case and power supply. Now we're building a VCO — the thing that actually makes sound.
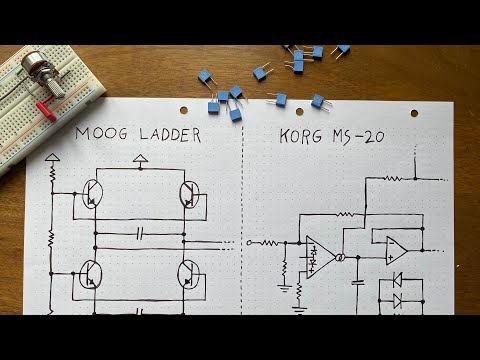
I've done videos before on the "super simple oscillator" — basically the most basic buzzer you can make with a handful of parts. But people kept asking how to turn that into something that plays actual musical notes. The bad news is that simple design gets stupidly complicated if you try to make it play in tune. So we're doing something different.
Real analog synth oscillators take a voltage input and output a frequency. Put in 1V, get a C note. Put in 2V, get the C an octave higher. This is called 1 volt per octave — an industry standard.
Each octave has 12 notes, so you're dividing that 1V into 12 precise chunks. That needs some complex circuitry to get right.
Luckily, Curtis made a chip in the early 80s called the CEM 3340 that does all this in one package. It was used in the Roland SH-101 and the Prophet 5 — serious synths. And it got reissued in 2016, so you can actually buy new ones.
I figured out the simplest possible circuit to make this chip buzz. Here's what we're building.
What You'll Need
The chip:
- CEM 3340 VCO chip
- TL72 op-amp (conditions the outputs so they don't freak out when plugged into things)
Passive components:
- Resistors and capacitors (check the layout for exact values)
- 1 trim pot (for tuning)
- 1 potentiometer (the twisty knob)
- 2 IC sockets
Hardware:
- Stripboard (leave plenty of space — we're adding features later)
- 2 jack sockets
- Power connector for your synth case
- Wire
- Panel (20cm x 10cm)
- Knob for the potentiometer
Step-by-Step Build
1. Prepare the Panel

Mark your pilot holes with a Sharpie. Drill them out with a big drill bit so everything fits through. Sand the panel down so paint will stick, spray it, and leave it to dry.
2. Start the Stripboard

Print out the stripboard layout. Use a Sharpie to mark where every component goes.
Start with the biggest parts — the IC sockets. Split the copper tracks underneath the socket with a drill bit so electricity doesn't jump between pins where it shouldn't. Solder them down.
Put the trim pot in next. Mark where it goes, solder it.
3. Work Your Way Down

Start with the jumper wires (they're long and easy). Then keep working through components from biggest to smallest — resistors, capacitors, everything.
4. Connect the Potentiometers and Jacks

Solder wires from the stripboard to your panel components. Wire it all up following the layout.
5. Mount Everything in the Panel

Screw the stripboard and jacks into the panel. Pop the knob on the potentiometer.
Testing — Did It Work?
I hadn't actually tested this stripboard layout before filming. So I plugged it in hoping for no smoke.
No smoke. Good sign.
Plugged it into speakers. Triangle wave came out smooth and clean. Switched to saw wave — nice and harsh. It works.
Tuning It to 1V/Octave
You need to tune the trim pot on the back so the oscillator actually tracks 1 volt per octave.
I used a BeatStep Pro because it outputs 1V/octave. Made a sequence bouncing between all the C octaves and tuned by ear until they were all an octave apart.
If you don't have anything that outputs 1V/octave — do you even need to tune it to that standard? Probably not. Just tune it to whatever sounds right.
What This Sounds Like
I swapped this single oscillator into my test rig — going through a filter and some other modules like a normal synth voice. It sounds proper. I actually took a prototype with three of these oscillators on tour and played a live gig with it. Stayed in tune the whole time.
What's Next
This is just the core module. I deliberately left loads of space on the stripboard because I'm working on add-ons:
- Square wave output with pulse width modulation
- Octave select
- FM input
- Sync
You won't need to modify the circuit you already built — just add on to it.
I'll be sharing stripboard layouts for these add-ons as I make them. For now, you've got a working VCO that plays in tune and makes proper music.