What You'll Need
I've been beta testing some new techniques with people around the world who tried the method from my last video. We found the pain points and fixed them. Here's the updated process that works with just household items and a few new tools I'll show you.
- Hair dryer or heat gun
- Razor blade
- OCA blade (ultra-thin flexible blade)
- Wire tool
- UV-curable glue (specially formulated for this)
- Gel pad (holds phone still during repair)
- IP68 tape (prevents glue overflow)
- Electric glue remover (optional but recommended)
- Spudger
- New front glass
Step-by-Step Guide
Step 1: Heat the Display

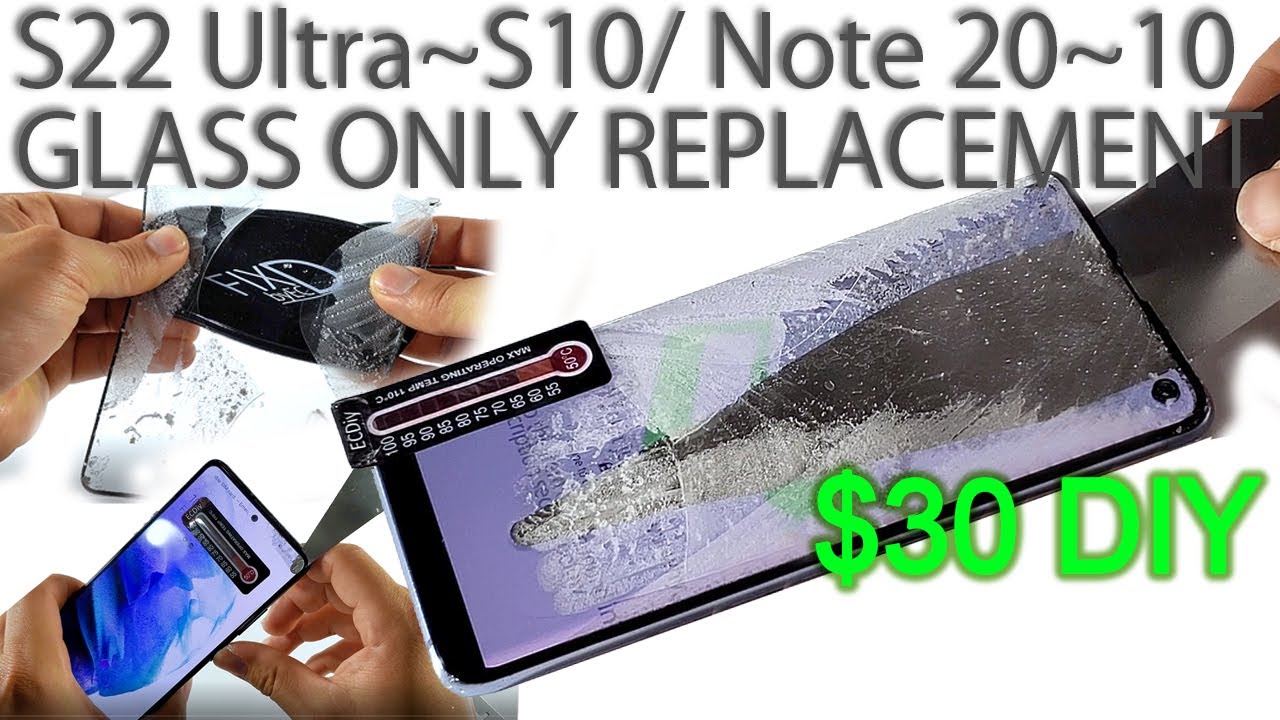
Heat the display near the top using a hair dryer or heat gun. The number one cause of failure was not having enough heat. The ideal temperature range is between 70°C and 90°C.
I found a neat trick — those coffee mugs where an image appears when you pour hot liquid? Same technology is now packed into a sticker that changes color when you hit the right temperature. You can move it around as you work. (Don't stick it on your partner to check their temperature. I tried. It works, but they get annoyed.)
Step 2: Insert the Blade

Insert a razor blade at the top where the glass meets the frame and pry it up. Slide the OCA blade into the opening.
The second most common mistake was inserting the tool wrong. Curl the tip of the blade a bit and lean it back as it enters so the tip just touches the underside of the glass. The tool should look like you're seeing it through clear glass — not like looking through tinted film.
The OCA blade is thinner than the adhesive layer on the phone. It's a little thicker than a thick human hair but sturdy enough to slice through adhesive once the heat softens it.
Step 3: Use the Wire Tool (New Method)

I learned that using the OCA blade and wire tool together is actually less tricky and faster. You've probably seen the wire tool used with expensive heating pad machines. You don't need that — the gel pad I developed holds the phone still, won't melt or distort from heat, sticks to any clean surface, and is reusable. Just rinse it under water and dry it.
Place the display down on the gel pad, apply heat, and use the OCA blade as a guide while the wire tool slices through the adhesive. Don't overheat the display — if you briefly hit 100°C it's okay, but more than a few seconds and you'll damage it.
For curved displays: Hold the OCA blade straight and slowly slice the adhesive up to the midpoint of the curved edge before inserting the wire tool. Otherwise the wire can catch and tear the display.
The three-section trick: Divide the display into three sections. The wire tool often gets caught on broken glass edges or the speaker grill cutout. When that happens, use the OCA blade to bridge two sections. Pull the wire under the OCA blade and it'll clear the obstruction.
Step 4: Remove Glue Residue

You can still use the OCA blade exclusively for this, but it's tedious. I use an electric glue remover — we sell a cheap battery-powered version. If you'll do this repair more than once, get one. Remove every trace of adhesive.
Step 5: Prepare for the New Glass

For phones S10 and newer where the camera is within the display area, you need to remove the back glass and take out the front-facing camera.
Apply the IP68 tape to prevent glue from overflowing into the camera and sensor areas.
Step 6: Apply Glue

Use a spudger to apply gentle pressure and seal the edges. Be careful not to press on the sensitive flex cable that runs across the bottom.
Dispense the glue in a dog bone shape. For S10 and up, add two drops on the other side of the camera too.
Step 7: Install the New Glass

Lower the glass slowly, one side at a time, to avoid bubbles. The best trick I learned: let the glue spread on its own. Do this on a level surface so it spreads evenly. Apply heat to speed it up.
The glue is hypersensitive to UV — even daylight on an overcast day is enough to cure it. On a clear sunny day it'll tack up in seconds and cure in under 5 minutes. We have a mini UV light if you want more flexibility.
Step 8: Cure the Glue

Once the glue has just filled the display area, expose it to daylight to cure. Done.
Tips for Success
- Practice on broken displays you find on eBay for $10-15
- This looks easier in video than it actually is — take your time
- A shop will charge as much as a new display, so you're not losing much if you mess up, but it'll sting your confidence
- Follow each step carefully
The old method still works if you prefer using just the OCA blade, but the wire tool method is definitely easier.