What You'll Need
I've been doing my own gel nails at home for years, and honestly? The results are just as good as what you'd get at a salon. The key is not skipping the prep work. Here's exactly how I do it.
- Nail polish remover or acetone + cotton balls
- Nail file
- Cuticle pusher
- Cuticle nippers/trimmers (optional but recommended)
- Gel primer
- Gel polish in your color of choice
- Gel top coat
- Rubbing alcohol
- LED or UV lamp
- Nail buffer (or an e-file if you have one)
Step 1: Remove Old Polish
Start with clean nails. If you have old gel polish on, remove it first. I've got a whole video on how to do that properly — the short version is you need to soak it off, not peel it. Peeling destroys your nail bed.
Step 2: Buff Your Nails
Buff the surface of each nail. I use an e-file because I have one, but a regular nail buffer works fine. This roughs up the surface just enough so the gel has something to grip onto later. Don't go overboard — you're not trying to sand them down, just take off the shine.
Step 3: Push Back Cuticles
Take your cuticle pusher and gently push back the skin on every nail. I switch between the flat end and the pointed end depending on the nail. Take your time here.
Step 4: Trim Cuticles (Optional but Worth It)
This step is optional, but I always do it because my manicure lasts noticeably longer when I do. If you've never trimmed your cuticles before, go slow. Don't rush. You will nip yourself if you rush. I'm not kidding.
If you don't feel comfortable cutting them, just push them back and moisturize with cuticle oil or even coconut oil.
Step 5: Shape and File
Clip your nails if you want shorter length, then file them to your desired shape. Here's something I learned the hard way: round the corners of your nails slightly. This prevents them from breaking or chipping later. Straight edges catch on everything.
Your nails won't look perfect right after filing. Wash them with soap and water to get rid of the dust, then check for any spots you missed. File those down.
Step 6: Alcohol Wipe
Wipe every nail with rubbing alcohol. This removes oil and any leftover residue. Your polish will adhere way better if you do this. Miss this step and your manicure might peel off in a day or two.
Step 7: Apply Gel Primer
Before you paint, apply a thin layer of gel primer. This dehydrates the nail even more and gives the polish something extra to stick to. Cure it under your lamp — usually about 45 seconds, but check your product instructions.
Step 8: Paint Your Nails
Now the fun part. I didn't use a base coat in this tutorial because I ran out. If you're using a light color, you can probably skip it too — the main reason for base coat is preventing staining and adding thickness. But if you have it, use it.
Apply thin layers. I cannot stress this enough. Thin layers cure better, look smoother, and don't bubble. I messed up a little on one nail and fixed it with my cuticle pusher — happens to everyone.
Cure between each layer. First coat will look transparent and uneven. That's normal. The color builds with the second, third, and sometimes fourth coat.
Step 9: Top Coat
Once you're happy with the color and thickness, apply your top coat. This is what gives you that glass-like shine and protects everything underneath. Cure it a couple times to make sure it's fully set.
Step 10: Final Clean
Gel polish leaves a sticky residue after curing. Wipe it off with rubbing alcohol. That's what takes it from tacky to glossy and smooth.
The Final Result
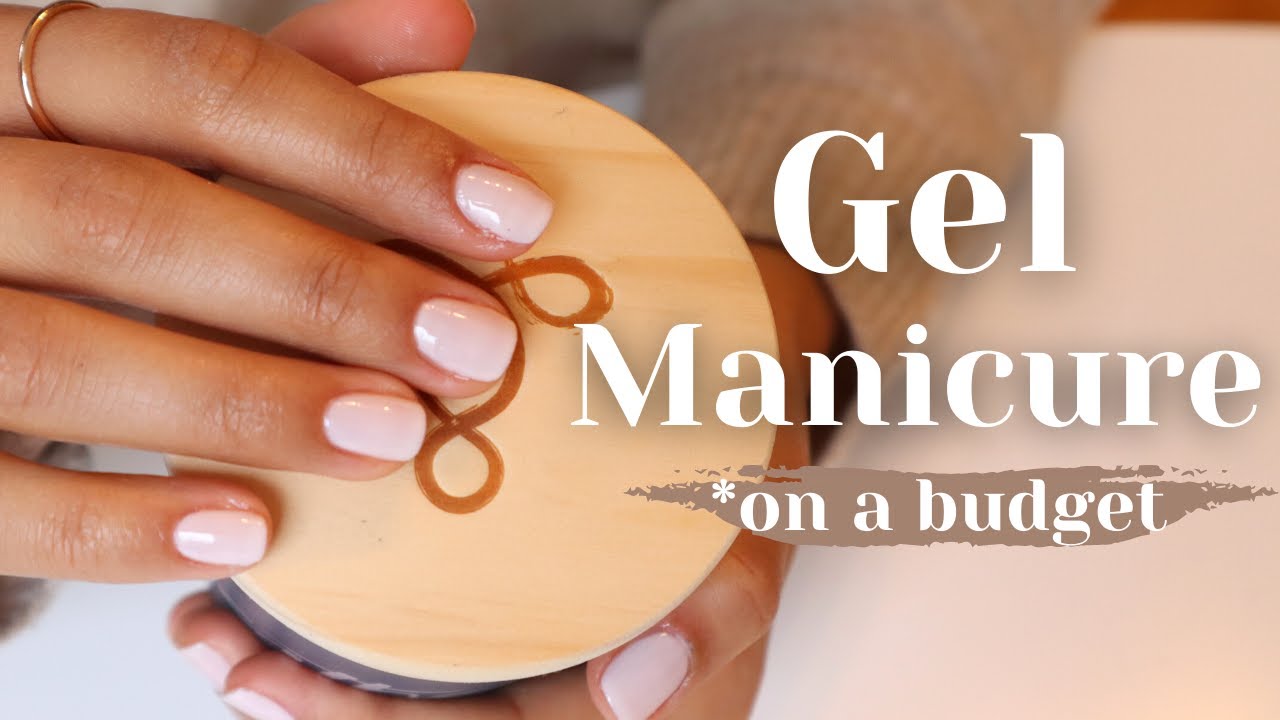
Clean, shiny nails that look professionally done. The whole process takes about an hour once you get the hang of it, and the manicure should last two to three weeks if you prepped right.