What You'll Need
Container gardening is one of the easiest ways to start growing your own food, even if you have limited space. Whether you have a balcony, deck, or just a small sidewalk, you can create a thriving garden with containers. Follow these 10 simple steps to get started.
Materials:
- Containers (various sizes with drainage holes)
- Quality potting soil or raised bed mix
- Seeds or transplants of your choice
- Organic fertilizer (fish emulsion or liquid seaweed)
- Mulch (straw, wood chips, or shredded leaves)
- Pot feet or small blocks (for hard surfaces)
- Watering can or hose with shower attachment
- Optional: Olla (clay watering vessel)
Tools:
- Trowel
- Gardening gloves
- Plant labels
- Notebook for garden journal
Step-by-Step Guide
Step 1: Choose the Right Location
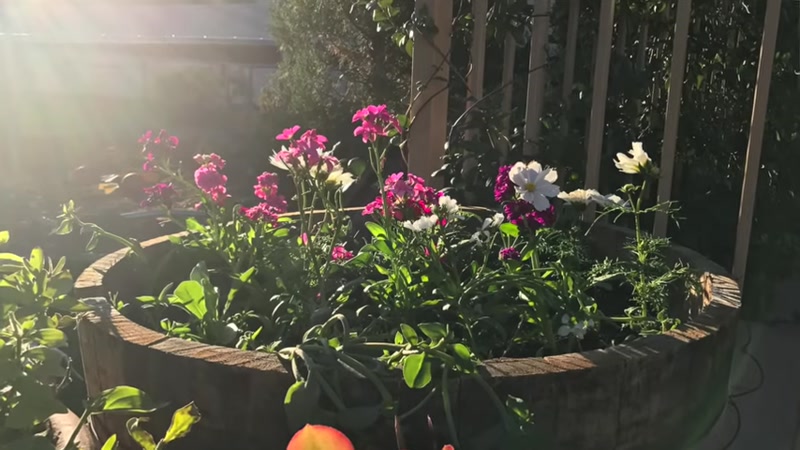
The most important factor for a successful container garden is sunlight. Look for a spot that receives at least 6-8 hours of direct sunlight daily. Morning sun is ideal because it's less intense than afternoon sun. Also, make sure your chosen location has easy access to water—you'll be watering frequently.
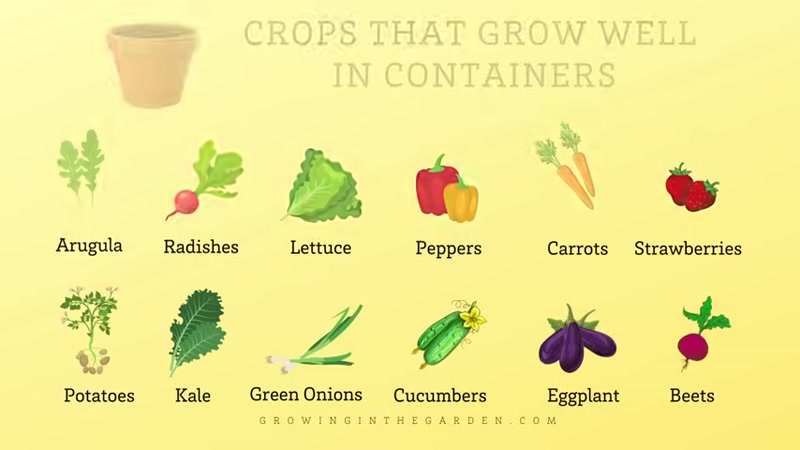
Step 2: Decide What to Plant

Make a list of vegetables and herbs you enjoy eating. Start with easy-to-grow options like lettuce, tomatoes, peppers, basil, or strawberries. Check a planting guide for your specific region to see what grows well during the current season. Consider trying one or two new things to expand your gardening experience.
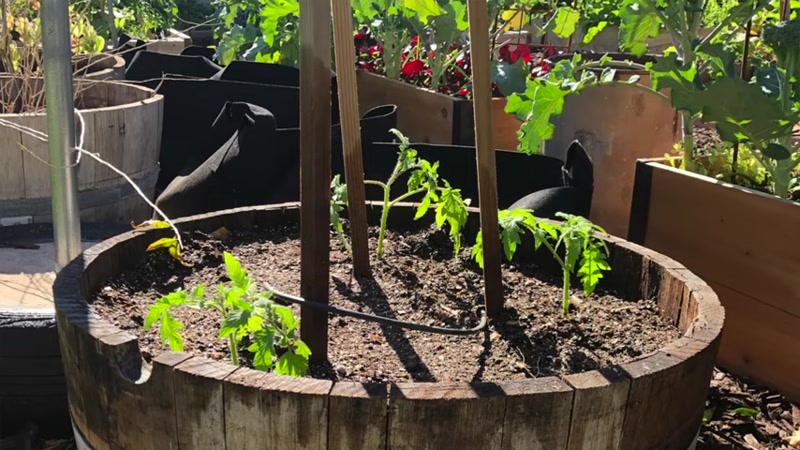
Step 3: Choose Your Containers
Size matters when it comes to container gardening. Here are general guidelines:
- Small pots (6-8 inches): Herbs, lettuce, radishes
- Medium pots (10-12 inches): Peppers, bush beans, dwarf tomatoes
- Large pots (14-20 inches): Tomatoes, cucumbers, squash
Critical: Every container must have drainage holes. Without them, roots will drown from excess water. If placing containers on a hard surface like concrete or decking, use pot feet to lift them slightly so water can drain freely.
Step 4: Fill Containers with Quality Soil
Never use regular garden soil in containers—it's too heavy and won't drain properly. Instead, buy a high-quality potting soil or raised bed mix. Look for a light, fluffy mixture containing:
- Compost (for nutrients)
- Coconut coir or peat moss (for moisture retention)
- Vermiculite or perlite (for aeration)
Fill your containers to the top—don't add rocks or filler at the bottom. More soil means more nutrients and water available for your plants. If using an olla (clay watering vessel), bury it in the soil now before planting.
Step 5: Plant Your Seeds or Transplants

Follow these three key rules when planting:
Spacing: Give plants enough room to grow. Crowded plants compete for sunlight and nutrients and are more prone to pests and diseases. Follow the spacing guidelines on seed packets or plant tags.
Transplant depth: Most transplants should be planted at the same depth as their nursery pot. The exception is tomatoes—plant them deeper as roots will grow along the buried stem.
Seed depth: Plant seeds at approximately twice their diameter deep. Keep the soil consistently moist until seeds germinate.
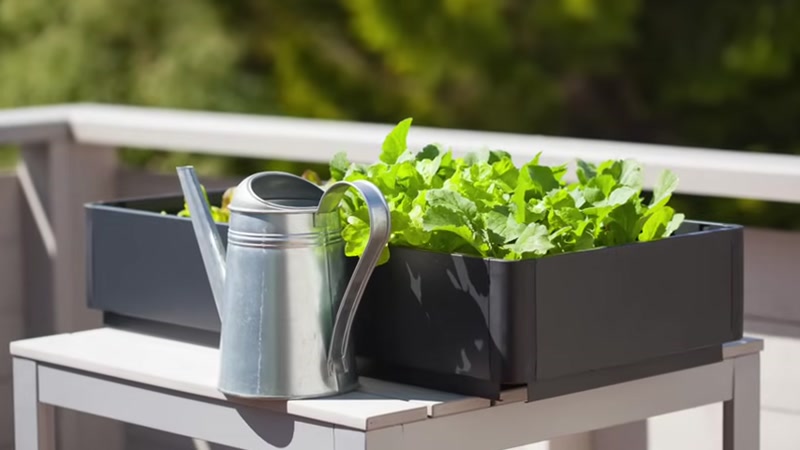
Step 6: Water Correctly

Container plants depend entirely on you for water since their roots can't reach deep into the ground. Here's how to water properly:
Check soil moisture: Push aside any mulch and stick your finger about 1 inch into the soil. If it feels dry, water. If still moist, wait.
Water deeply: Use a shower attachment to soak the entire container until water runs out the drainage hole. Deep watering encourages roots to grow downward, making plants more resilient.
Watch for signs: Droopy, wilted leaves mean you waited too long. Water the soil, not the leaves, to prevent disease.
Add mulch: A 1-2 inch layer of mulch on top helps slow evaporation and keeps soil moist longer.
Step 7: Fertilize Regularly
Container plants need more fertilizer than in-ground plants because nutrients wash out with each watering. Your potting soil will provide nutrients for the first few weeks. After that, feed your plants every 2-4 weeks with a water-soluble organic fertilizer like fish emulsion or liquid seaweed. Follow the dilution instructions on the package and apply as a soil drench.
Step 8: Inspect Your Garden Daily

Spend a few minutes each day checking your plants. Look for:
- Signs of wilting or water stress
- Pests on the undersides of leaves
- New growth and blossoms
- Yellowing or discolored leaves
Catching problems early makes them much easier to solve. Plus, daily observation helps you appreciate the small miracles of growth happening in your garden.
Step 9: Harvest at the Right Time
Learn the ideal harvest time for each crop you're growing. Generally, vegetables taste best when picked young and tender. Regular harvesting often encourages plants to produce more. Don't leave fruits and vegetables on the plant too long—they become woody, fibrous, and less flavorful.
Step 10: Learn from Your Experience

Gardening is a lifelong learning journey. Keep a simple garden journal noting:
- What you planted and when
- How each crop performed
- What problems you encountered
- What you'd do differently next time
Mistakes are excellent teachers. Each season you'll gain more knowledge and confidence.
Tips for Success
- Start small – Begin with 2-3 containers rather than overwhelming yourself. You can always expand next season.
- Group containers together – Plants in groups create a microclimate that retains humidity and makes watering more efficient.
- Use saucers under pots – Saucers catch excess water and protect surfaces, but empty them after watering to prevent root rot.
- Rotate containers occasionally – If your plants lean toward the sun, rotate pots every few days for even growth.
- Choose compact varieties – Look for "dwarf," "bush," or "patio" varieties of vegetables that are bred specifically for container growing.