What You'll Need
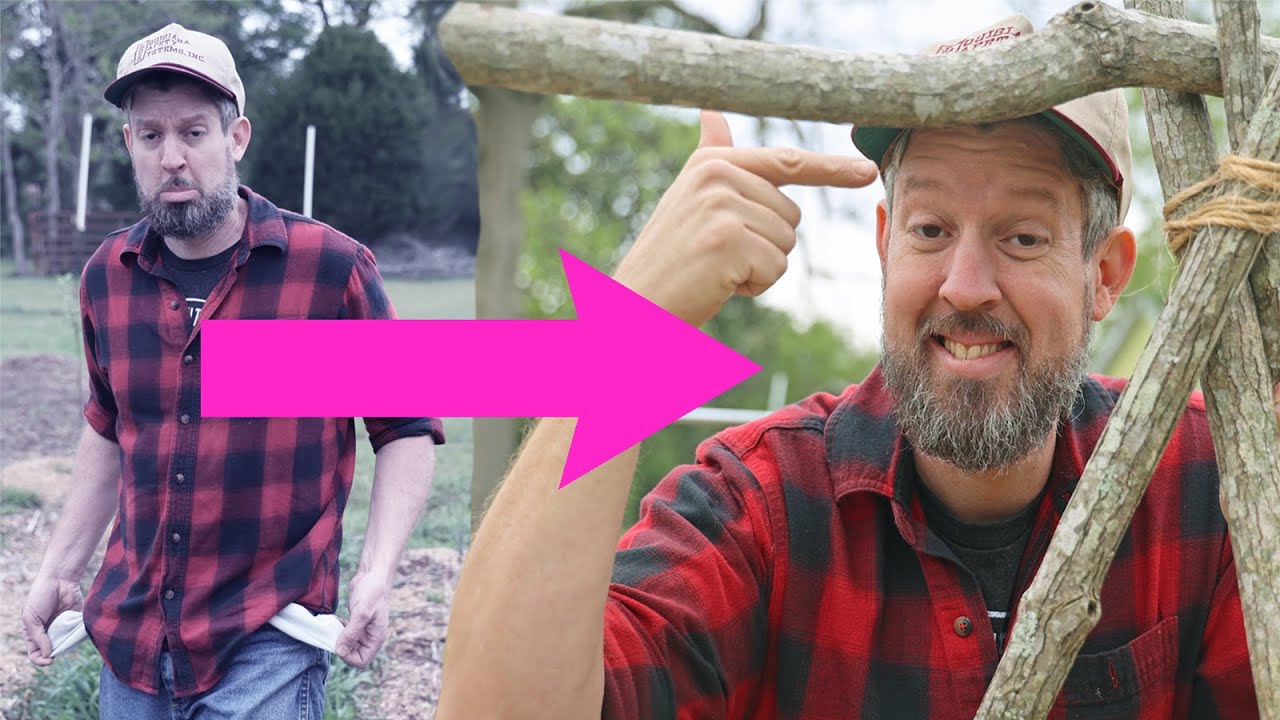
Looking for a budget-friendly way to support your climbing plants? You don't need expensive cattle panels or metal T-posts to create an effective garden trellis. With just some sticks, twine, and a little effort, you can build a rustic, biodegradable trellis that works perfectly for beans, cucumbers, and other vining crops. Here's how to do it for absolutely zero cost.
- Sticks or saplings (3 long pieces for the legs, 1 longer piece for the top bar) – find these for free in your yard, woods, or along roadsides
- Bailing twine or any sturdy string/rope – check feed stores for free discarded twine, or save it from hay bales
- A helper (optional but helpful for holding pieces while tying)
- A saw or pruning shears (to cut sticks to size)
Step-by-Step Guide
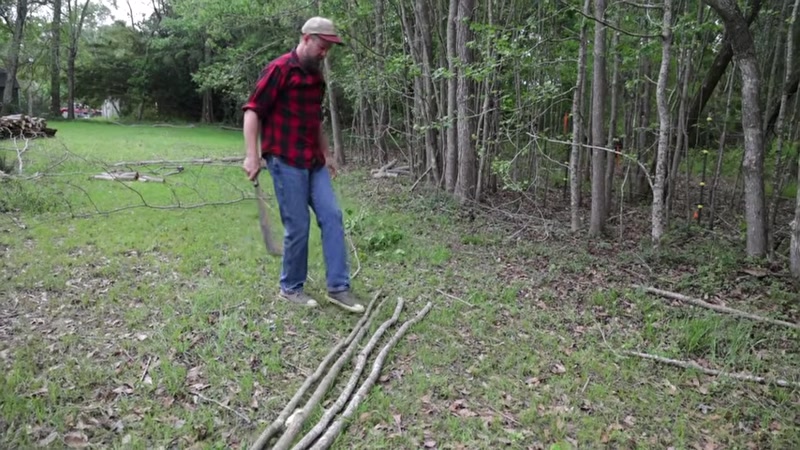
Step 1: Gather Your Sticks

Find three straight sticks or saplings that are roughly as tall as you are (about 5–6 feet for most people). These will form the legs of your trellis. Then find one longer stick—about 10 feet long—to serve as the top crossbar.
Step 2: Measure and Cut Your Legs
Hold one stick upright next to your body to mark the height you want. Since the trellis will lean at an angle, cut it slightly shorter than your full height. Use this first stick as a measuring guide to cut the other two legs to the same length.
Step 3: Prepare the Top Bar
Your longest stick (around 10 feet) will be the top beam that connects the three legs together. Trim off any branches or rough spots so it's easier to work with.
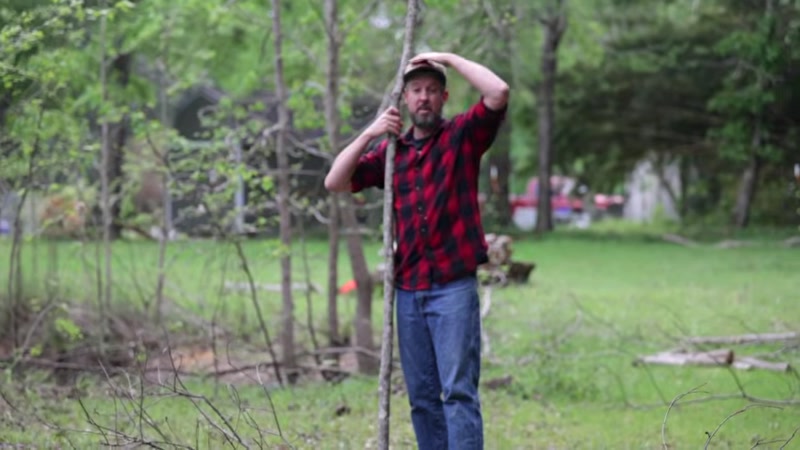
Step 4: Assemble the Teepee Structure
Arrange your three leg sticks in a tripod formation, with the tops meeting together. Have your helper hold them in place if possible. Lay the long top bar across the top of the tripod, angling it from one side to the other.
Step 5: Tie Everything Together
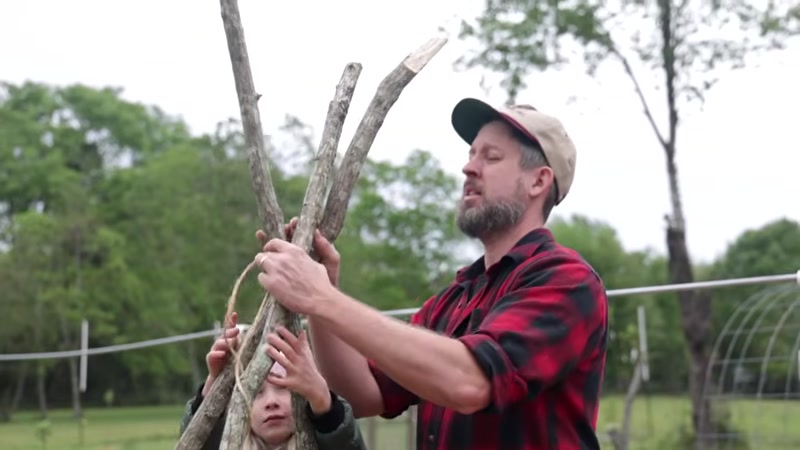
Using your bailing twine or string, tightly wrap and tie the three legs and the top bar together where they meet. Pull the twine as tight as you can and knot it securely. This connection point is critical for stability.
Step 6: Position Your Trellis
Place the completed trellis in your garden where you want it. Push the legs slightly into the soil for stability. The teepee should lean at a slight angle rather than standing perfectly straight.
Step 7: Add String for Climbing Support
Once your trellis is in place, tie additional strings from the top bar down to the ground at the base of each leg. These vertical strings give your plants something to climb. You can also run strings through the middle of the teepee for extra climbing surfaces.
Step 8: Expand Your Trellis System (Optional)
If you have a long row to cover, simply repeat the process to create multiple teepees in a line. Connect them with additional top bars or strings for a continuous trellis system.
Tips for Success
- Use green sticks when possible – Freshly cut saplings are more flexible and less likely to snap during assembly.
- Tie knots tightly – Loose connections will cause your trellis to wobble or collapse under the weight of mature plants.
- Angle the legs outward – A wider base makes the trellis more stable, especially in windy areas.
- Collect twine year-round – Save bailing twine from hay purchases or ask at local feed stores, which often throw it away for free.
- Soak dry sticks before bending – If your sticks are dry and brittle, soak them in water for a few hours to make them more pliable.