The Pattern
Here's the step-by-step crochet bucket hat tutorial, written in a conversational, DIY-blog style.
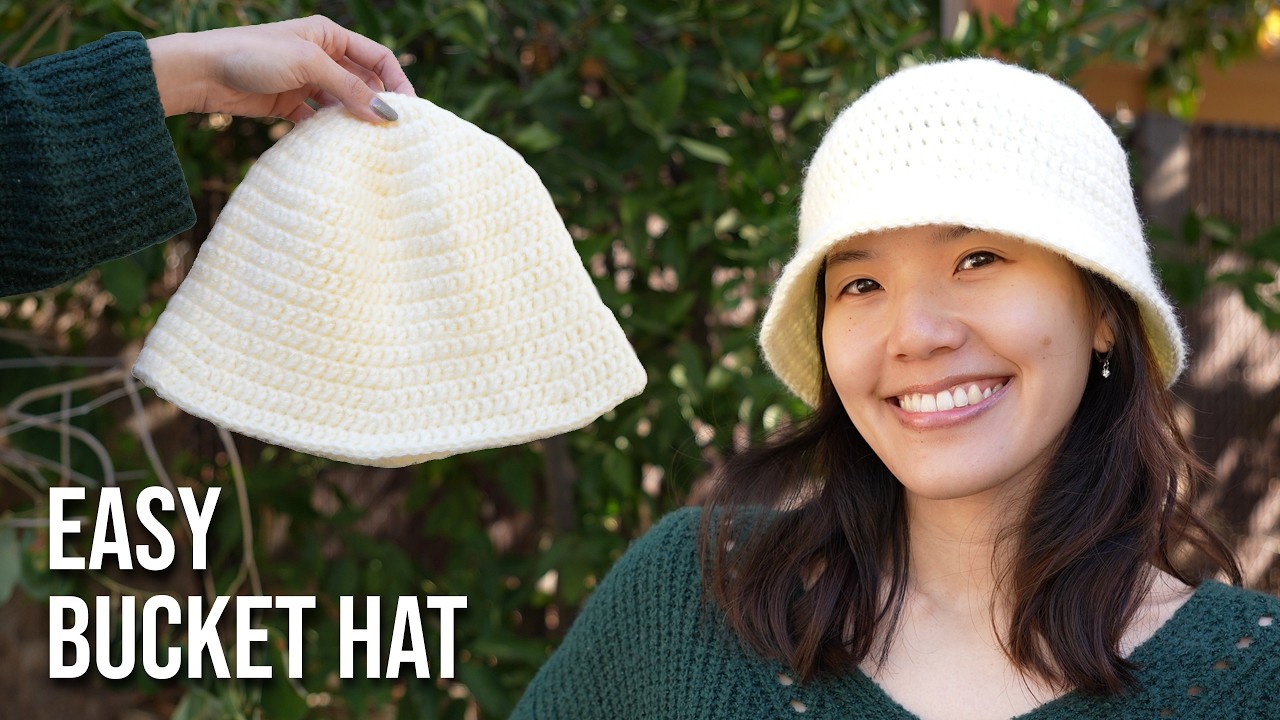
# How to Crochet a Bucket Hat (Any Size, Any Yarn)
I’m going to show you how to make a crochet bucket hat that you can size up or down. You can use any yarn you want. I’m making mine a small-medium, which fits a 50-55 cm head. I used about 70 grams of medium weight yarn (Red Heart Super Saver Brushed in “Cream”) and a 5.5 mm hook.
For materials, grab your yarn, a hook that matches the yarn label, scissors, a yarn needle, and a measuring tape (optional but helpful).
We’ll work this in three sections: the flat top, the straight body, and the flared brim.
Starting the Top (Make a Ring)
Instead of a magic ring, I’ll show you a chain-loop method.
- Make a slip knot. Leave a tail about 4-5 inches long.
- Chain 4. (Yarn over, pull through. Repeat three more times.)
- Slip stitch into the first chain to form a ring. Insert your hook into the V of the first chain and under the back loop too. Yarn over, pull through both loops on your hook.
Round 1: The Foundation
- Chain 2 (this counts as your turning chain, but not as a stitch).
- Work 12 double crochets into the center of the ring. (Yarn over, insert hook into ring, yarn over, pull through, yarn over, pull through two loops, yarn over, pull through two loops.)
- When you have 12, pull the loose tail to tighten the center.
- Slip stitch to the top of the first double crochet (the V of the stitch, not the chain-2). Tighten.
Round 2: Increase in Every Stitch
- Chain 2.
- Work 2 double crochets into that same first stitch (the one you just slip stitched into). That’s an increase.
- Work 2 double crochets into every stitch around. You’ll have 24 stitches total.
- Slip stitch to the first stitch. Tighten.
Round 3: Increase Every 2nd Stitch
- Chain 2.
- 1 double crochet in the next stitch, 2 double crochets in the next stitch. Repeat from to around.
- You should end with an increase in the last stitch. Total: 36 stitches.
- Slip stitch.
Round 4: Increase Every 3rd Stitch
- Chain 2.
- 1 double crochet in the next 2 stitches, 2 double crochets in the next stitch. Repeat around.
- Total: 48 stitches. Slip stitch.
Rounds 5 & 6: Keep the Pattern
- Round 5: Increase every 4th stitch. (1 dc in next 3, 2 dc in next.)
- Round 6: Increase every 5th stitch. (1 dc in next 4, 2 dc in next.)
Pro tip: For a small-medium hat, I stopped after 6 rounds. The diameter should be about 16 cm. If you want a medium-large, do 7 rounds for a diameter of about 18 cm. If your yarn or tension gives you a different size, just keep adding rounds until the circle is the right width.
The Body (No Increases)
- Chain 2.
- Work 1 double crochet into every stitch around. No increases.
- Repeat for 7 rounds (or until the hat is about an inch above your eyebrows when you try it on). My body section is about 8 cm long.
The Brim
- Chain 2.
- For my small-medium (which had 6 increase rounds in the top), I increase every 12th stitch. That means: 1 double crochet in the next 11 stitches, then 2 double crochets in the 12th stitch. Repeat around.
- Round 2 of brim: Increase every 13th stitch.
- Round 3: Increase every 14th stitch.
- Round 4: Increase every 15th stitch.
Important: If you did a different number of rounds for your top, divide the number of stitches in your last round by 6. That number tells you how many stitches to put between increases in your first brim round. Then, for each new brim round, add one more stitch between increases.
I did 4 brim rounds. You can do more or fewer depending on how floppy you want it.
Finishing
- After your last brim round, chain 1.
- Cut the yarn, leaving a 6-inch tail.
- Pull the tail through the loop on your hook and tighten.
- Thread the tail onto a yarn needle. Weave it in on the inside of the hat, going back and forth through the stitches to secure it. Do the same with the starting tail from the top.
And that’s it. You’ve got a bucket hat. If you have questions, drop them in the comments. Happy crocheting.


