What You'll Need
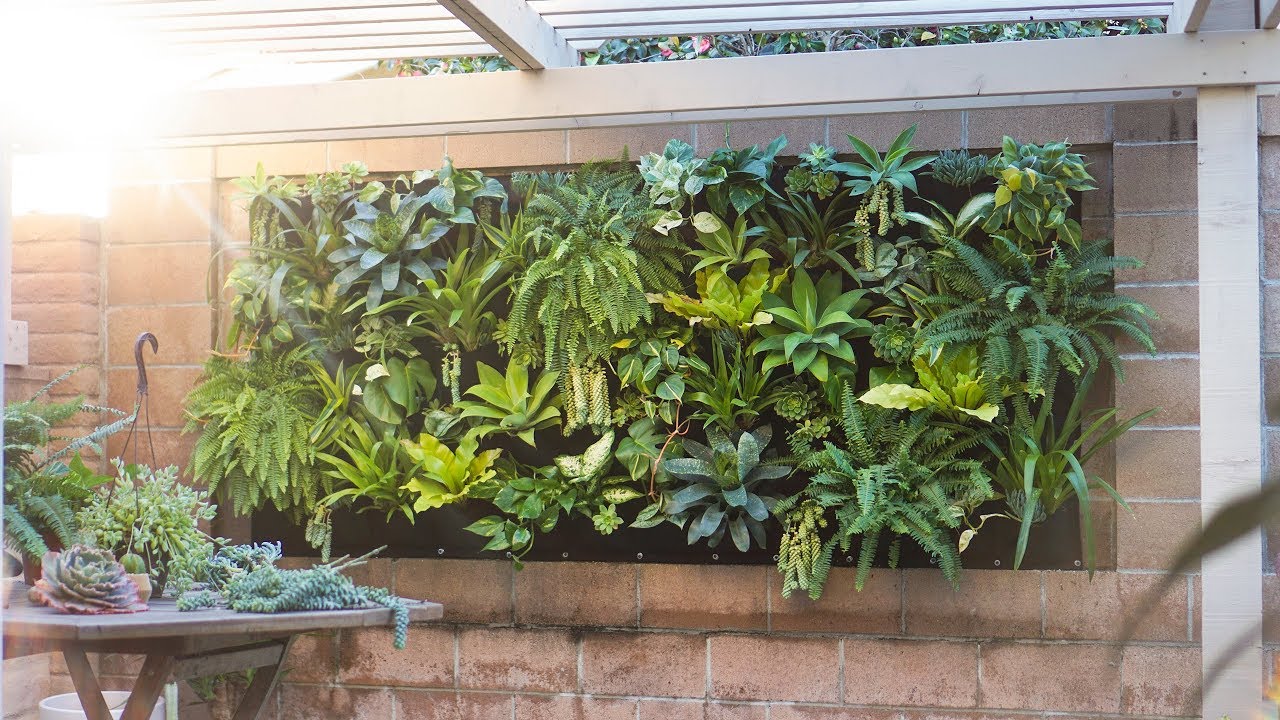
Transform a blank wall into a lush, living centerpiece with this easy vertical garden project. Using felt plant pockets, you can create a green oasis even in shaded or covered outdoor spaces.
Materials:
- Felt plant pocket panels (enough to cover your wall space)
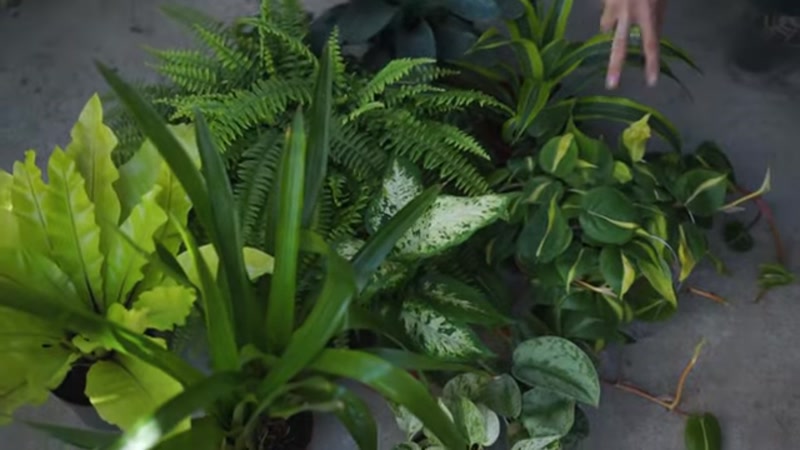
- Assorted low to medium light tolerant plants (ferns, pothos, philodendron, succulents)
- Plant cuttings from existing garden (optional)
- Concrete screws and anchors (for masonry walls)
- Potting soil
Tools:
- Power drill
- Concrete drill bit (matching screw size)
- Screwdriver bit
- Measuring tape
- Level
- Pencil for marking
- Utility knife or scissors (for cutting panels)
- Watering can or hose with gentle spray nozzle
Step-by-Step Guide
Step 1: Plan Your Layout

Measure your wall space and plan how many panels you need. For this project, four full panels were used across the bottom, with smaller cut pieces filling the space above. Mark the wall where each panel will go, using a level to ensure straight rows.
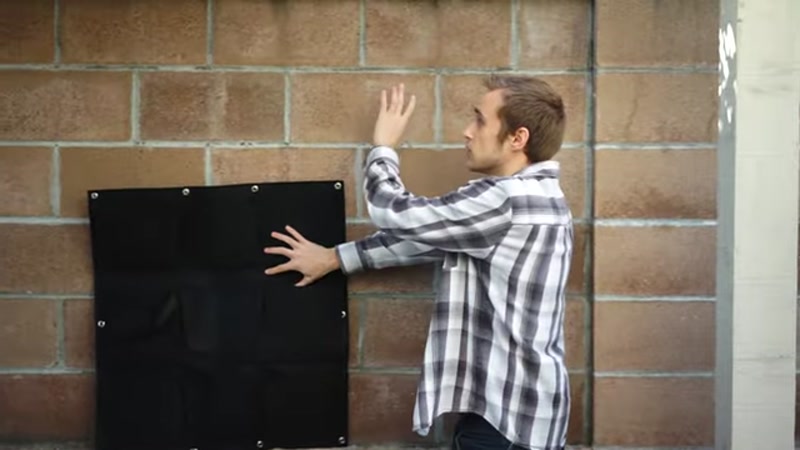
Step 2: Secure the Bottom Panels First

Using your concrete drill bit, drill pilot holes at the marked locations for your bottom row of panels. Insert concrete anchors if needed, then drive screws through the grommets or attachment points on the felt panels. Make sure each panel is firmly attached before moving to the next one.
> Safety Warning: Wear safety glasses when drilling into concrete or masonry. Dust and debris can fly into your eyes.
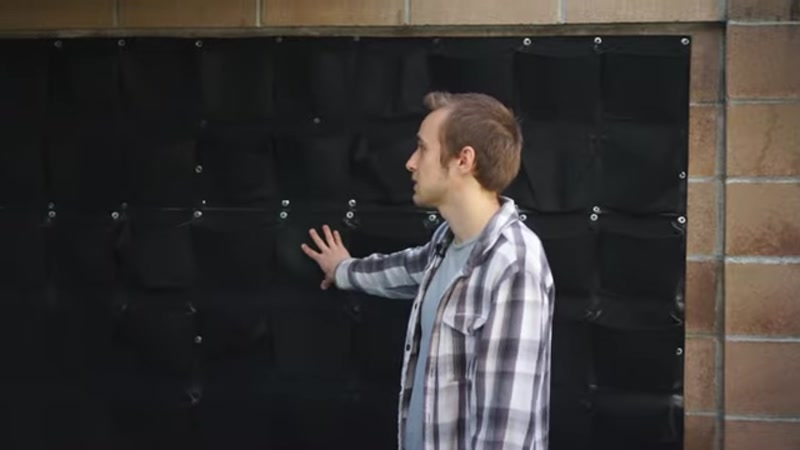
Step 3: Cut and Install Upper Panels
For the remaining space above the bottom panels, measure and cut your extra felt panels to fit using a utility knife or scissors. Attach these smaller pieces using the same drilling and screwing method. Space them evenly to create a full, cohesive look across the wall.
Step 4: Prepare Your Plants

Remove plants from their nursery pots and gently loosen the root balls. If using cuttings, trim the stems and remove lower leaves. Group your plants by type so you can distribute them evenly across the pockets.
Step 5: Fill the Pockets with Soil
Add a small amount of potting soil to the bottom of each felt pocket. Don't overfill—leave room for the plant's root ball.
Step 6: Plant Each Pocket

Insert one plant per pocket, positioning it so the crown (where roots meet stems) sits just below the pocket's top edge. Fill in around the roots with more potting soil, pressing gently to remove air pockets. Work in no particular order, but aim to mix different plant varieties evenly across the wall for visual interest.
Step 7: Water Thoroughly
Once all pockets are planted, give the entire wall a gentle, thorough watering. Use a hose with a spray nozzle set to a soft shower setting, or a watering can with a rose attachment. Water until moisture runs out the bottom of the pockets.
Tips for Success
- Choose shade-tolerant plants if your wall is under a pergola, awning, or covered patio. Ferns, pothos, philodendron, and some succulents thrive in low to medium light.
- Distribute plant types evenly rather than grouping all the same kind together. This creates a more natural, lush appearance and helps prevent pest or disease issues from spreading.
- Water more frequently in hot weather—felt pockets dry out faster than traditional pots. Check moisture levels by feeling the fabric; if it feels dry to the touch, it's time to water.
- Use cuttings from existing plants to save money and fill more pockets. Many houseplants like pothos and philodendron root easily in soil.
- Plan for growth—your plants will fill in over time. Leave some space between plants in adjacent pockets so they don't become overcrowded.