What You'll Need
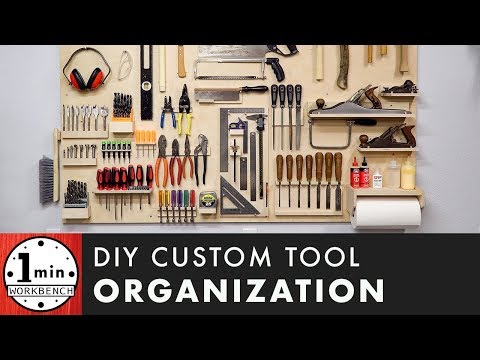
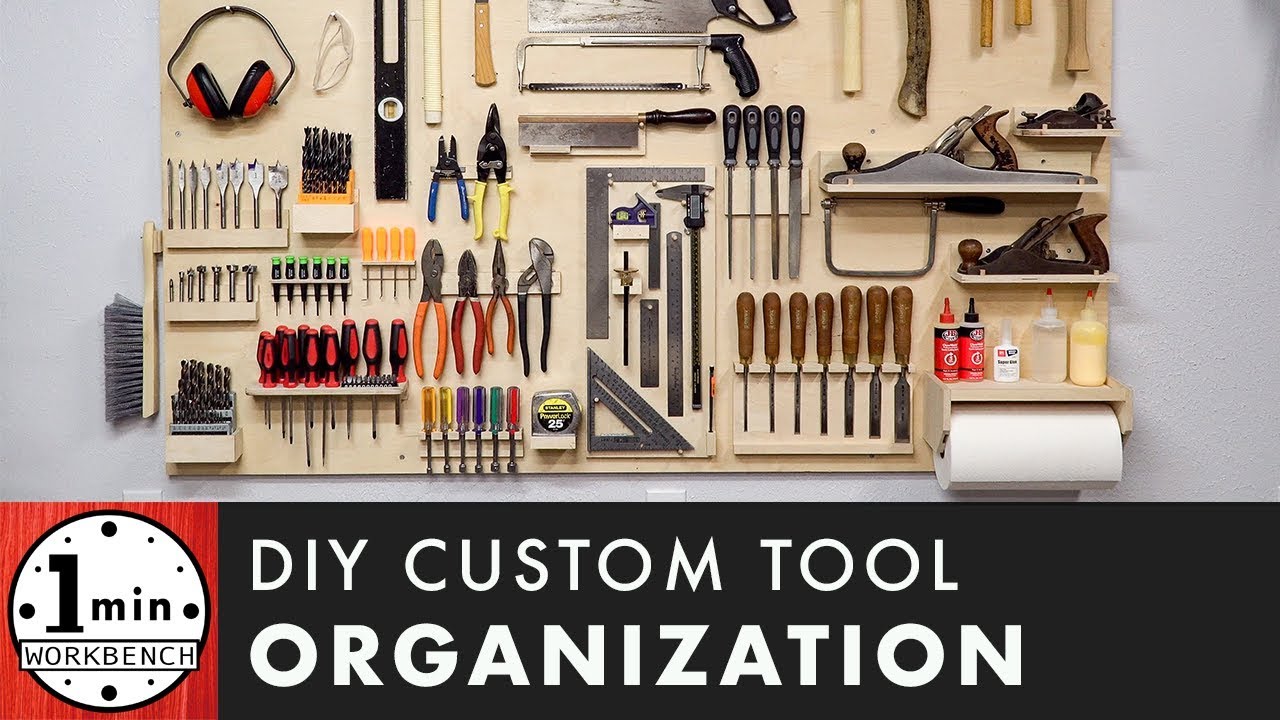
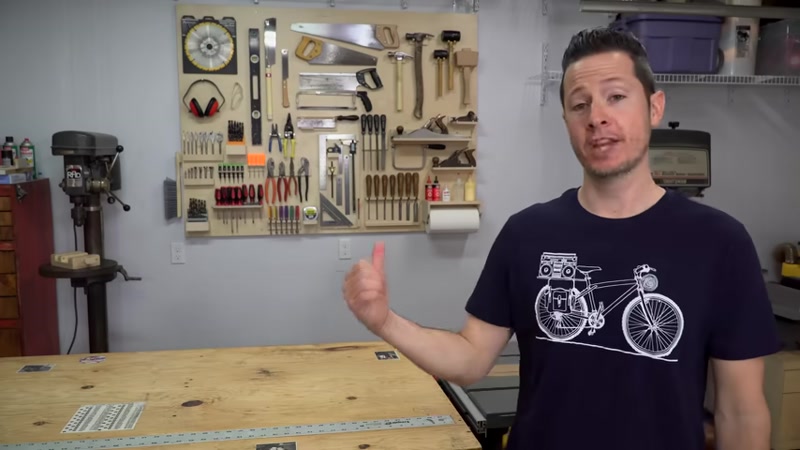
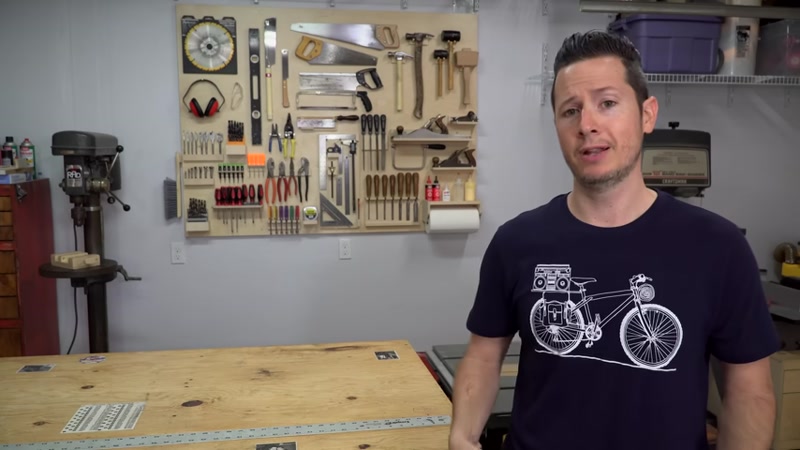
If you've ever been frustrated by tools falling off your pegboard or pegs popping out at the worst moment, you're not alone. This custom tool board solves those problems with a flat plywood surface and custom holders designed specifically for each tool. Here's how to build your own.
Materials:
- 2 sheets of plywood (one cheap, one high-quality) – size based on your wall space
- Wood screws (various lengths, including short ones for high spots)
- Brad nails (18-gauge works well)
- Polyurethane (at least 6 coats)
- Fine-grit sandpaper
- Beeswax (for filling nail holes)
- Hot glue sticks
- Small magnets (optional)
- Dowels (various sizes)
- Scrap wood for custom holders
Tools:
- Measuring tape
- Stud finder
- Level
- Circular saw or jigsaw (with a saw track for straight cuts)
- Drill with pilot and countersink bits
- Hammer
- Clamps
- Pencil and construction crayon
- Straightedge
Step-by-Step Guide
Step 1: Measure and Mark the Wall
Start by measuring the space where you want your tool board. Mark the stud locations just above and below where the board will go. Use a stud finder to locate them accurately.
Step 2: Cut and Install the Backing Board

Cut a cheap piece of plywood to size using your saw track. This backing board serves two purposes: it creates a flat surface on uneven walls and provides extra holding power for screws. Check the curve of the sheet and flip it so the convex side faces up. Drill pilot holes with countersinks in the two upper corners.
Step 3: Align and Level the Backing Board

Make extra-large marks on the wall to help align the board. Hold it in position and fire a few brad nails to hold it temporarily. Drill a pilot hole through one of your pre-drilled holes into a stud, then drive a screw. Check for level and adjust as needed—the brad nails aren't strong enough to resist hammer adjustments.
Step 4: Flatten the Backing Board

Use your straightedge to mark lines along the entire length of each stud location. Identify high and low spots, marking them with a construction crayon for visibility. Drive lots of screws, pulling high spots down until the board's surface is level. Continue checking and adjusting until the board is flat and has enough screws to support the weight.
Step 5: Cut and Install the Top Board

Cut your high-quality plywood to match the size of the backing board. Create a uniform series of marks, then pre-drill pilot and countersink holes for each screw. This board is heavier, so use clamps to hold it in place. Check for level, then fire brad nails to hold it temporarily. Add a couple of screws to support the weight, remove the clamps, and drill the remaining pilot holes into the studs.
Step 6: Handle High Spots
Use short screws anywhere there's a high spot. These screws don't need to reach the studs—they just need to grip the backing board, which has plenty of holding power from all the screws you used on it.
Step 7: Apply Polyurethane

Apply six coats of polyurethane, lightly sanding between each coat. This protects the wood and gives it a nice finish. Let it dry completely.
Step 8: Plan Your Tool Layout
Lay out all the tools you want on the board. Arrange them in different ways until you have a good idea of where everything should go. Remember these criteria for each tool holder:
- Secure (tool can't fall off)
- Easy to remove
- Minimal design to save space
- Enough clearance to remove tools without bumping others
Step 9: Build Custom Tool Holders

Build each holder custom for its specific tool. Most holders can be secured with brad nails shot at opposing angles—this holds securely but is easy to remove. For heavy items like planes, use screws instead.
Step 10: Add Friction and Magnet Holders

If using magnets, you may need to add grippy disks made from hot glue to provide enough friction to keep tools in place. Test each holder to make sure tools stay put.
Step 11: Install Plane Holders

For planes, build L-shaped shelves with small pegs to prevent sliding. Secure the bottom portion to the wall mount with screws. Use thicker boards for heavier planes so you can stagger the screws for a stronger joint. Round the front corner of lower shelves so you can reach tools below them.
Step 12: Fine-Tune Delicate Tool Holders

Pay special attention to marking tools and other delicate items. For hammers that won't stay flat with angled dowels, use straight dowels with additional dowels to prevent falling. Add extra nails as needed to maintain tool positions.
Step 13: Test and Adjust

Test each tool holder by removing and replacing tools. Add extra nails where needed. The goal is to make tools secure enough that you can even use a leaf blower to clean the board without anything flying off.
Tips for Success
- Don't skip the backing board – It's essential for creating a flat surface on uneven walls and provides extra holding power for screws.
- Use opposing angles for brad nails – This creates a much stronger hold while still being removable.
- Test each holder before finalizing – Make sure tools are easy to grab but won't fall off accidentally.
- Plan your layout carefully – Measure distances between tools to ensure you can remove each one without bumping into others.
- Add extra nails as needed – You can always come back and add more holding points to improve security.