What You'll Need
Here is a step-by-step DIY tutorial based on the provided transcript.
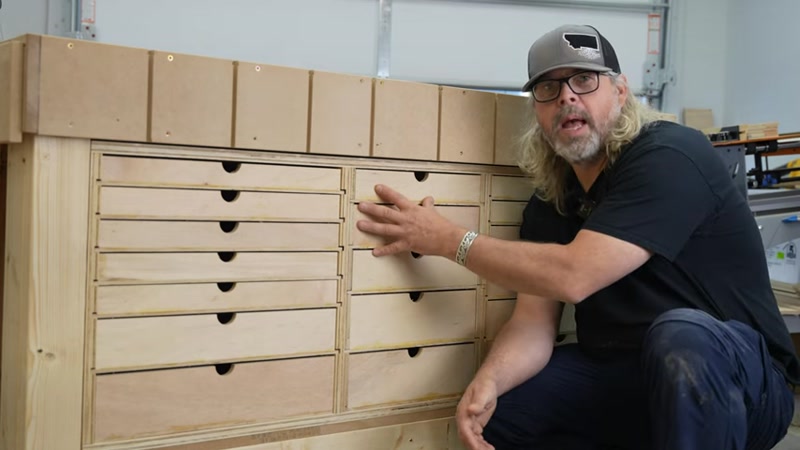
Build a Tool Cabinet for Your Workbench
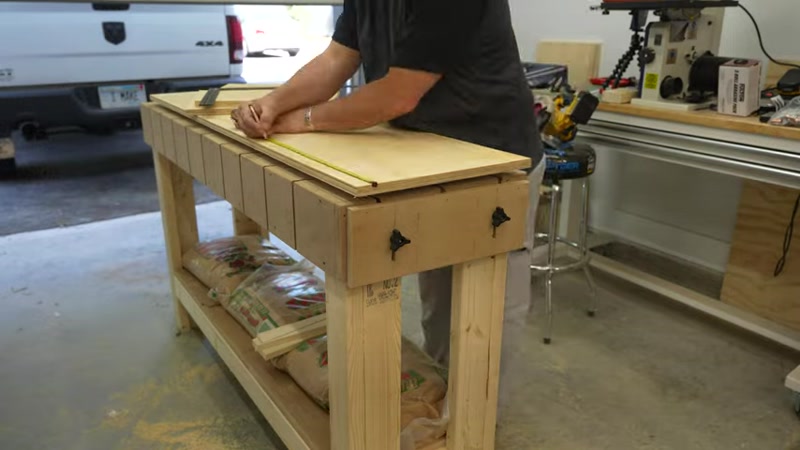
This guide will walk you through building a sturdy tool cabinet designed to fit into a hand tool workbench. This project uses a combination of power tools and hand tools to create a custom storage solution with multiple shallow drawers. It’s a great way to organize your shop and add mass to your workbench.
Materials:
- 3/4" plywood (radial pine from a home center) for the cabinet shell and back
- 1/2" plywood for the drawer frames and drawer bottoms
- Wood glue
- 2-inch construction screws
- 1 1/4-inch star drive screws
- 23-gauge pin nails
- Sandpaper (various grits)
- Scrap wood for jigs
Tools:
- Circular saw with a straight edge
- Router with a 1/4" spiral bit and a 14-degree dovetail bit
- Drill/driver with a Rockler drill guide (or a drill press)
- 23-gauge pin nailer
- Clamps (including corner clamping jigs)
- Hand saw (like a pole saw or pull saw)
- Hammer or mallet
- Tape measure
- Square
- Pencil
Step-by-Step Guide
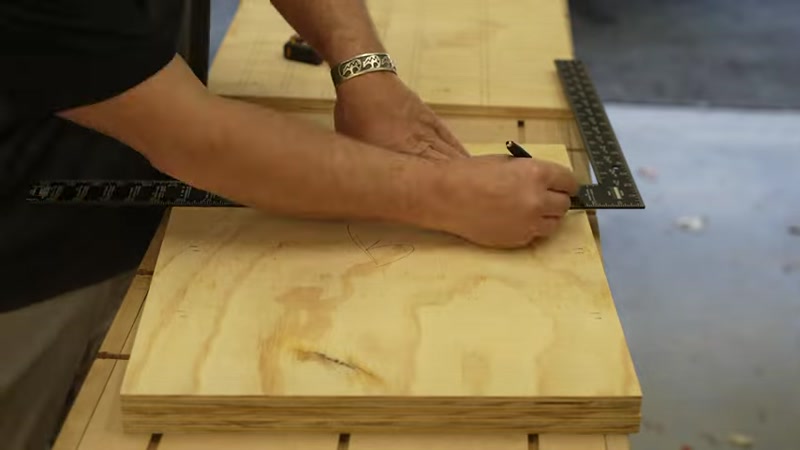
Step 1: Cut the Cabinet Shell Parts

Begin by breaking down your 3/4-inch plywood sheet. Use a circular saw with a straight edge to make long rips. After each cut, check for square, as plywood is not always perfectly square. For cross cuts, you can freehand them with the circular saw, focusing on cutting straight along your line. Label all parts as you cut them to avoid confusion later, especially the interior dividers (bulkheads) which will be different from the outer pieces.
Step 2: Cut Dados for the Dividers

You need to cut dados (grooves) into the top and bottom panels to accept the vertical dividers. Instead of routing each dado individually, build a simple jig. This jig lets you line up the cut line, clamp the workpiece, and make a clean cut quickly. If you make a layout error and your dado lines intersect incorrectly, you can fix it by gluing and nailing a strip of 1/2-inch plywood to the inner bulkhead to create an effective dado. Sand the edges of these added pieces before installation.
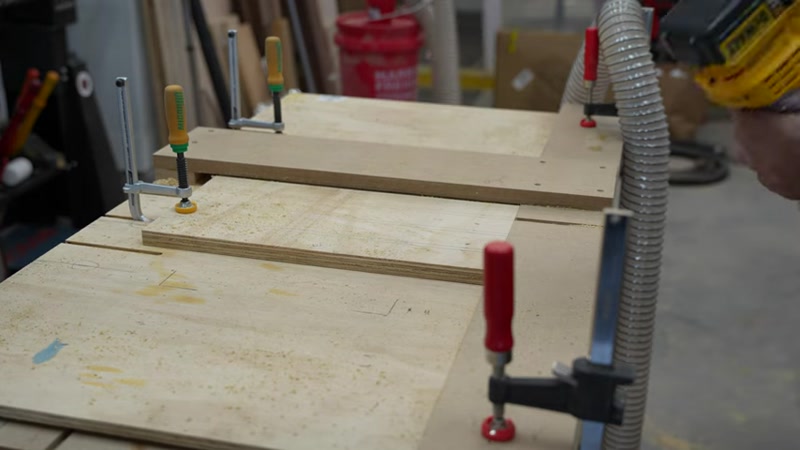
Step 3: Assemble the Cabinet Shell
Assemble the cabinet shell by sandwiching the upright dividers between the top and bottom panels. Use a 23-gauge pin nailer to tack the parts together temporarily, then secure them with 2-inch screws. Use corner clamping jigs to hold the assembly square while the glue dries. You can choose not to glue the two inner supports to allow for some adjustment later. Once the main structure is together, flip the assembly over and screw the bottom panel into place, pushing the inner supports into their correct positions.
Step 4: Install the Cabinet into the Workbench
This cabinet is designed to fit snugly into a workbench. If it’s a tight fit, use a little force to get it in place. Be careful to install it right-side up. Once it’s in position, secure it to the bench with a few screws.
Step 5: Create and Attach the Cabinet Back
The back of the cabinet serves two purposes: it provides structural backing and acts as another clamping surface for your workbench. Use a piece of 3/4-inch MDF. To create a clamping surface, route a pattern of slots into the MDF. First, use a 1/4-inch spiral bit to hog out most of the material, then follow up with a 14-degree dovetail bit for a clean, finished slot. Once the slots are cut, place the back on the ground and mark the location of the interior bulkheads on the back. This ensures you can drive screws into the center of the dividers without them poking through the sides. Attach the back with 2-inch construction screws.
Step 6: Cut the Drawer Parts
Now it's time to build the drawers. Use your cross-cut jig to cut all the drawer bottoms from 1/2-inch plywood. Next, cut the drawer frames from 1/2-inch plywood. For ripping the narrow strips needed for the drawer sides and fronts, you can create a temporary jig on your workbench using CA glue and blue tape. This allows you to make accurate cuts with your circular saw. For the final cross-cuts of the drawer parts, you can use a hand saw for more control and consistent results.
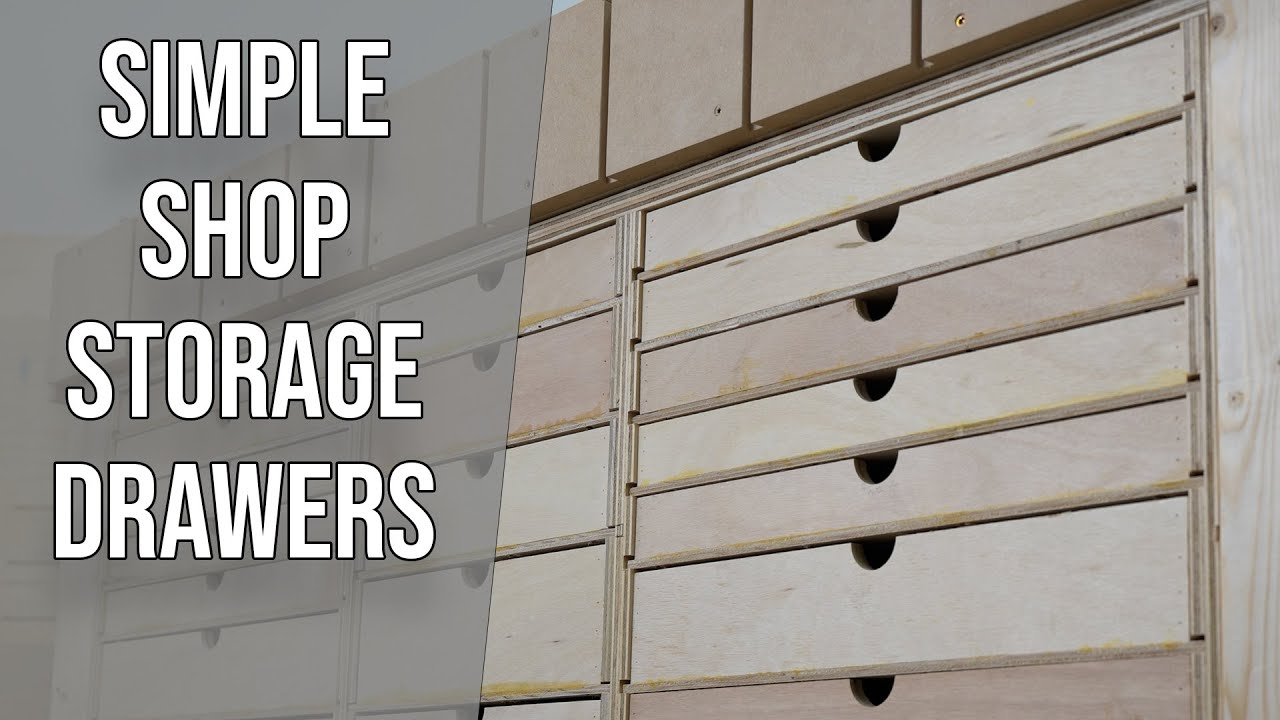
Step 7: Add Finger Pulls to Drawer Fronts

Instead of using knobs, create finger pulls on the drawer fronts. Use a drill guide and a cordless drill (or a drill press if you have one) with a large Forstner bit to drill two holes into the bottom edge of each drawer front. This creates a simple, integrated pull. If you accidentally assemble a drawer before drilling, you can clamp it to a flat surface and drill the holes from the back.
Step 8: Assemble the Drawers

Start by sanding the edges of the drawer bottoms to remove any fuzz or tear-out. Assemble the drawer frames using glue and a pin nailer. Ensure the bottom edge of the frame is perfectly flat so the drawer bottom slides in smoothly. The back of the drawer is intentionally installed a couple of inches forward from the back edge of the drawer sides. This prevents the drawer from falling out when it is fully extended. Pre-drill holes to prevent the plywood from splitting, then permanently attach the back with 1 1/4-inch screws. This overbuilding method ensures the drawers will last.
Tips for Success
- Label Everything: Plywood can vary, and cuts can be tricky. Labeling your parts as you cut them (e.g., "top," "bottom," "left divider") will save you from major headaches during assembly.
- Check for Square Often: Plywood is rarely perfectly square. Always check your work with a carpenter's square after every cut and during assembly to keep the cabinet from becoming twisted.
- Use a Jig for Repetitive Cuts: Whether it's a dado jig or a cross-cut jig, taking the time to build a simple guide will make your cuts more accurate, faster, and safer.
- Pre-drill for Screws: Especially in lower-quality plywood, pre-drilling screw holes prevents the material from splitting and ensures a strong, clean joint.
- Plan Your Drawer Layout: Think about what you will store. Shallow drawers are great for organizing smaller tools and avoiding deep piles of clutter, while deep drawers are better for larger items.