Beginner Floating Shelf
Okay, here is the DIY tutorial article based on the provided video transcript.
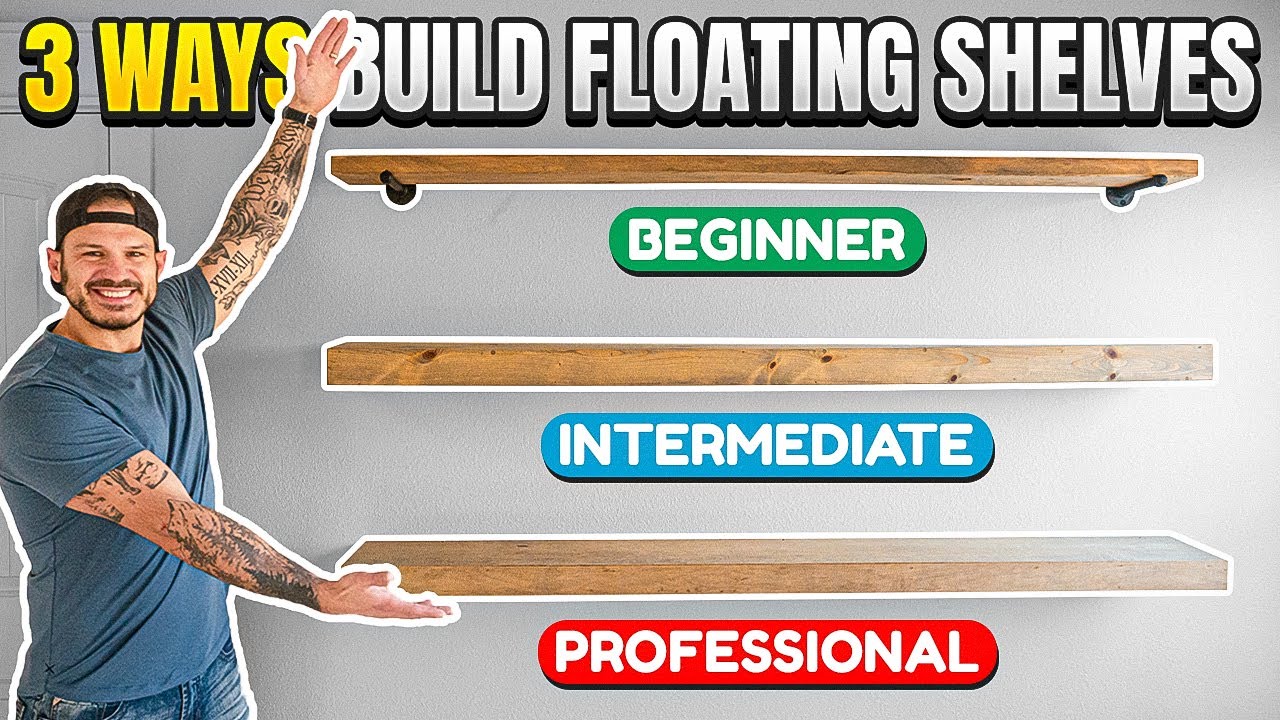
# 3 Ways to Build Floating Shelves (Beginner to Advanced)
Floating shelves are a fantastic way to add storage and style to any room. Whether you're a complete beginner or a seasoned DIYer, this guide will walk you through three different methods to build your own. We'll start with a simple, rustic design and work our way up to a sleek, professional-grade shelf. Let's get building!
This is the perfect project if you have little to no woodworking experience. It’s simple, uses affordable materials, and looks great in a modern farmhouse style.
What You'll Need
- Materials:
- 1 piece of 2x6 lumber (Douglas fir or similar), cut to your desired length (e.g., 6 feet)
- 3/8-inch flange caps (2 per shelf)
- 3/8-inch nipple adapters (2 per shelf, length depends on desired depth)
- Wood stain (e.g., weathered oak)
- Wood primer
- Flat black spray paint
- Acetone
- Screws (for mounting flanges to wall)
- Tools:
- Saw (circular saw or miter saw)
- Sander (orbital or hand sanding blocks)
- Sandpaper (80, 120, and 220 grit)
- Drill with appropriate drill bits
- Paintbrush or rag for staining
- Level
- Stud finder (optional, but recommended)
Step-by-Step Guide
#### ## 1. Prepare the Lumber
Start by cutting your 2x6 lumber to your desired length. For a clean, modern look, round over the sharp edges. You can do this with a router, but a sander works just as well. Use 80-grit sandpaper to knock down the edges, then follow with 120-grit and 220-grit to smooth the entire board. Always sand in the direction of the wood grain.
#### ## 2. Apply the Stain
Stir your stain thoroughly, as pigment often settles at the bottom. Apply the stain with a brush or rag, always working in the direction of the grain to prevent blotching. Let the stain dry completely according to the manufacturer's instructions. Apply a second coat if desired.
#### ## 3. Prepare the Hardware
The metal hardware (flanges and nipples) is often coated in grease to prevent rust during shipping. Remove this grease completely using a rag and acetone. This is crucial for the paint to adhere properly.
#### ## 4. Prime and Paint the Hardware
Spray the hardware with a coat of primer. Let it dry. Then, apply a light first coat of flat black spray paint. It's better to apply several light coats than one heavy, wet coat that can drip or run. Let each coat dry for a minute or two before applying the next. For a perfectly matching look, also prime and paint the screws you'll use for installation by screwing them into a scrap piece of wood and spraying them. Let all the hardware cure overnight.
#### ## 5. Install the Shelf
Find the wall studs using a stud finder. Mark their locations. Hold one flange cap against the wall at your desired height and mark the screw holes. Pre-drill pilot holes, then screw the flange into the wall stud. Screw the nipple adapter into the flange. Slide your shelf board onto the nipple adapters. Finally, screw the second flange cap onto the end of the nipple adapter to secure the shelf in place. Use a level to ensure everything is straight.
Tips for Success
- For a more rustic look, you can leave the 2x6 lumber with its natural, rough-sawn texture and just sand it smooth.
- When sanding, don't skip grits. Starting with 80 grit removes material, 120 grit smooths out the scratches, and 220 grit gives a final, smooth finish.
- Always test your stain on a scrap piece of the same wood to see the final color before applying it to your project.
FAQ
Q: Can I use a different type of wood?
A: Yes, absolutely! Poplar, pine, or even oak would work. Just adjust your sanding and staining technique accordingly.
Q: How much weight can this shelf hold?
A: This depends on the strength of your wall and the hardware. For a standard drywall installation with studs, a shelf of this size can hold 20-30 pounds. Always use a stud finder for the best support.
Intermediate Floating Shelf
This shelf has a more finished, box-like look. It's a great next step for someone who has built a few projects and is ready to work with more than one board.
What You'll Need
- Materials:
- 1 piece of 1x8 lumber (for top and bottom), cut to your desired length (e.g., 72 inches)
- 1 piece of 1x6 lumber (for front and sides), cut to size
- 1 piece of 2x2 lumber (for internal wall cleat)
- Wood glue
- Brad nails (1.25-inch or 1.5-inch)
- Wood filler
- Wood stain (same as beginner shelf)
- Tools:
- Table saw or circular saw
- Miter saw (optional, for clean ends)
- Brad nailer
- Clamps
- Sander with sandpaper (80, 120, 220 grit)
- Level
- Stud finder
Step-by-Step Guide
#### ## 1. Cut the Boards
You will build a box. Cut your boards to the following dimensions:
- Top & Bottom: 2 pieces at 72 inches long (from your 1x8)
- Front: 1 piece at 72 inches long (from your 1x6)
- Sides: 2 pieces at 6.5 inches long (from your 1x6)
#### ## 2. Assemble the Shelf Box
Apply a generous bead of wood glue to the edges of the side pieces and the front piece. Attach the front piece to the two side pieces, creating a U-shape. Use brad nails to hold them in place. Then, apply glue to the top edges of the U-shape and attach the top piece. Finally, attach the bottom piece. Use clamps to hold everything together tightly while the glue dries. Check for square using a carpenter's square.
#### ## 3. Fill and Sand
Once the glue is dry, fill all nail holes and any gaps with wood filler. Let it dry completely. Sand the entire shelf smooth, starting with 120-grit and finishing with 220-grit sandpaper. Pay attention to the corners and edges.
#### ## 4. Stain the Shelf
Apply the same stain as you used for the beginner shelf. This will let you compare how different woods take the same stain. Apply with the grain and let it dry.
#### ## 5. Create and Install the Wall Cleat
Cut your 2x2 lumber to the same length as your shelf (72 inches). This will be the support that attaches to the wall. Use a level to mark a straight line on the wall where you want the cleat to go. Find your studs. Pre-drill holes through the cleat and into the studs, then secure it to the wall using 3-inch screws.
#### ## 6. Install the Shelf
Slide the finished shelf box over the wall cleat. It should fit snugly. You can secure it further by driving a few screws up through the bottom of the shelf into the cleat, but for a truly "floating" look, the friction fit is often enough.
Tips for Success
- When buying lumber, look for the straightest boards you can find. Warped or bowed boards will make assembly very difficult.
- A brad nailer is a huge time-saver. If you don't have one, you can use finishing nails and a hammer, but be careful not to dent the wood.
- Use a damp cloth to wipe away any excess wood glue that squeezes out before it dries.
FAQ
Q: My boards are slightly warped. Can I still use them?
A: It's best to return them if possible. If you must use them, you can try to force them into place with clamps, but the final shelf may not be perfectly square.
Q: Can I paint this shelf instead of staining it?
A: Yes, absolutely. In fact, painting is often easier because you can use wood filler to hide all the joints and create a seamless look.
Advanced Floating Shelf
This is the most polished and professional-looking shelf. It uses mitered corners for a seamless, high-end appearance. It requires more precision and tools.
What You'll Need
- Materials:
- 1 sheet of 1/2-inch maple plywood (4x8 feet)
- Wood glue
- Painter's tape
- Wood filler
- Pre-stain wood conditioner
- Wood stain
- 2x2 lumber (for internal frame)
- 2.5-inch pocket hole screws
- 3-inch lag bolts (for wall mounting)
- Tools:
- Table saw with a miter gauge
- Miter saw
- Pocket hole jig
- Sander with sandpaper (120, 220, 240 grit)
- Clamps
- Drill
- Level
- Stud finder
Step-by-Step Guide
#### ## 1. Cut the Mitered Pieces
This is the most critical step. All the edges that form the corners of the shelf box will be cut at a 45-degree angle. For a 1/2-inch thick plywood, the inside dimension of your shelf will be 1 inch shorter than the outside dimension (1/2 inch on each side). For example, if your finished shelf is 3 inches deep, the top and bottom pieces will be 3 inches wide on the outside, but the side pieces will be only 2 inches wide on the inside. Use a miter gauge on your table saw for the long cuts.
#### ## 2. Cut the Ends
Use a miter saw set to 45 degrees to cut the ends of your pieces. The outside edge of each piece should be your final dimension. For a 72-inch long shelf, the outside of your front piece is 72 inches.
#### ## 3. Assemble the Box with Tape
Lay all your pieces with the mitered edges facing up. Run a bead of wood glue along each mitered edge. Use painter's tape to hold the outside corners together. This creates a "hinge" that allows you to fold the box up.
#### ## 4. Fold and Secure the Box
Carefully fold the box up, bringing the corners together. Use more painter's tape to secure the inside corners. Check for square. Let the glue dry for at least 15 minutes.
#### ## 5. Fill, Sand, and Condition
Fill all the mitered joints with wood filler. Let it dry. Sand carefully. Because plywood has a thin veneer, use a lower oscillating speed on your sander (setting 3 or 4) and only sand with 120 and then 220 grit. Hand-sand the sharp edges with 240-grit paper to soften them slightly. Wipe off all dust. Apply a pre-stain wood conditioner to prevent blotchiness. Let it sit for 5-15 minutes, then wipe off the excess. Apply your stain within two hours.
#### ## 6. Build the Internal Support Frame
While the stain dries, build the frame that will attach to the wall. Cut your 2x2 lumber:
- Front & Back: 2 pieces at 70.75 inches long (to allow 1/4 inch of wiggle room on each side)
- Support Brackets: 5 pieces at 4.5 inches long
Use a pocket hole jig to drill pocket holes in the ends of the support brackets. Assemble the frame with wood glue and 2.5-inch screws.
#### ## 7. Install the Frame and Shelf
Find your wall studs (16 inches on center). Mark their locations. Hold the support frame against the wall at your desired height and pre-drill holes through the 2x2 frame into the studs. Secure the frame to the wall using 3-inch lag bolts. Slide the finished shelf box over the frame. It should fit perfectly.
Tips for Success
- Practice cutting 45-degree angles on scrap plywood before cutting your good pieces. Getting the miter saw and table saw perfectly dialed in is essential.
- When sanding plywood, be very gentle. It's easy to sand through the thin top veneer, ruining the look.
- Using a pre-stain conditioner is non-negotiable for plywood. It will dramatically improve the final finish by preventing blotches.
FAQ
Q: What is a mitered corner and why is it used?
A: A mitered corner is cut at a 45-degree angle so that two pieces join to form a perfect 90-degree corner. It hides the raw plywood edge, creating a seamless, professional look.
Q: Can I use a different type of plywood?
A: Yes, birch or oak plywood are also excellent choices. Just make sure it's a good quality "cabinet-grade" plywood with a smooth veneer.