What You'll Need
I've been making candles for a while now, and there's something really satisfying about lighting one you made yourself. This tutorial walks through the basics using soy wax — the kind that comes in easy-to-handle flakes — and a few simple tools you probably don't own yet but should.
Let's get into it.
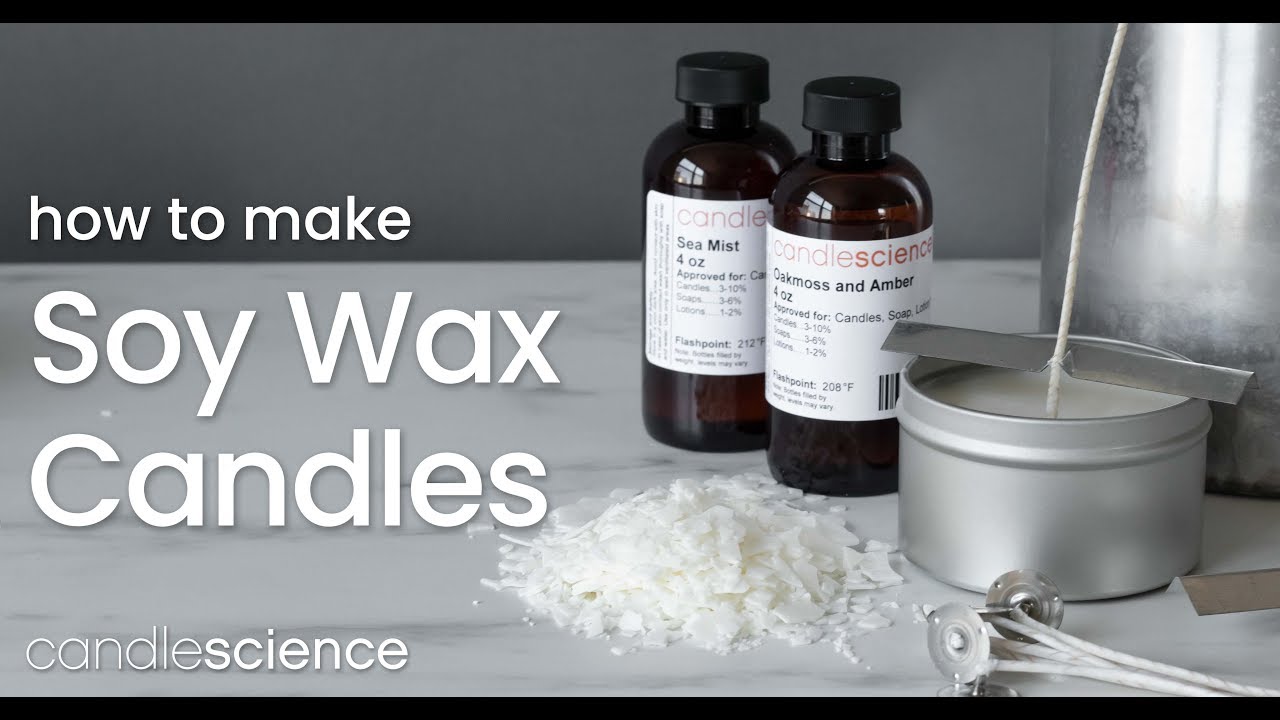
- Wax: Candle Science's AKS for 6 soy wax (or any soy wax labeled for containers)
- Containers: 8-ounce candle tins (three of them)
- Wicks: CD-18 braided cotton wicks with paper threads — size matters here, so check a wick guide if you're using different containers
- Fragrance oil: Oak Moss and Amber (or whatever you like — just make sure it's made for candles)
- Digital scale: You need to measure by weight, not volume
- Pouring pitcher: Metal, with a spout
- Heat source: Hot plate or stove
- Double boiler setup: A saucepan with water
- Thermometer: Candy thermometer works fine
- Wick stickers: The Pro ones are extra sticky and worth it
- Something to hold wicks straight: Wick bars, popsicle sticks, clothespins, pencils — whatever works
- Warning labels: Required if you're selling or giving them away
Step-by-Step
1. Set up your double boiler
Fill a saucepan about halfway with water and put it on medium-high heat. You don't want the wax touching the pan directly — that's how you scorch it.
2. Weigh your wax
Put the pouring pitcher on your digital scale and tare it (zero it out). Weigh out 1 pound of soy wax flakes. Drop the pitcher into the double boiler.
3. Heat the wax to 185°F
Let it melt slowly. Stir occasionally if you want, but mostly just let it do its thing.
4. Add fragrance
While the wax is heating, weigh out 1 ounce of fragrance oil. That gives you about 6% fragrance load — good starting point for soy. Once the wax hits 185, pull the pitcher off the heat and pour in the fragrance. Stir gently for about two minutes. Don't skip this. It's boring but it matters — the fragrance needs to fully bind with the wax or your candles will smell weak.
5. Cool to 135°F
Set the pitcher aside and let the wax cool down. While you're waiting, prep your containers.
6. Set your wicks
Peel a wick sticker, stick it to the bottom of the wick tab, remove the paper, and press it into the center of your tin. The ridges on the tin help you center it. Do this for all three.
7. Pour the wax
When the wax hits 135, pour slowly into each tin. Fill to about a quarter inch from the top — there's a groove inside the tin that marks the spot.
8. Center the wicks
Use your wick bar (or pencil, clothespin, whatever) to push the wick straight and keep it centered. The wick will try to drift as the wax sets.
9. Let them cool
Space the tins about 4 inches apart in a spot with no drafts. Then leave them alone overnight. I know you want to light one. Don't.
10. Trim and label
Once they're solid, trim the wick to about 1/4 inch. Put the lid on. Stick a warning label on the bottom if you're giving them away.
A Note on Curing
You can technically burn these after 24 hours. But if you wait 4-5 days — ideally 2 weeks — the scent will be way stronger. The fragrance needs time to fully saturate the wax. This is the hard part.
Tips
- Write down exactly what you did so you can repeat it. Wax brand, fragrance percentage, pour temperature — all of it matters.
- If your candle tunnels (burns straight down the middle), your wick is too small. If it mushrooms or smokes, it's too big.
- Don't use kitchen fragrance oils. They're not formulated for candles and will smell weird or burn wrong.
That's it. Soy candles aren't complicated — they just take patience and a scale. Light one, watch the melt pool form, and feel good about making it yourself.