What You'll Need
I've been embroidering for a while now, and I get asked about my process all the time. So here's everything — the tools I actually use, the stitches I keep coming back to, and how I finish a project from start to finish.
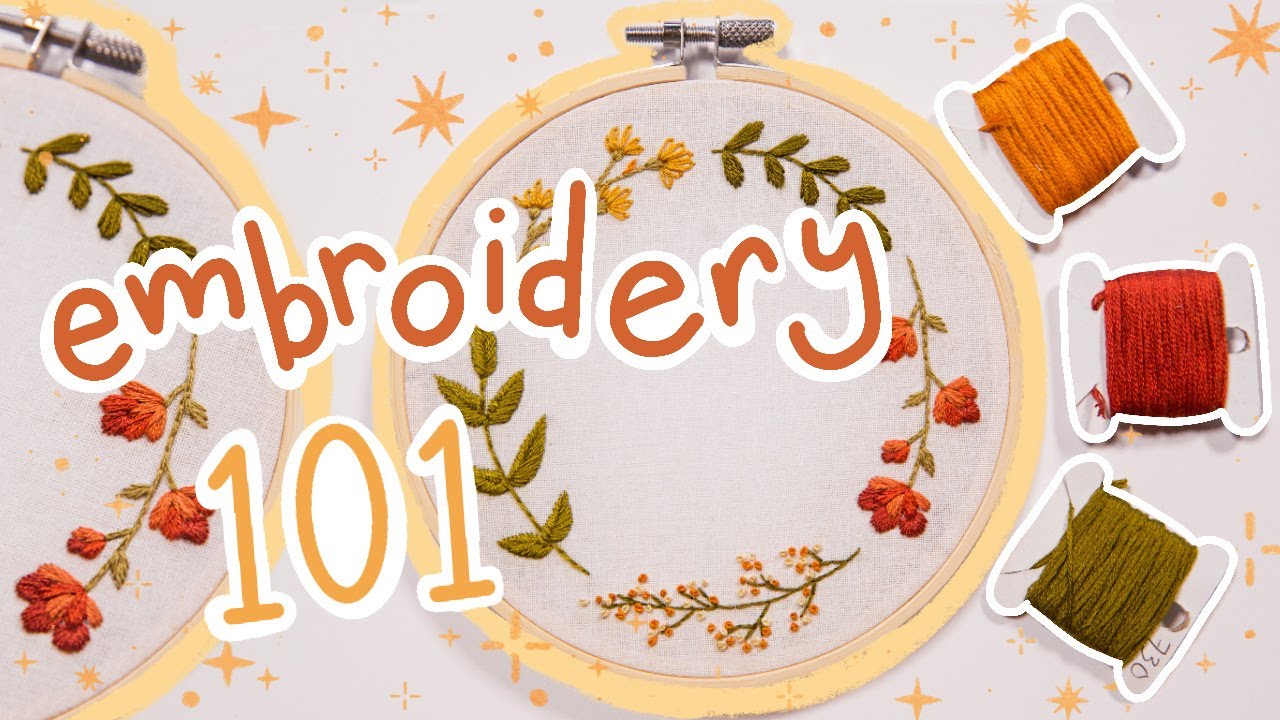
I made a beginner pattern that uses each stitch I'm about to show you. It's in my Etsy shop if you want to follow along. But you don't need it — grab a hoop and some fabric and practice these stitches. There are so many embroidery stitches out there that it's easy to feel overwhelmed. Just try them out, find your favorites, and suddenly patterns feel way less intimidating.
Essential tools:
- Wooden embroidery hoops (for finished projects — I mostly use 5-inch)
- Plastic embroidery hoops (for working — they have a groove inside that grips the fabric so it doesn't slip)
- DMC embroidery floss
- Thread holders (wind your floss onto these to prevent tangling)
- Hand sewing needles (any kind works)
- Fabric scissors
- Pinking shears (zigzag edge to stop fraying)
- Tiny scissors (for cutting thread tails)
- Cotton fabric (I prefer this over cross-stitch fabric because you can embroider anywhere on it)
- Mechanical pencil (for tracing patterns)
- Hot glue (for finishing the back)
- LED light pad (optional — a window works too)
Pro tip: If your project uses a 5-inch wooden hoop, get a 6-inch plastic hoop for working. That extra wiggle room makes a difference.
How I Set Up
- Cut a square of fabric bigger than your hoop.
- Lay the fabric over the plastic hoop and tighten it. Pull it tight enough that it sounds like a drum when you tap it. I never iron my fabric — just pull hard.
- Trace your pattern. I use a light pad, but a sunny window works. With plastic hoops, I embroider on the back side so I can lay the fabric flat on my drawing and trace directly.
- Touch up your drawing after tracing.
- Separate your floss. Embroidery floss has 6 strands. I use 2 strands for most projects. Twist them the opposite way to make a 2-strand thread, then tie a knot at the end.
- When tying knots on the back, hold your finger down at the base and cut off the tail.
The Stitches
I'll explain these using numbers: 1 is where the needle comes up, 2 is where it goes down.
Back Stitch
Come up at 1, go down at 2. Come up at 3, go back down into 1. Come up at 4, go back down into 3. Keep going.
Tip: For curves, make your stitches shorter.
Split Stitch
Come up at 1, go down at 2. Come up at 3, go down between 1 and 2. Next stitch goes back down between 3 and 4.
I'm using 2 strands here, but this stitch works better with more strands. Keep stitches close together for that braided look — I spread them out so you could see what's happening.
Stem Stitch
Come up at 1, go down at 2 (in front of your stitch). Don't pull all the way through — come up at 3 (between 1 and 2) and pull off to the side. That's your starter. Keep repeating: go down, don't pull through, come up between the last two stitches.
Works best with close stitches. Great for curves.
Lazy Daisy Stitch
Come up at 1, go back down at 2 (or right next to it). Don't pull all the way through — hold the loop. Come up at 3 (wherever you want the petal to end), pull through the loop, pull tight. Go down at 4 on the other side of the loop to secure it.
Tip: Don't pull petals too tight or they'll close up. I accidentally did that in the video because I grabbed the knot behind the fabric.
Satin Stitch (my favorite)
For a leaf: Come up at 1, down at 2. Come up at 3 (next to 2 and slightly lower), down at 2. Come up at 4 (next to 2 on the opposite side, slightly lower), down at 2. Keep repeating — out and slightly lower, back into 2.
For filling in: Same idea but instead of going back into 2 every time, go back down next to the bottom stitch. Gradually get lower and round your shape.
French Knot
Come up at 1. Hold the thread tight with your other hand, loop it around the needle twice. Go back down at 2 (right next to 1). Hold tight, pull through. That's your knot.
Fishbone Stitch
Come up at 1, down at 2. Come up at 3 (slightly lower, next to 1), make a diagonal across the widest part of your leaf, go down at 4. Come up at 5 (opposite side, slightly lower), go diagonally across, go down slightly under your previous diagonal. Keep crisscrossing — every other side.
The Process (Step by Step)
- Set up your hoop. I use plastic hoops with the grip. Cut fabric bigger than your hoop, lay it over, tighten until it sounds like a drum.
- Trace your pattern. Use a light pad, window, or even a light under a glass coffee table. I trace on the back side of the plastic hoop so my fabric lays flat.
- Start stitching. I use 2 strands throughout this project. Tie a knot at the end.
- Work through the pattern. I'll show a time-lapse of finishing the pattern — the stitch I'm using will be on screen.
Q&A / Tips
Q: How do I embroider on black fabric?
Use a light to trace your pattern and a white charcoal pencil instead of a mechanical pencil.
Q: Should I jump long distances behind the hoop with my thread?
Don't. If you're using thin fabric, it shows through.
Q: What if my thread gets twisted?
Drop the needle and let it hang until it unwinds.
Q: What about knots?
Use your needle to poke through and undo them.
Q: How do I remove a bunch of stitches?
Cut the knot at the back, cut the back side of the stitches, then pull them up from the front with your needle.
Q: Can I resize patterns?
Yes. Save the file, pop it into a document, and resize it for whatever hoop you're using.
Finishing the Project
- Take your fabric out of the plastic hoop.
- Align it with the inside ring of your wooden hoop. Use the plastic hoop as a guide to center it.
- Put the outside ring on. Tighten it. Pull the fabric through the back to get it centered.
- When you're happy with the position, hot glue the fabric to the back of the hoop. Put glue between the hoop and the fabric, fold it over, and pull tight. Be careful not to drip glue on your project.
- Trim excess fabric with pinking shears to prevent fraying.
That's my whole process. If you have questions, drop them in the comments.


