
What You'll Need
Here is a DIY tutorial based on the transcript you provided.
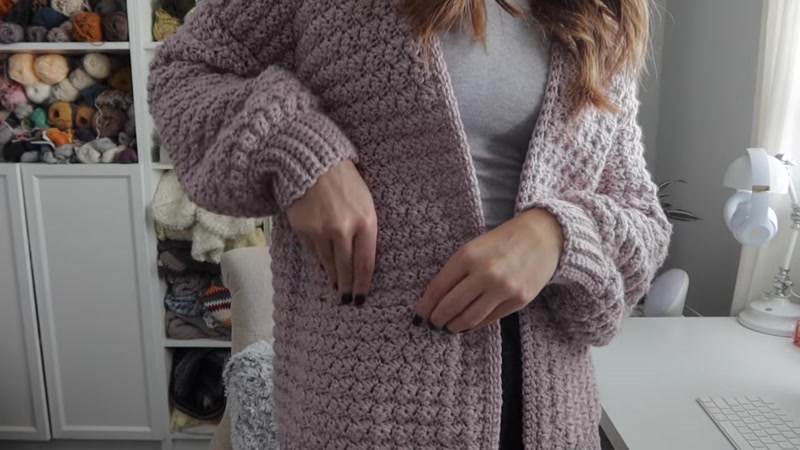
# How to Crochet the Cozy Sedge Stitch Cardigan
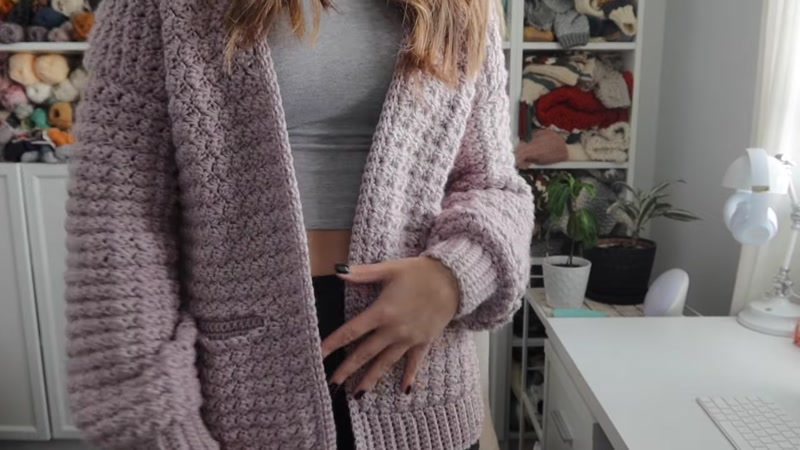
This guide will walk you through creating a beautiful, cozy cardigan with pockets, featuring the textured sedge stitch. The pattern is designed for sizes Extra Small through 5X, and this tutorial will help you make your own, whether you're a confident beginner or an experienced crocheter.
- Yarn: Lion Brand Heartland yarn (or any worsted weight yarn). The sample uses the color "Wolf Trap."
- Crochet Hook: 5.5 mm (US I-9)
- Scissors
- Yarn Needle (for sewing pieces together and weaving in ends)
- Stitch Markers
- Measuring Tape
Step-by-Step Guide
The cardigan is made by crocheting five separate pieces: a back panel, two front panels, and two sleeves. These are then sewn together.
Step 1: Make the Ribbing (for all panels)
Each panel starts with a ribbed cuff at the bottom. The technique is the same for all pieces, but the number of rows will vary based on your size and which panel you are making.
- Start the Foundation: Make a slip knot. You have two options:
- Option A (Foundation Single Crochet): Chain 2. Insert your hook into the back bump of the first chain. Yarn over, pull up a loop. Yarn over, pull through the first loop only. Yarn over, pull through both loops. This is your first Foundation Single Crochet (FSC). Repeat this until you have a total of 10 FSC.
- Option B (Chain Method): Chain 11. Work a single crochet (sc) into the second chain from your hook. Work 1 sc into each of the remaining chains. You will have 10 sc total.
- Work the Ribbing Rows:
- Row 2: Chain 1, turn. Work 1 sc into the first stitch (through both loops). For the next stitches, work 1 sc into the back loop only until you reach the last stitch. Work 1 sc into the last stitch (through both loops).
- Repeat Row 2: Continue repeating Row 2 for the number of rows specified for your size and piece (e.g., 34 rows for the front panel of a size small). This creates the stretchy ribbing.
Step 2: Start the Main Body (Sedge Stitch)
After completing the ribbing, you will begin the main body of the panel using the sedge stitch.
- Row 1 (Setup Row): Do not chain. Insert your hook into the side edge of the first ribbing row. Work 1 sc into the end of that row. Continue working 1 sc into the end of every ribbing row across. Your stitch count for this row will equal your number of ribbing rows (e.g., 34 sc for a size small front panel).
- Row 2 (The Sedge Stitch Repeat): Chain 1, turn.
- First Stitch: In the very first stitch, work a single crochet (sc), a half double crochet (hdc), and a double crochet (dc) all into the same stitch.
- Skip 2: Skip the next two stitches.
- Repeat: In the next stitch, work another cluster: (sc, hdc, dc). Continue skipping two stitches and working a cluster into the next stitch.
- End of Row: When you have 3 stitches left, skip 2 stitches and work 1 single crochet (sc) into the very last stitch. This completes the row.
- Repeat Row 2: For the rest of the panel, you will simply repeat Row 2 over and over. Continue until your panel reaches the required number of rows for your size (e.g., 61 total rows for the back panel of a size small).
- Finish the Panel: Fasten off, leaving a long tail of yarn (about 12-18 inches) for sewing the shoulder seams. Make two front panels and one back panel.
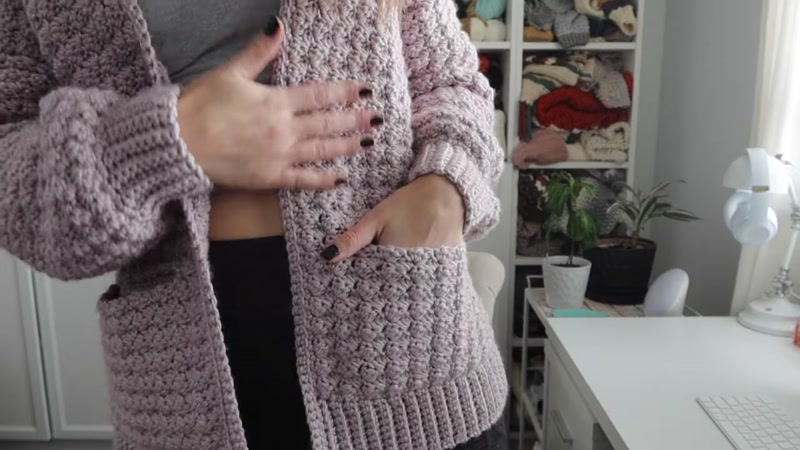
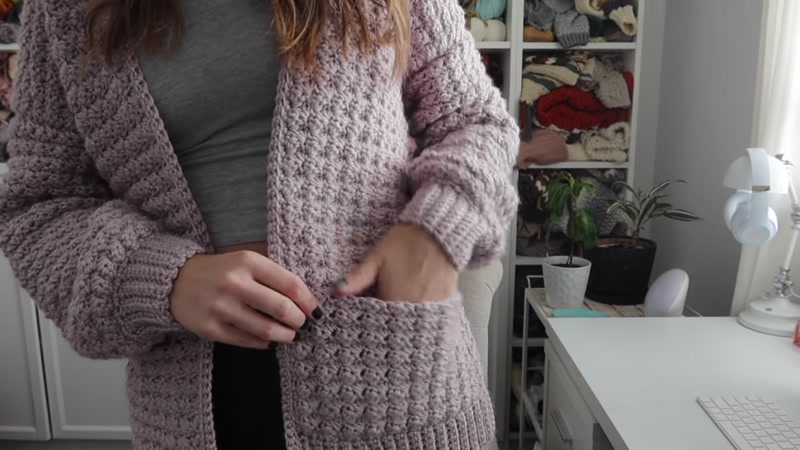
Step 3: Create the Pocket Openings (Front Panels Only)

This step is for the front panels only. If you don't want pockets, simply continue repeating Row 2 for the entire front panel.
- Work to the Pocket Row: Work your front panel in the sedge stitch repeat (Row 2) until you reach Row 17 (for all sizes).
- Create the Opening: On Row 17, work your sedge stitch clusters as normal until you reach the point where the pocket should start (check your pattern for the exact number of clusters for your size).
- Chain the Pocket Space: Instead of working the next cluster, chain a specific number of stitches (e.g., chain 20 for size small). Then, skip the same number of stitches below the chains.
- Continue: Work a single crochet (sc) into the next stitch (which should be a single crochet from the row below). Then, continue with the sedge stitch repeat (sc, hdc, dc) to the end of the row.
- Next Row (Row 18): Work the sedge stitch repeat across the row as usual. When you reach the chain space, treat the chains as regular stitches. Skip 2 chains, then work a (sc, hdc, dc) cluster into the next chain. Continue this way across the chain space.
- Finish the Panel: Continue repeating Row 2 until the front panel has the same total number of rows as the back panel (e.g., 61 rows for size small). Fasten off, leaving a long tail.
Step 4: Make the Sleeves

The sleeves are made similarly, but the base row is different to create the puffy look.
- Make the Cuff Ribbing: Follow the same ribbing instructions from Step 1, but for the number of rows specified for your sleeve size (e.g., 28 rows for a size small).
- Row 1 (Increase Row): This row is different from the other panels. Work 1 sc into the end of the first ribbing row. Then, work 2 sc into the end of every remaining ribbing row across. For some sizes, you may start with 1 sc and then do 2 sc for the rest. Check your pattern. This will make the edge look wavy.
- Sedge Stitch Body: Chain 1, turn. Now, follow the exact same sedge stitch repeat from Step 2, Row 2 (cluster, skip 2, cluster, etc.) across this row.
- Continue: Repeat Row 2 for the total number of rows specified for your sleeve (e.g., 43 rows for size small). Fasten off, leaving a long tail. Repeat to make a second sleeve.
Step 5: Make the Pocket Linings
These are simple rectangles of single crochet that will be sewn to the inside of the cardigan to close the pocket opening.
- Start: Chain the required number (e.g., chain 23 for size small). Work 1 sc into the second chain from the hook and into each chain across. (You will have 22 sc).
- Work the Square: Chain 1, turn. Work 1 sc into each stitch across (through both loops). Repeat this row for the total number of rows specified (e.g., 24 rows for all sizes).
- Finish: Fasten off, leaving a long tail for sewing. Make two pocket linings.
Step 6: Seam the Cardigan Together
- Block Your Pieces (Optional but Recommended): Steam block all your panels so they are the correct size before seaming.
- Sew Shoulder Seams:
- Place the back panel right side up.
- Place one front panel on top, right side down (right sides together). Line up the top edges.
- Using your yarn needle or a crochet hook, slip stitch or sew the stitches together across the top. Use the outer loops only for a neat finish.
- Repeat for the second front panel on the other side of the back panel.
- Sew the Sleeves:
- Turn the cardigan body wrong side out.
- Find the center of the top edge of a sleeve. Pin it to the shoulder seam of the cardigan body.
- Using a yarn needle or hook, sew the sleeve edge to the armhole opening. Work through the last row of the sleeve stitches and the edges of the rows on the body panels.
- Repeat for the second sleeve.
- Sew the Side and Sleeve Seams:
- Starting at the cuff of one sleeve, sew the sleeve seam together down to the underarm.
- Do not fasten off. Continue sewing the side seam from the underarm down to the bottom hem.
- Repeat for the other side.
Step 7: Add the Trim
- First Row: Turn the cardigan right side out. Join your yarn at the bottom right corner (as you wear it). Work 1 sc into the end of each row up the front panel, 1 sc into each stitch across the back neckline, and 1 sc into the end of each row down the other front panel.
- Second Row: Chain 1, turn. Work 1 sc into the front loop only of each stitch across the entire trim. Fasten off.
Step 8: Sew in the Pocket Linings

- Turn the cardigan inside out.
- Pin a pocket lining rectangle behind the pocket opening on the inside of the front panel. The top of the lining should be sewn to the row just above the chain space, the bottom to the first row of the body, and the sides to the edges of the pocket opening.
- Using a yarn needle, sew the lining in place. Be careful not to sew through the front layer of the cardigan.
- Repeat for the second pocket.
- Weave in all remaining yarn ends.
Tips for Success
- Check Your Gauge: Before starting, make a gauge swatch with the sedge stitch to ensure your cardigan will be the correct size.
- Use Stitch Markers: Place stitch markers at the beginning and end of your rows, especially when working the pocket openings, to help you keep track.
- Count Your Stitches: The sedge stitch pattern relies on skipping exactly 2 stitches between clusters. If you lose count, use the single crochet from the row below as a guide.
- Block Before Seaming: Blocking your panels before sewing them together makes the seams much easier and gives a more professional finish.
- Don't Rush the Pockets: Take your time when pinning and sewing the pocket linings to ensure they are straight and the opening is clean.


