What You’ll Need
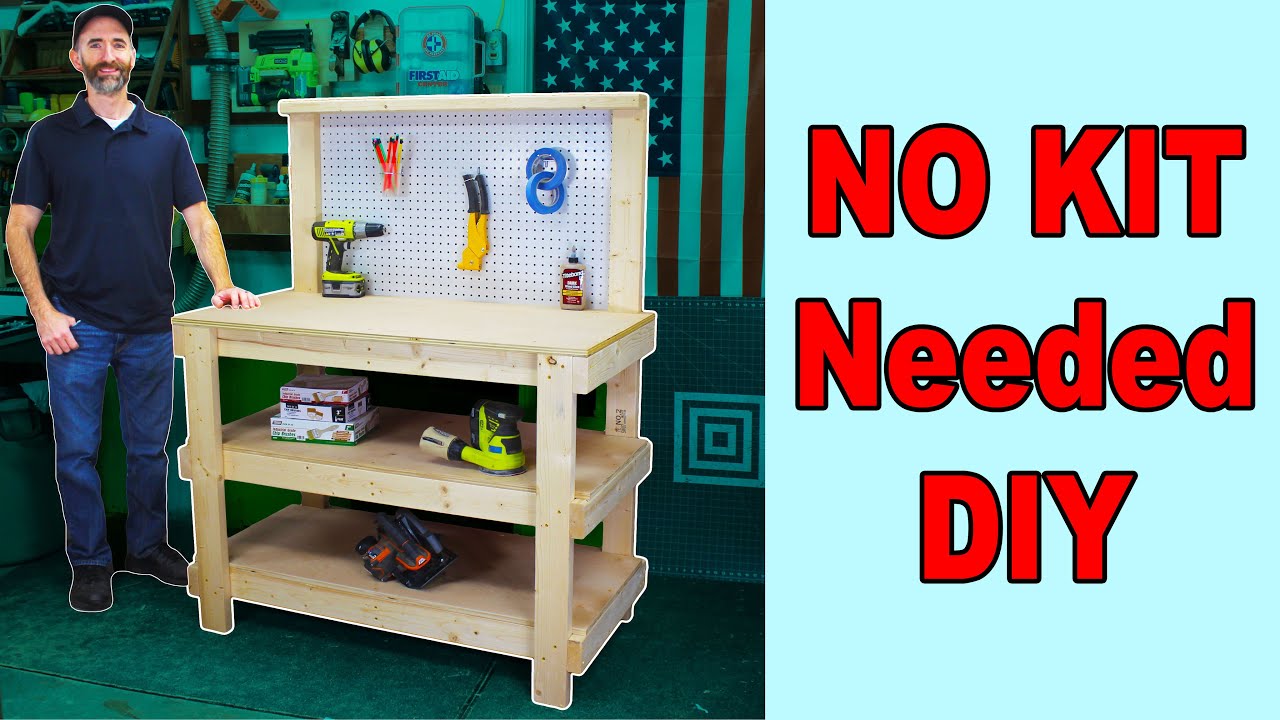
Here’s a simple, heavy-duty workbench you can build without a kit for around $100. Let’s get into it.
We’re basing the frame on 2x4s because they’re cheap and you can find them anywhere. I sketched up a quick plan — three shelves total, with the top one being the actual workbench, and a little riser in the back so I can attach pegboard for hanging tools. The design has room for upgrades later.
- 8 – 2x4s (8 ft long)
- 1 sheet – 3/4" pine plywood (4x8 ft) – about $50
- 1 sheet – pegboard (2x4 ft) – about $13
- 1 box – 2.5" wood screws – about $11
- Small bag – 1" screws for pegboard – about $2
- Miter saw or circular saw
- Drill with bits
- Clamps
- Square or straight edge
- Sandpaper
Total: ~$104 (a little over the $100 goal, but worth it)
Step-by-Step Guide
1. Cut the Legs
Start with the back legs. They’re the longest boards at 59 inches, so pick the straightest, best-quality 2x4s for these. Wood quality has dropped over the years — look for boards with few knots and no warping.
Use the remaining wood to cut the front legs at 36 inches. After each cut, sand off any splinters.
2. Cut the Shelf Frames
You’ll need:
- 6 pieces at 45 inches (long sides)
- 6 pieces at 24 inches (short sides)
- 3 pieces at 18 inches (center supports under shelves)
- 1 piece at 45 inches (top support across back legs)
That’s a lot of numbers, so here’s the cut list:
- Back legs: 2 @ 59"
- Front legs: 2 @ 36"
- Shelf long sides: 6 @ 45"
- Shelf short sides: 6 @ 24"
- Shelf center supports: 3 @ 18"
- Top back support: 1 @ 45"
You can make this workbench with just 8 two-by-fours.
3. Assemble the Shelf Frames
Work on a flat surface — your workbench or the floor (find the flattest spot). Place the 24" board on the outside of the 45" board. The legs will go on the outside later. Use a square to keep it straight, clamp it, and pre-drill holes to prevent cracking. Drive two 2.5" screws into each corner. Repeat for all four corners.
Add the 18" center support board. Line it up in the middle and screw it in on each side. Do this for all three shelf frames.
Flip each frame upside down and check for warping. The flattest frame becomes your workbench top — the other two can be a little off.
4. Attach the Legs
Take your top frame (the flattest one) and place it upside down. Clamp a front leg into the corner you prepared. Drive two screws through the frame into the leg on each side. Do the same for the other front leg.
Flip the whole thing on its side. Now clamp the back legs into place. Before screwing them in, measure the front legs (mine were 32.5" from the top of the frame to the bottom) and make sure the back legs match.
5. Position the Shelves
Slide the other two shelf frames into place temporarily. Make sure everything fits without binding. Leave at least 4 inches from the bottom shelf to the floor so your feet can slide under. Measure the space between the bottom shelf and the top of the workbench, then position the middle shelf evenly. Remember to account for the plywood that will sit on top.
Clamp each shelf in place and screw through the legs into the frame.
6. Cut and Install the Plywood Tops
If you’re doing heavy work (hammering, drilling, heavy tools), use 3/4" plywood. For lighter stuff like crafts, 1/2" plywood works fine — the frame is already rigid. The price difference is about $8 per sheet.
For the top workbench, cut the plywood to 2 ft x 4 ft. For the lower shelves, make them a little narrower — inset them about 1.5 inches from the front of the legs so you don’t bump your knees.
You’ll need to notch the plywood for the back legs. You can cut a full notch that wraps around the leg, or make two simple cuts to wedge it in. I went with the simple cuts and it fit perfectly on the first try — that almost never happens.
The lower shelves don’t need much fastening — they’re sandwiched between the 2x4s. But put a screw on each end to keep them from shifting. For the top, use 6-8 screws. Pre-drill to avoid cracking the plywood.
7. Add the Back Support
Install the 45" board across the back legs. I mounted mine with a slight overhang toward the front because I have upgrade plans. You can mount it flush if you prefer.
8. Attach the Pegboard
Get a 2x4 ft sheet of pegboard. It’s 48" wide, but your frame is 45" wide. Trim it down to about 44.5" so it sits just behind the back frame. Attach it with flat-head screws.
How Sturdy Is It?
Oh yeah — that thing isn’t moving at all. Solid.
Cost Breakdown
- Plywood (3/4" pine): $50
- 8 – 2x4s: $28
- Pegboard: $13
- 2.5" screws: $11
- Small screws: $2
- Total: $104
We went a little over the $100 goal, but for a workbench this solid, it’s worth it.
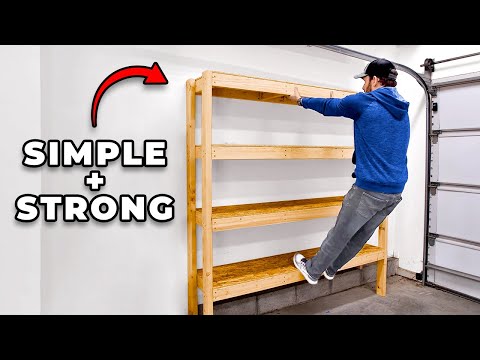
I’ve got upgrades planned for this bench in the next video — keep an eye out. In the meantime, check out those other workbench builds I mentioned.