What You'll Need
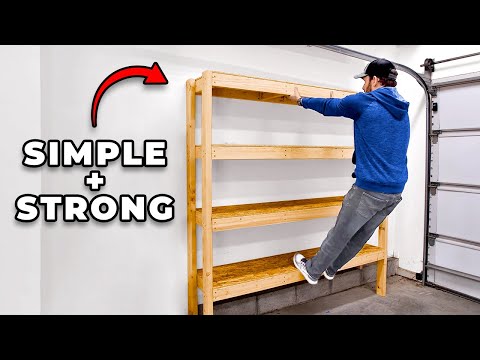
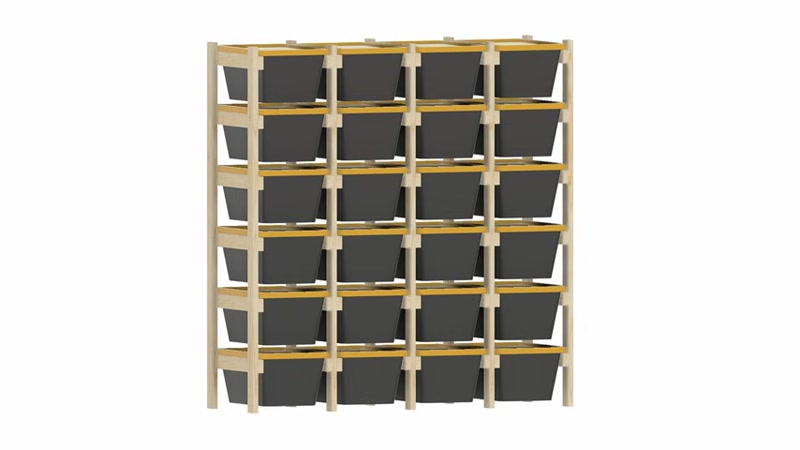
Looking for more storage space in your garage? This simple DIY tote rack system is the perfect solution. Using just a drill and a saw, you can build a sturdy storage system that keeps your plastic totes organized and easily accessible.
Materials
- 2x4 lumber (for vertical pieces and cross supports)
- 1x4 lumber (for top and bottom headers/footers)
- 1-1/4 inch pocket hole screws
- 2-1/2 inch wood screws (for attaching to ceiling joists)
- Wood glue (optional, for extra strength)
Tools
- Drill/driver
- Saw (miter saw recommended, but handsaw works)
- Pocket hole jig
- Tape measure
- Level
- Safety glasses
- Stud finder
Step-by-Step Guide
Step 1: Measure Your Space
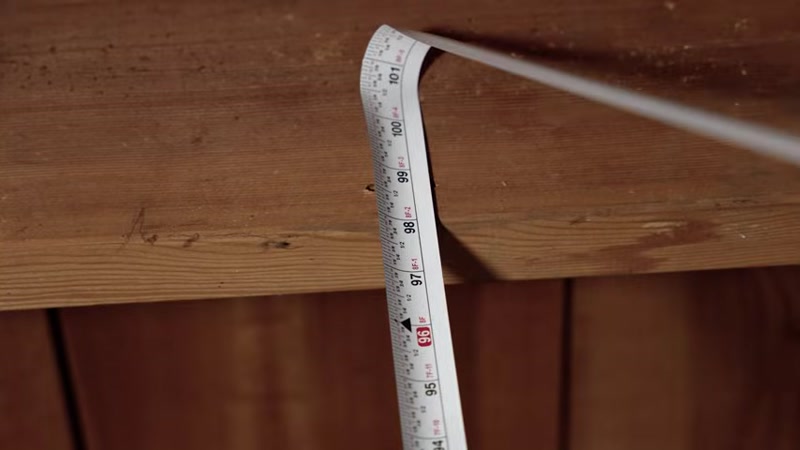
Start by measuring your garage wall height. This system works best with ceilings that are at least 8 feet tall. If your ceiling is under 8 feet 2 inches, use 1x4 lumber for the top and bottom pieces instead of 2x4s to save space.
Step 2: Mark the Cross Piece Positions

For the vertical ladder sections, mark the positions for your cross pieces (the rungs that will hold the totes). For standard 27-gallon totes:
- First cross piece: 14 inches from the bottom
- Middle cross pieces: 16 inches apart from each other
- Top cross piece: 15-1/2 inches from the one below it (this extra space makes it easier to slide totes in and out at height)
Step 3: Cut All Your Lumber
You'll need 48 stretchers (cross pieces) for a full system. Use a miter saw for quick, accurate cuts, or a handsaw if that's what you have. Cut your 2x4s to the following lengths:
- Vertical pieces: Measure your wall height minus 3 inches
- Cross pieces: 30 inches long (for standard totes)
- Headers and footers: Match your wall width
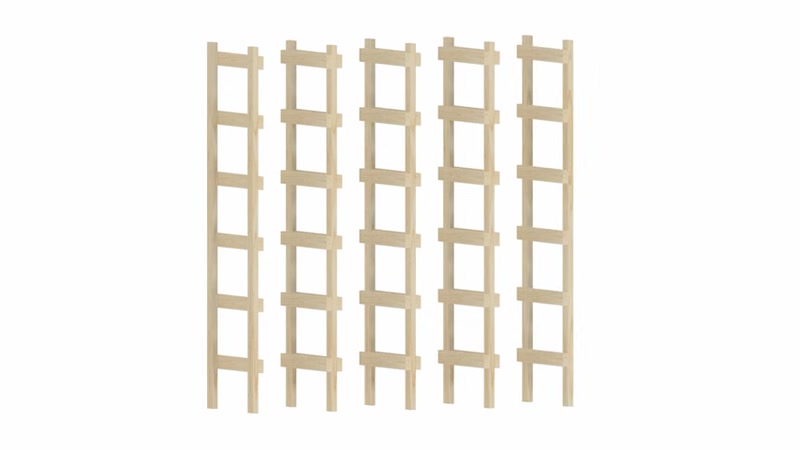
Step 4: Build the Ladder Sections

Assemble the front and back ladder portions on the ground if you have space. This makes it easier to drill from both sides. Use your pocket hole jig to create holes in the face of the 2x4s, then screw the cross pieces in place at your marked positions.
Note: If you don't have room to assemble on the ground, build the ladders directly against the wall using pocket holes.
Step 5: Create the Tote Spacing
You'll need one ladder section at each end of the rack. For the center sections, sandwich two ladder sections together so totes can sit on both sides. When measuring the spacing between ladders:
- Leave 21 inches of space for standard totes
- Add 1/4 inch wiggle room so totes slide in and out easily
Step 6: Install Headers and Footers
Attach the 1x4 or 2x4 top and bottom pieces across the ladder sections to keep everything upright and maintain correct spacing. Screw through the headers into the vertical pieces.
Step 7: Secure the Rack

The rack may rock back and forth slightly once assembled. For stability, screw the top of the rack into your ceiling joists using 2-1/2 inch wood screws. Use a stud finder to locate joists before drilling.
Safety Warning: Always wear safety glasses when cutting or drilling. Use a helper when lifting assembled sections into place.
Tips for Success
- Check tote dimensions first: Not all 27-gallon totes have the same measurements. Measure your actual totes before cutting any lumber.
- Consider 2x3 lumber: You can build the entire rack using 2x3s instead of 2x4s to save about 25% on material costs. Check availability at your local store.
- Add wiggle room: Always add 1/4 to 1/2 inch extra space when spacing the ladders. Totes need room to slide in and out without sticking.
- Attach to structure: If you can't attach to the back wall (due to pipes or other obstacles), ceiling attachment works great. For concrete walls or floors, use powder-actuated nails or concrete screws.
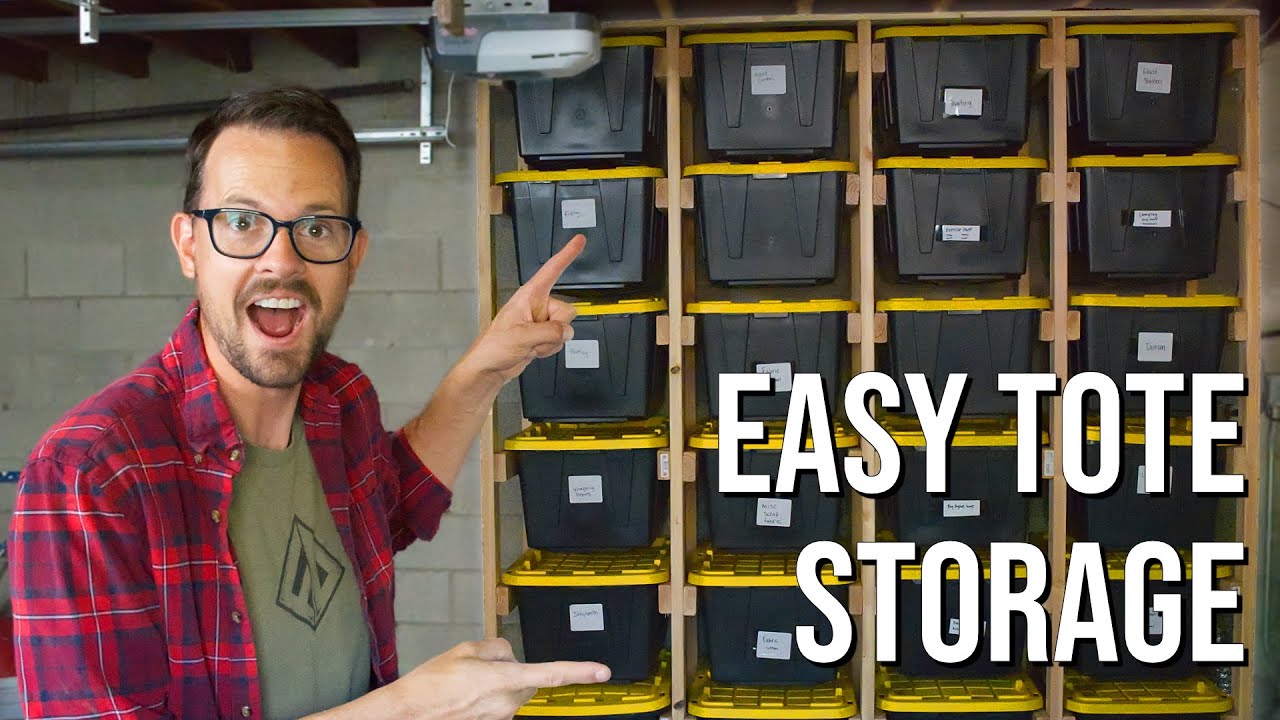
- Label your totes: Once your rack is built, label the ends of your totes so you can easily find what you need without pulling everything out.