What You'll Need
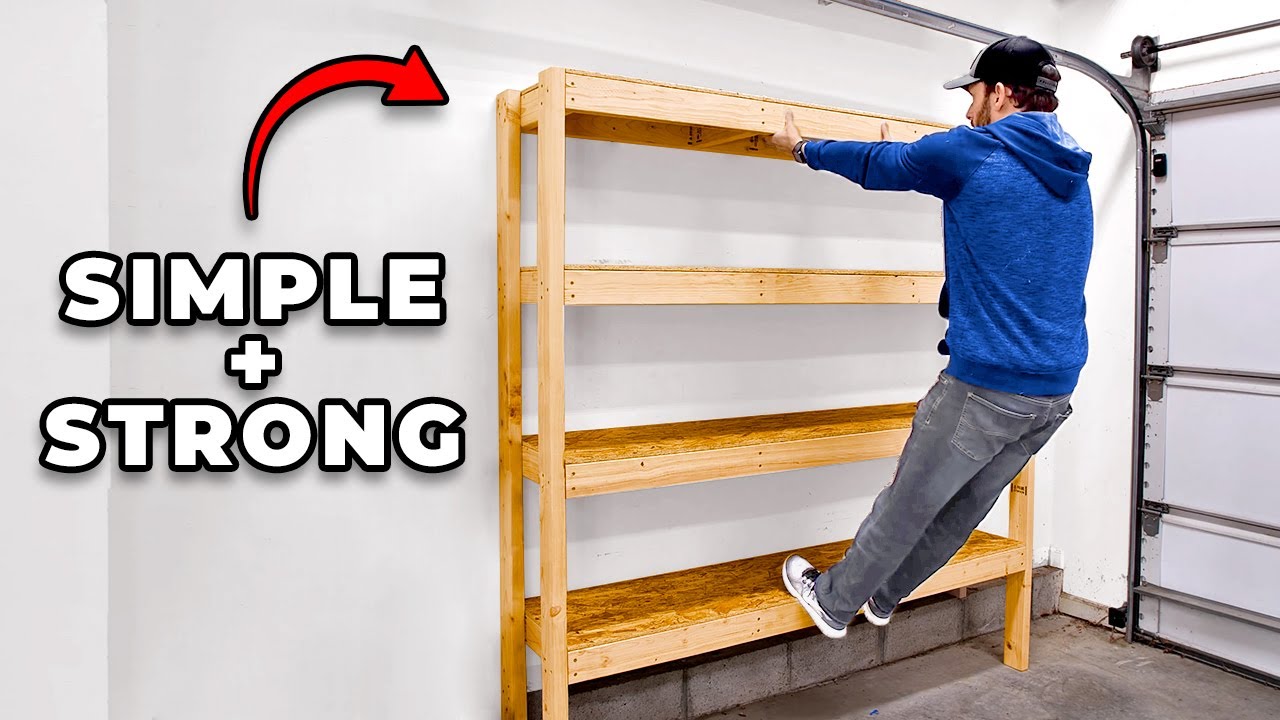
If you're tired of flimsy store-bought shelving that sags under the weight of your tools and supplies, this DIY project is for you. With just 12 two-by-fours and a single sheet of OSB, you can build custom garage shelves that are stronger, cheaper, and built to last. Let's get started.
Materials:
- 12 pieces of 2x4 lumber (standard 8-ft lengths)
- 1 sheet of 7/16-in OSB (oriented strand board), 4x8 ft
- 2 1/2-in #10 self-tapping screws (about 100-120 screws)
- 3-in screws (for attaching to wall studs)
- Brad nails or 1 1/4-in screws (for attaching OSB tops)
Tools:
- Circular saw or miter saw
- Measuring tape
- Carpenter square
- Clamps (at least 2-3)
- Drill/driver with screwdriver bits
- Level
- Magnet (for finding drywall screws)
- Safety glasses and ear protection
Step-by-Step Guide
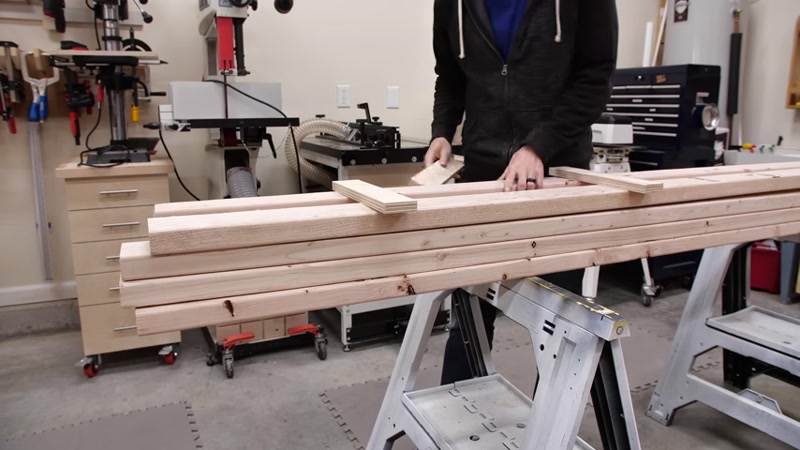
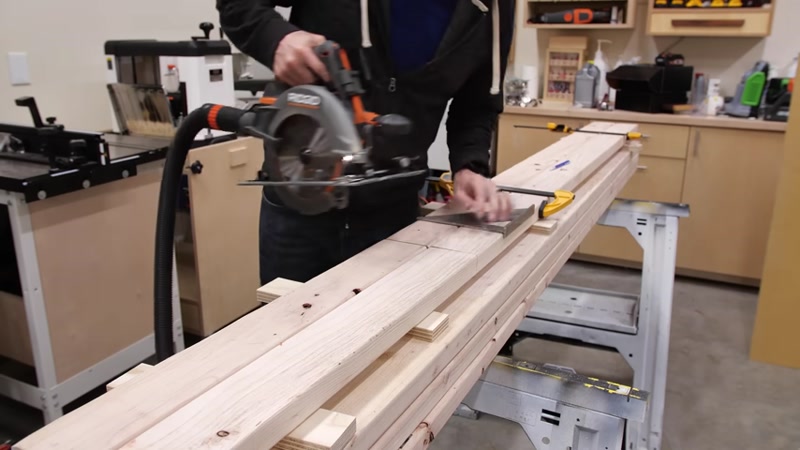
1. Cut the 2x4s to Length
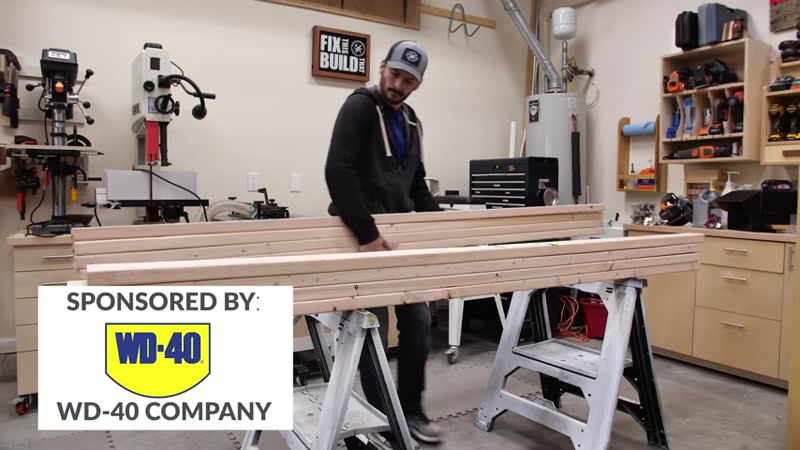
Start by cutting your 2x4s for the shelf frames. For a 6-ft long by 16-in deep shelf, cut eight 2x4s to 69 inches for the long shelf boards. Then cut 13-inch pieces for the cross braces—you'll need 16 of these (4 per shelf, 4 shelves total).
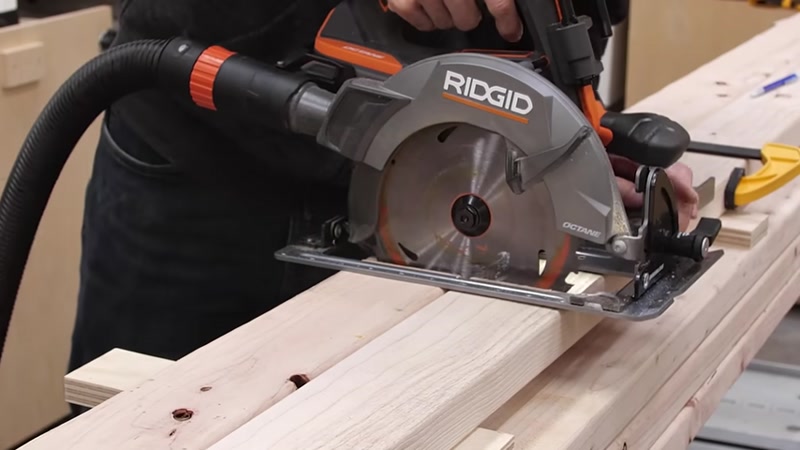
Pro tip: Stack two 2x4s together and clamp them before cutting to speed things up. Use a carpenter square as a saw guide for straight cuts.
2. Cut the OSB Shelf Tops
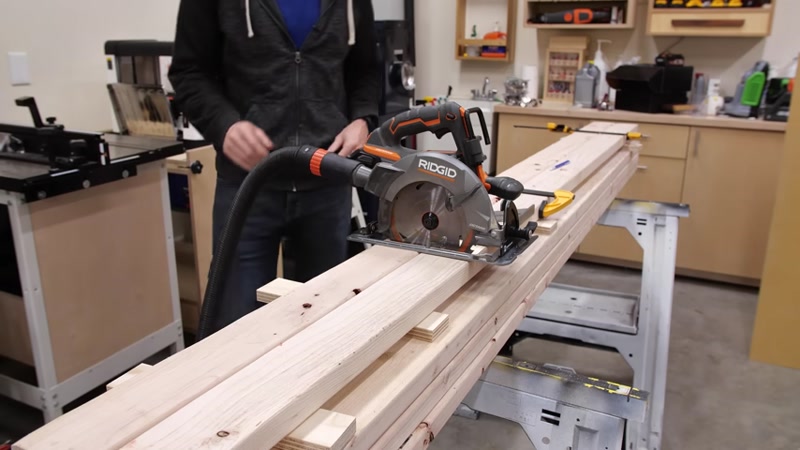
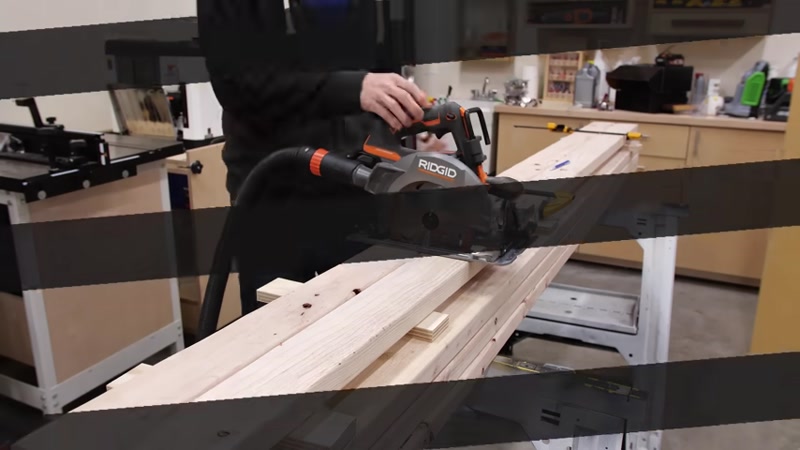
Lay your OSB sheet on top of the 2x4s you'll use for legs—this makes a great cutting surface. Cut three 16-inch-wide strips from the 8-ft length of the sheet. Each strip will give you one shelf top.
For a straight cut without a fancy guide: Measure the distance from your saw's edge to the blade (typically 1 1/2 inches). Clamp a straight 2x4 that distance from your cut line, then ride the saw base against it.
Cut each 16-in strip down to 69 inches to match the shelf frames. Save the offcuts—you'll use the 23-inch pieces to make the top shelf surface.
3. Assemble the Shelf Frames

Find a flat spot on your garage floor for assembly. Lay out two long 69-inch 2x4s parallel to each other. Mark 23 inches in from each end to locate the inner braces.
Place four 13-inch cross braces between the long boards: one at each end and two at the 23-inch marks. Screw them in place using three 2 1/2-in screws per connection.
Check the crown (curve) of each board before assembly. Make sure all crowns face the same direction—this prevents warping during assembly.
4. Attach the OSB Tops
Place the OSB pieces on top of each assembled frame. Use brad nails or screws to attach them, spacing fasteners every 8-10 inches along each 2x4.
Important: Cut the OSB slightly undersized (about 1/16 inch shorter than the frame). A small gap is fine and prevents overhang issues when attaching legs.
5. Cut and Prepare the Legs
Cut the left-side legs to 75 1/2 inches. For the right side, check your garage floor slope. Place a level on a straight 2x4, shim one end until level, and measure the gap. For most garages, you'll need to cut the right legs slightly longer—about 76 inches for a 1/2-inch drop over 6 feet.
6. Assemble the Shelving Unit
Work upside down for easier assembly. Start with the top shelf and attach the legs, making sure the shorter legs go on the correct end. Use three screws per leg connection.
Space the remaining shelves using 15-inch spacers cut from leg offcuts. Place a spacer at each corner, then set the next shelf on top. Check for squareness and adjust before securing with screws.
7. Install the Shelves in Your Garage
Enlist a helper to lift the unit into position. If your garage has a concrete curb at the base, mark and cut the back legs to fit over it.
Use a magnet to find drywall screws, which mark your stud locations. Move the shelving into place and secure it to wall studs using 3-inch screws—at least two screws per stud.
Tips for Success
- Prevent saw kickback: Keep support blocks close together under your workpiece. A board that rocks during cutting can pinch the blade and cause dangerous kickback.
- Cut OSB slightly undersized: A 1/16-inch gap at the ends prevents overhang issues when attaching legs. The rounded edges of the OSB will hide small gaps.
- Check floor flatness before assembly: Garage floors are rarely level. Find the flattest area for assembly to ensure your shelves come together square.
- Use self-tapping screws: They eliminate the need for pilot holes and reduce the chance of splitting wood, especially near the ends of boards.
- Secure to wall studs: These shelves are heavy and can tip forward. Always anchor them to wall studs, not just drywall.