What You'll Need
Here is a DIY tutorial article based on the provided transcript.
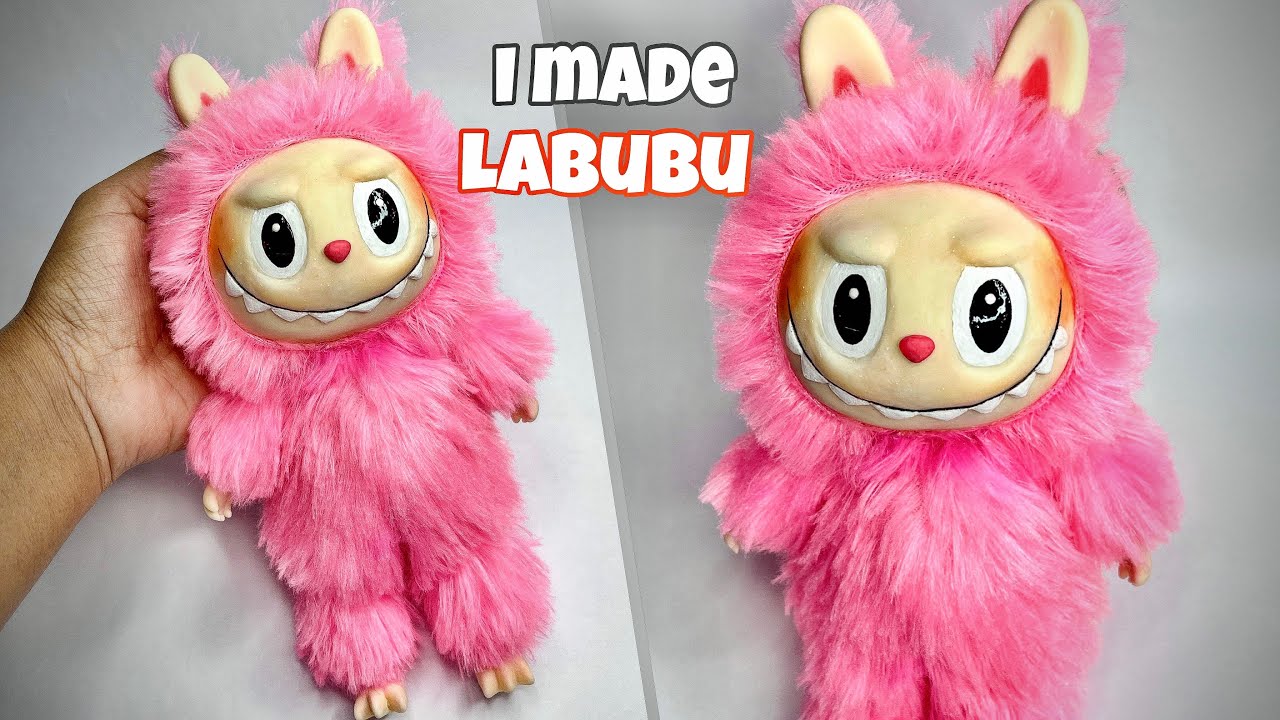
# How to Make a Fluffy Labubu Monster from Clay and Teddy Bear Fur
This tutorial will guide you through creating a unique, fluffy Labubu monster using cold porcelain clay and real teddy bear fur. This project combines sculpting, painting, and soft-sculpture techniques to create a cute but slightly creepy collectible. Let’s get started!
- Materials:
- Cold porcelain clay (or air-dry clay)
- An old teddy bear (for the fur)
- Aluminum foil
- White and pink acrylic paint
- Soft pastels (for blush)
- Clear nail polish or resin (for eye shine)
- Thread (matching the fur color)
- Hot glue sticks
- Paper (for a template)
- Tools:
- Clay sculpting tool (with a flat end)
- Paintbrushes (fine detail and larger brushes)
- Scissors
- Sewing needle
- Comb or brush (for the fur)
- Pins (sewing pins)
- Hot glue gun
- Airbrush or small blending sponge (for pastels)
Step-by-Step Guide
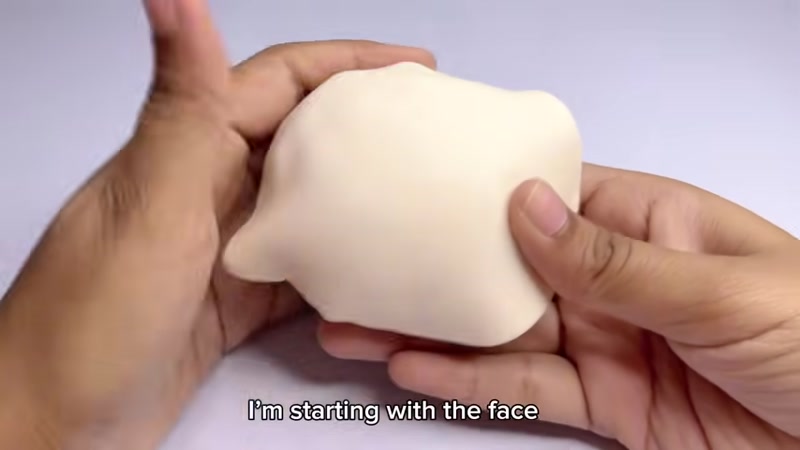
1. Sculpt the Face

Start by forming a large, round ball of cold porcelain clay. Dip your finger in water and smooth the surface of the clay until there are no creases or fingerprints. This will be the monster's face. Refer to a drawing or picture of Labubu to keep your proportions accurate.
2. Mark and Paint the Facial Features
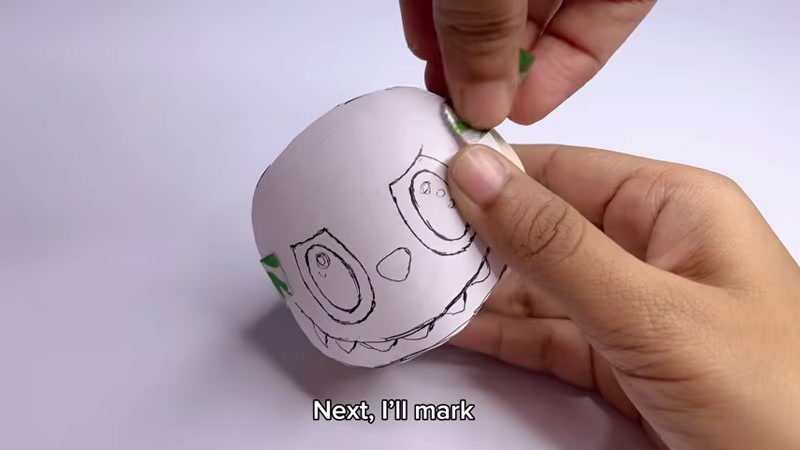
Using a sculpting tool, lightly mark tiny dots for the eyes, nose, and mouth. Connect these dots to create a guide for the face. Paint the iris of the eyes a rich, deep color so it stands out against the white. Then, paint the signature sneaky smile. Attach a small pink clay ball for the nose.
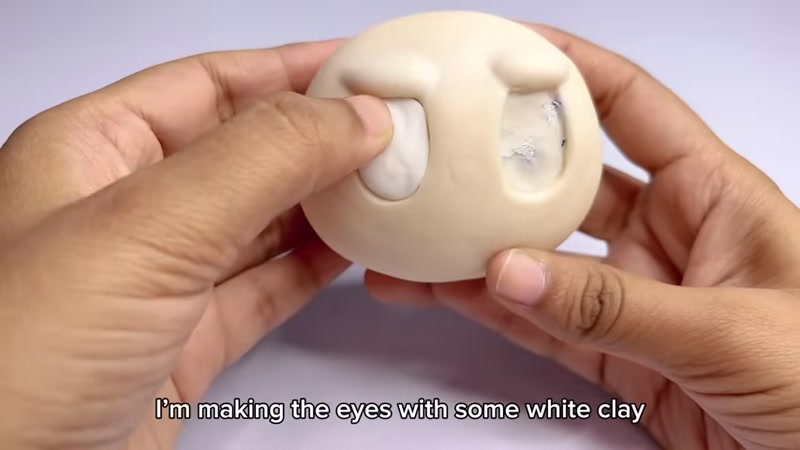
3. Create the Teeth and Blush

The teeth are the most important part for personality. Make nine tiny triangles from clay (five on the right, four on the left) and attach them to the smile line. Paint the teeth white. Use a soft pastel to add blush to the cheeks, blending it with an airbrush or a sponge for a soft finish. If the face looks flat, add a bit more clay to build up the cheek area.
4. Prepare the Fur Base

Take the fur from the old teddy bear. Brush it with a comb to separate the fibers and make it look soft. To give the head a round shape, ball up some aluminum foil and place it on top of the clay head.
5. Attach Fur to the Head

Apply a layer of glue to the top of the clay head. Stick small sections of fur onto the glue, working bit by bit. This takes time but makes the monster look soft and real. At the back of the head, fold the fur over and stitch it in place with a needle and thread. This is more secure than glue.
6. Create and Fur the Body

Make a triangular paper cone and wrap it with aluminum foil to create the body shape. Apply glue to the foil and stick fur onto it. Sew the fur closed along the seam, folding the open ends at the top and bottom and sewing them shut.
7. Attach the Head to the Body

Apply glue to the top of the body where the head will go. If the head is wobbly, use a needle to pin the head to the body, then sew them together securely. If the head still looks flat, add another layer of fur and sew it on.
8. Sculpt the Hands and Feet
Using a flat tool, sculpt small hands with tiny fingers. Bend the fingers slightly for a natural look. Create the legs in the same way, but note that the feet only have three toes. Make small ears from clay and attach them to the fur.
9. Construct the Arms and Legs

Fold aluminum foil into thin arm and leg shapes. Wrap the foil with fur. Insert a small pin into the hand and foot, then attach them to the fur-covered arms and legs. This pin will help keep the hands and feet from breaking off.
10. Assemble the Limbs and Add Details
Use hot glue to attach the arms and legs to the body. Color the nose a slightly darker pink. Color the inside of the ears pink. Insert pins into the head where the ears will go, then hot glue the ears in place. Brush and trim the fur to shape the body.
11. Final Touches

Add a tiny dot of white paint to the eyes to make them look alive. Sew a line down the belly (if desired). Shade the neck area with dark pink paint to add depth. Finally, apply clear nail polish to the eyes to give them a shiny, resin-like finish.
Tips for Success
- Work in Sections: Attaching the fur bit by bit is tedious, but it prevents lumps and ensures a smooth, realistic look.
- Use Pins for Stability: When attaching small parts like hands, feet, and ears, insert a pin first. This acts as an anchor and prevents the pieces from moving or falling off.
- Don't Skimp on the Fur Brushing: Regularly brushing the fur with a comb makes a huge difference in the final look, making it soft and fluffy instead of matted.
- Sewing is Stronger than Glue: While hot glue is convenient, sewing the fur closed and attaching the head will create a much more durable toy that won't fall apart.
- Trim the Fur: After attaching everything, use scissors to trim the fur around the face, ears, and limbs. This defines the shape and gives the monster a polished, finished appearance.


