What You'll Need
Welcome to the wonderful world of crochet! Whether you want to make cute amigurumi toys like ducks or distractions, or simply create cozy scarves, this beginner-friendly guide will take you from zero crochet knowledge to confidently making your first stitches. Let's get started!
- 5.0 millimeter crochet hook – This is the ideal size for making amigurumi (small stuffed toys)
- Worsted weight acrylic yarn – Red Heart Super Saver in a light color works great (light colors make it easier to see your stitches)
- A pair of scissors – For cutting your yarn when finished
Step-by-Step Guide
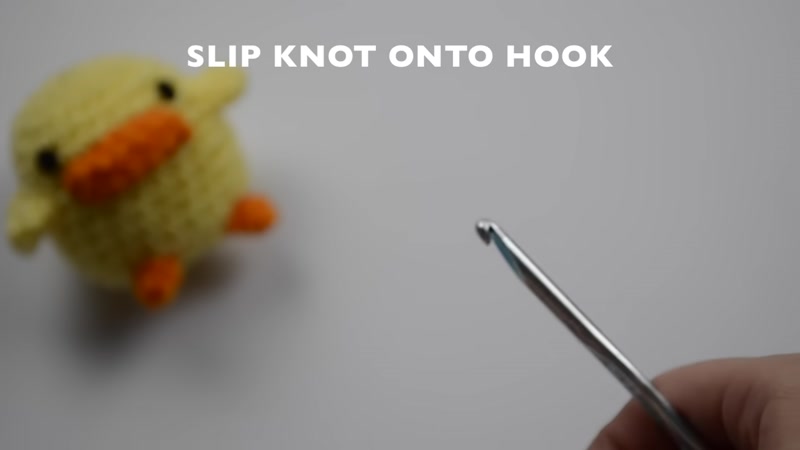
Step 1: Make a Slip Knot

Your crochet journey starts with a slip knot on your hook. Here's how:
- Stick out two fingers (index and middle)
- Wrap the yarn behind your fingers and bring it back to the front
- Hold onto the "X" portion where the yarn crosses
- Insert your crochet hook under the yarn loop
- Slide your thumb over to hold the short end
- Go behind the short end and keep moving upward
- Slide the loop off your fingers
- Pull gently to tighten – the knot should be adjustable (you can make it bigger or smaller)
Step 2: Hold Your Yarn and Hook

Hook Grip Options:
- Pencil grip – Hold the hook like you would a pencil
- Knife grip – Hold the hook like a knife (recommended for beginners)
Yarn Tension Method:
- Hook the long yarn portion with your pinky finger
- Make a "gun" shape with your index finger and thumb
- Bring your index finger under the yarn to create tension
- Pinch the slip knot or tail end between your middle finger and thumb
- Keep the tension tight but not too tight
Step 3: Practice the Chain Stitch

The chain stitch is the foundation of all crochet projects.
- Hold your hook like a knife
- Go underneath the yarn (yarn over)
- Look downward with your hook
- Pull through the loop on your hook
- You've just made one chain stitch!
Important: Keep your loops small. If your loop is too big, you'll get loose, uneven stitches. Move your fingers up close to the hook before pulling through.
Homework: Practice making 100 chain stitches. Don't worry if they look uneven at first – muscle memory will develop with practice!
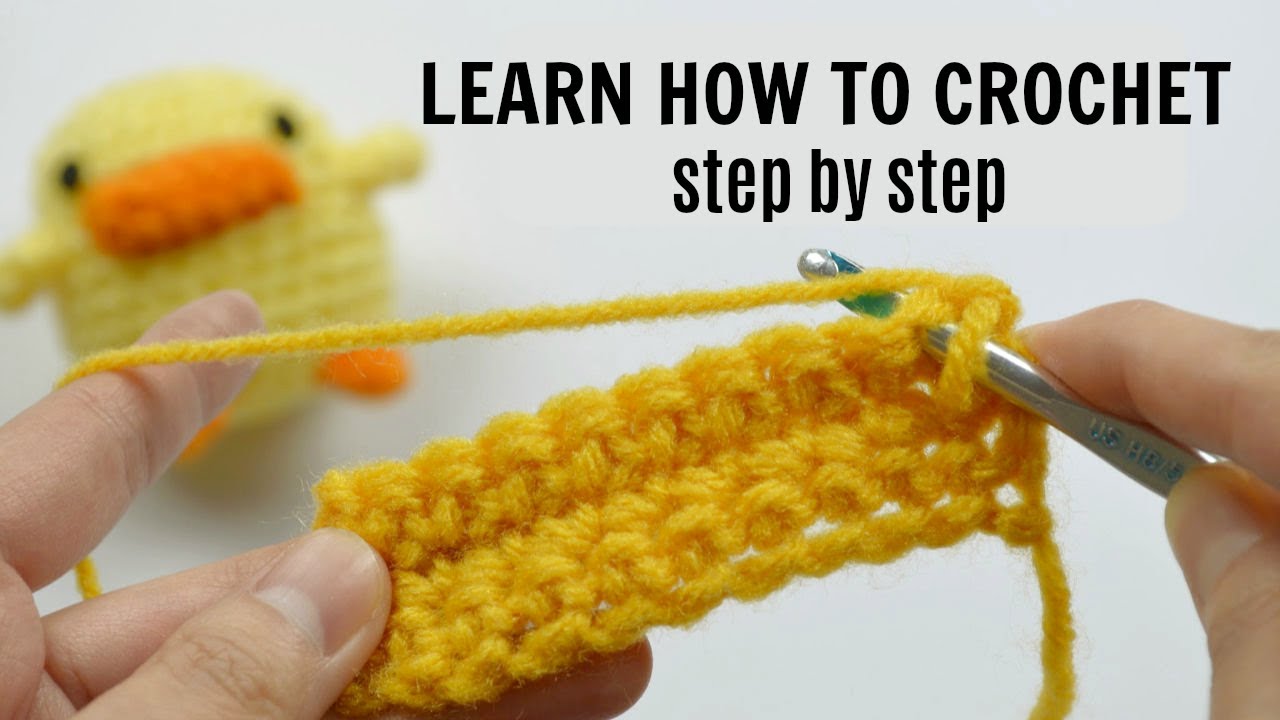
Step 4: Learn the Single Crochet Stitch
Now let's build on your chains with single crochet stitches in rows.
First Row:
- Make 11 chain stitches
- Insert your hook into the second chain from the hook (skip the first chain)
- Yarn over and pull back through – you should have 2 loops on your hook
- Yarn over again and pull through both loops
- That's your first single crochet stitch!
Continue across the row:
- Insert hook into the next chain
- Yarn over, pull through (2 loops on hook)
- Yarn over, pull through both loops
- Repeat until you've made 10 single crochet stitches total
Second Row and Beyond:
- Chain 1 (this is your turning chain)
- Turn your project over
- Insert your hook under both loops of the first single crochet stitch (not the chain)
- Yarn over, pull through (2 loops)
- Yarn over, pull through both loops
- Continue across – you should end with 10 stitches
Pro Tip: Always count your stitches at the end of each row to make sure you haven't accidentally skipped or added any stitches.
Step 5: Keep Building Your Skills

Continue practicing rows of single crochet stitches. This technique is how you create:
- Scarves (just keep going back and forth until you reach your desired length)
- Washcloths
- The foundation for amigurumi toys
When you feel comfortable with these basics, you're ready to try making simple amigurumi projects like the duck mentioned in the tutorial!
Tips for Success
- Count your stitches – At the end of each row, count to ensure you have the correct number (10 stitches in our practice). Missing stitches is the most common beginner mistake.
- Watch your tension – Keep your loops small and consistent. Loose loops create messy stitches. Practice until your tension feels natural and even.
- Use light-colored yarn – Dark colors make it hard to see your stitches. Light colors like cream, pastel yellow, or light pink are much easier for beginners.
- Don't rush – Crochet is meant to be relaxing. Take your time, and remember that uneven stitches are completely normal when you're starting out.
- Practice makes permanent – The more you practice, the more muscle memory develops in your hands. Aim for 15-20 minutes of practice daily.


