What You'll Need
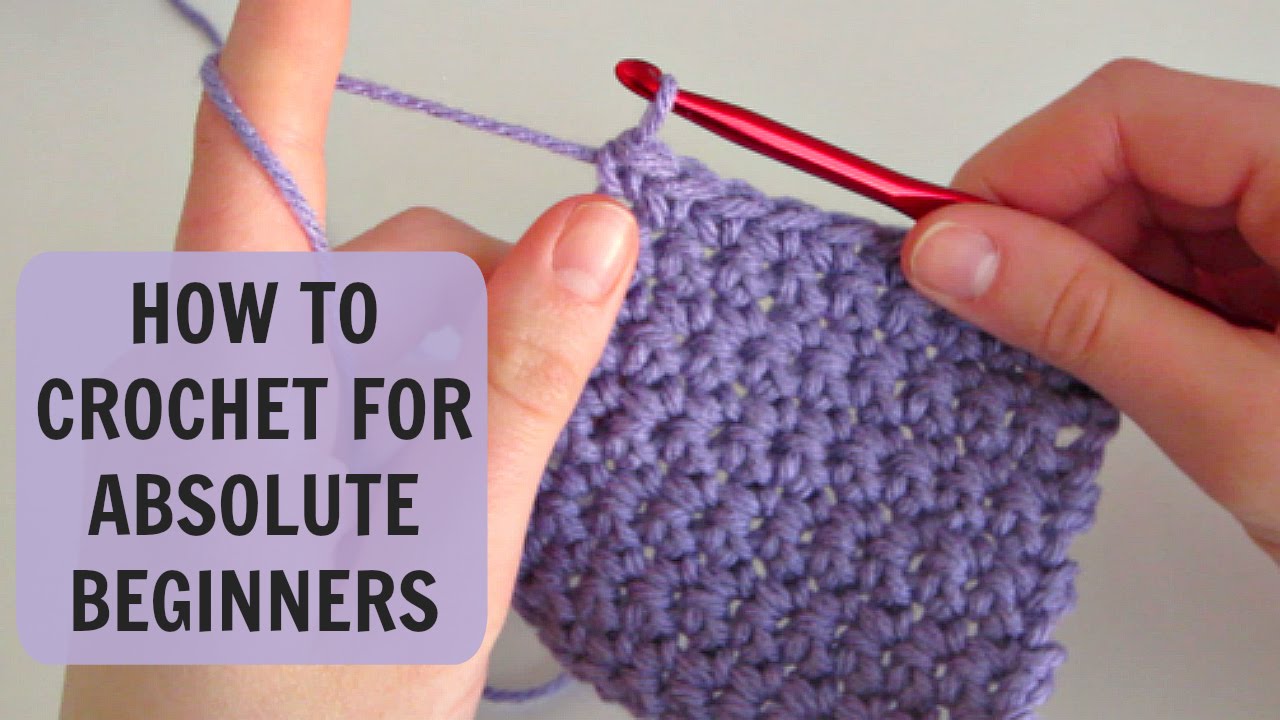
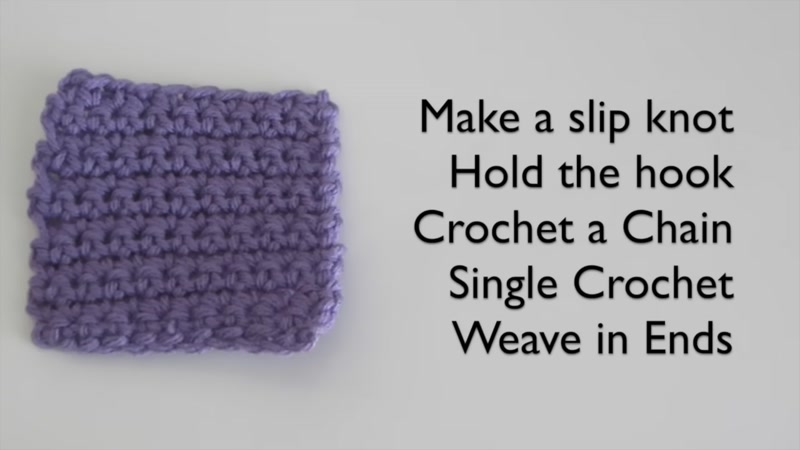
Welcome to the wonderful world of crochet! This tutorial will teach you the four essential skills every beginner needs: making a slip knot, holding your hook and yarn, crocheting a chain, and working a single crochet stitch. By the end, you'll have a finished swatch and the confidence to start your first project.
Materials:
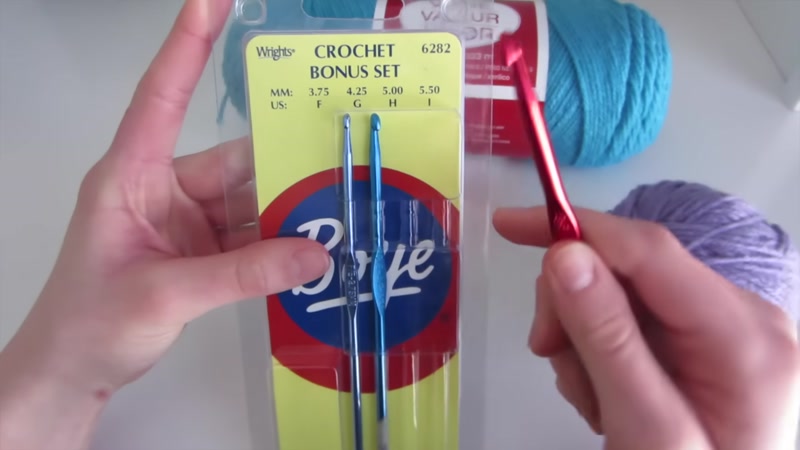
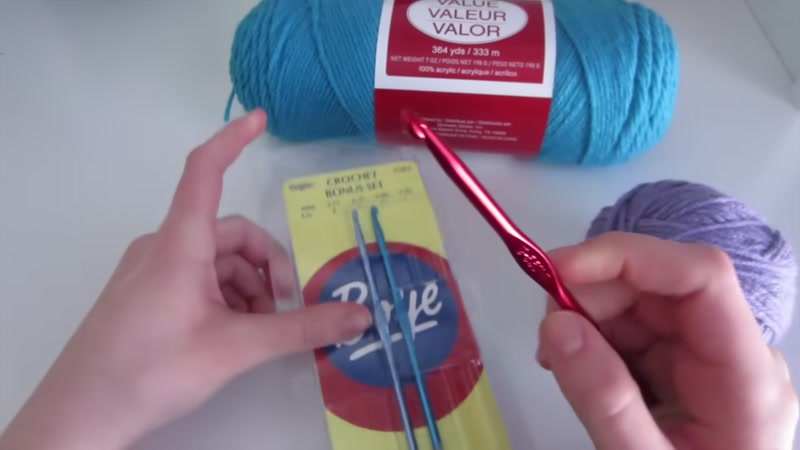
- Yarn (100% acrylic worsted weight is recommended for beginners)
- Aluminum crochet hook (5.5 mm / size I-9 is a great starting size)
- Scissors
- Yarn needle (with a wide eye for weaving in ends)
Optional but helpful:
- Set of aluminum crochet hooks in various sizes for future projects
Step-by-Step Guide
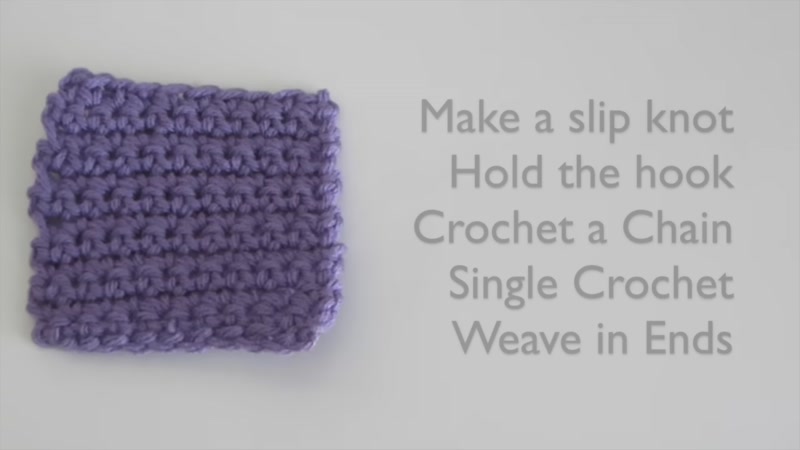
Step 1: Make a Slip Knot
The slip knot is how you attach your yarn to the crochet hook.
- Hold the yarn with your index finger pointing downward.
- Twist the yarn upward to create a loop.
- Put your thumb through that same loop.
- Grab the tail end of the yarn with your index finger and thumb.
- Pull the tail through the loop to create a new loop.
- Insert your crochet hook into this new loop.
- Pull the working yarn to tighten the knot around the hook.
The slip knot should slide easily on the hook but not be too loose.
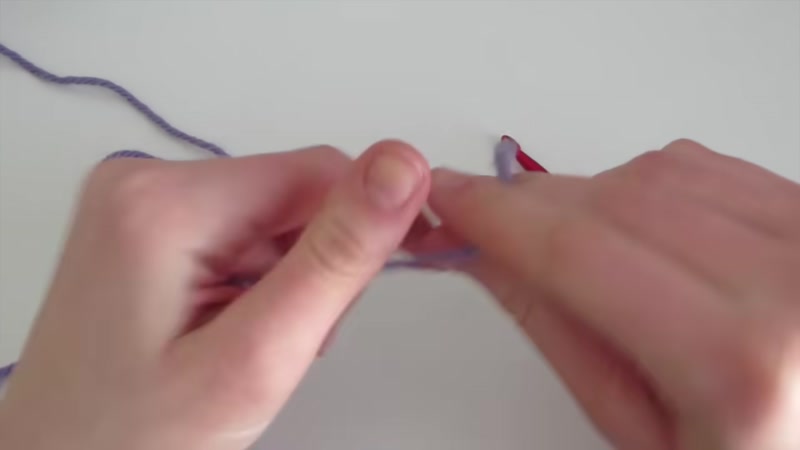
Step 2: Hold Your Crochet Hook and Yarn
Crochet hook grip:
- Hold the hook with your thumb and fingers resting on the flat indent (if your hook has one).
- Grip it like you're holding a knife to cut food.
Yarn tension:
- With your left hand, thread the yarn through your fingers as if pointing at something.
- Wrap the yarn around your pointer finger.
- Hold your work (the slip knot) between your middle finger and thumb.
This tension method keeps the yarn from tangling and helps you maintain even stitches.
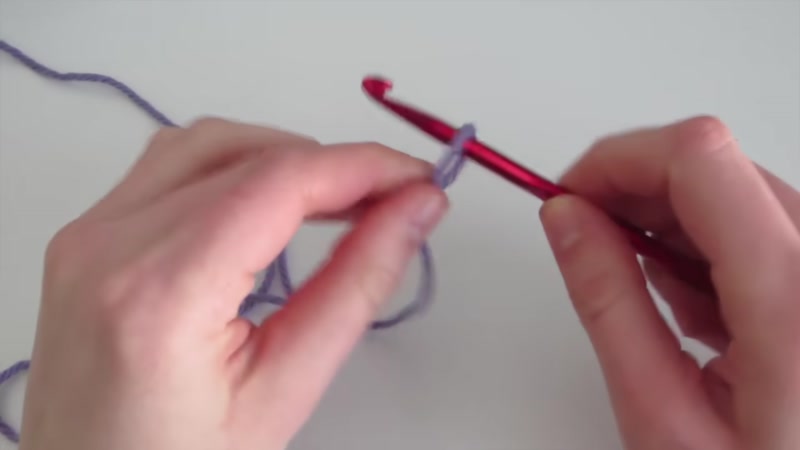
Step 3: Crochet a Chain (Foundation Chain)
The chain stitch is the foundation of most crochet projects.
- Hold the hook with the slip knot in place.
- Yarn over: Twist the hook away from you, then bring it behind the yarn strand. The hook should be on the left side of the yarn.
- Turn the hook to face toward you, then slightly toward your left hand.
- Pull through: Pull the hook downward and through the loop on your hook.
- You've made one chain stitch! It looks like a small "V."
Repeat steps 2-4 to make more chains. Practice this motion until it feels smooth:
- Yarn over (hook away from you, behind the yarn, left side)
- Turn hook toward you
- Pull through the loop
Make a chain of 11: Count each "V" shape as one chain. You should have 11 V's when finished.
Step 4: Work a Single Crochet
Single crochet is the most basic stitch and creates a dense, sturdy fabric.
First row:
- Skip the first chain (this is your turning chain).
- Insert your hook into the second chain from your hook. Go under the top loop of the "V."
- Yarn over: Bring the hook behind the yarn, then come back out through the stitch.
- You should now have two loops on your hook.
- Yarn over again (hook away from you, behind the yarn, left side).
- Pull through both loops on your hook.
You've completed one single crochet stitch! Repeat steps 2-6 into each remaining chain across.
Count your stitches: After working into all 10 chains (skipping the first one), you should have 10 single crochet stitches. Count the "V" shapes at the top.
Step 5: Start a New Row
- Chain 1: Yarn over and pull through the loop on your hook.
- Turn your work: Flip the piece so the back side faces you.
- Insert your hook under both loops of the "V" from the previous row (not just the top loop).
- Yarn over, come out, yarn over again, and pull through both loops.
Continue this pattern across all 10 stitches. At the end of each row, chain 1, turn your work, and start again.
Pro tip: If you make a mistake, don't panic! Simply remove your hook, gently pull the yarn to undo stitches back to your error, re-insert your hook, and redo those stitches.
Step 6: Finish and Weave in Ends
Once you've completed your desired number of rows (try 12 rows for a square swatch):
- Chain 1 after your last stitch.
- Pull the loop on your hook up to create a longer tail.
- Cut the yarn with scissors, leaving a 6-inch tail.
- Pull the tail through the loop and tighten to secure.
Weave in ends:
- Thread the yarn tail onto your yarn needle.
- Weave the needle through the back of several stitches in a zigzag pattern.
- Cut the excess yarn close to the fabric.
- Repeat on the other side if you have another tail.
Tips for Success
- Don't give up! Crochet takes practice. Your hands need time to learn the movements, and it will get easier with each row.
- Start slow. Focus on making each stitch correctly rather than speed. Speed comes naturally with practice.
- Count your stitches at the end of every row. This prevents your work from accidentally growing or shrinking.
- Use the right yarn. 100% acrylic worsted weight yarn is affordable, easy to work with, and holds its shape well for beginners.
- Keep your tension even. Try to pull each stitch with the same amount of force. If your stitches are too tight, loosen your grip; if too loose, tighten up.


