What You'll Need
The magic ring is a crochet technique that allows you to start projects in the round without leaving a gaping hole in the center. It's essential for making amigurumi, hats, coasters, and many other circular projects. While it has a reputation for being tricky, with patience and practice, you'll master it.
- Bulky weight yarn (size 5 or thicker) – a smooth, light-colored yarn is easiest to see and learn with
- Crochet hook – size recommended for your yarn (typically J/10 or K/10.5 for bulky yarn)
- Scissors
- Stitch marker (optional, for counting stitches)
Step-by-Step Guide
Step 1: Prepare Your Yarn and Hook
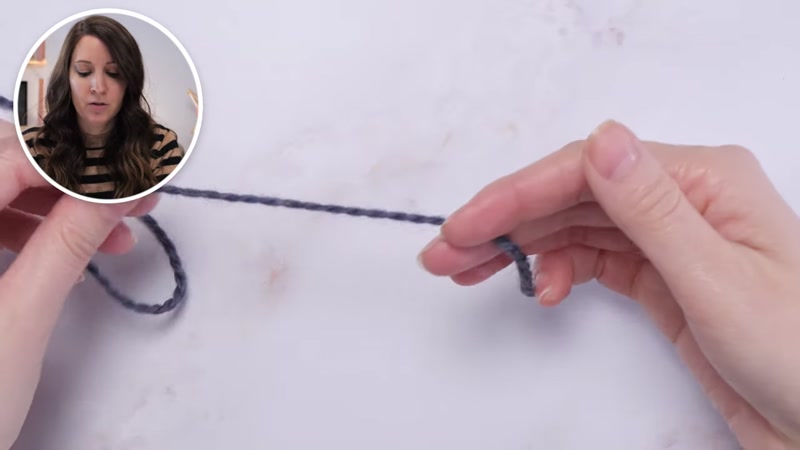
Hold the yarn tail in your non-dominant hand (left hand if you're right-handed). Leave yourself a tail about 6 inches long. Loop the yarn around your three middle fingers (pointer, middle, and ring fingers), then push the loop off toward the back of your hand.
You should now have a crisscross shape over your finger with the tail hanging down. Pinch the crossing point with your thumb to hold it in place.
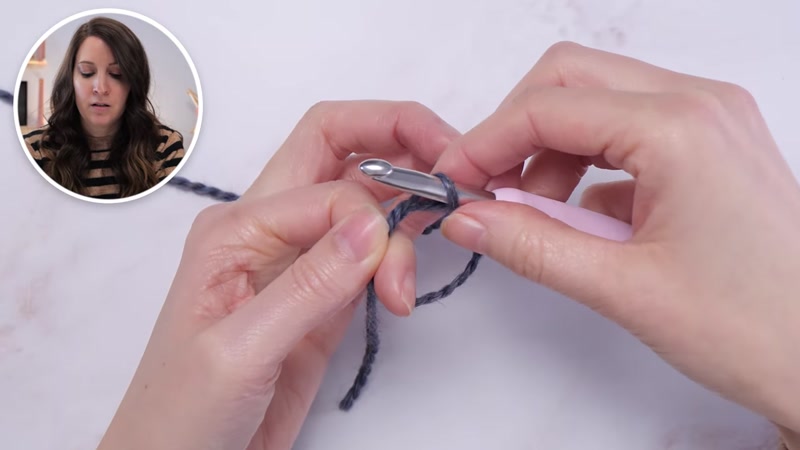
Step 2: Create the Initial Loop
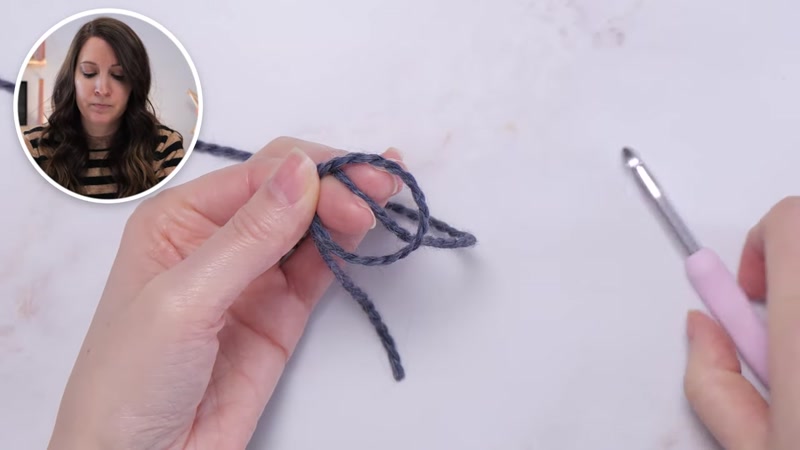
Pick up your crochet hook with your dominant hand. Insert the hook under the yarn that's crossing over your finger and catch the loop. Hold onto this loop with your thumb and two middle fingers.
Now pick up the working yarn (the yarn coming from the ball) and position it in your fingers the way you normally hold yarn when crocheting. Stick your two middle fingers into the loop and hold it with your thumb. You should have a small loop on your crochet hook.
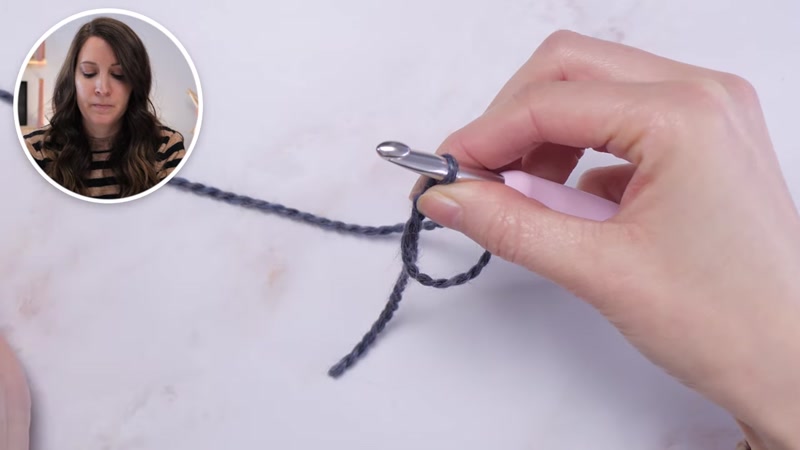
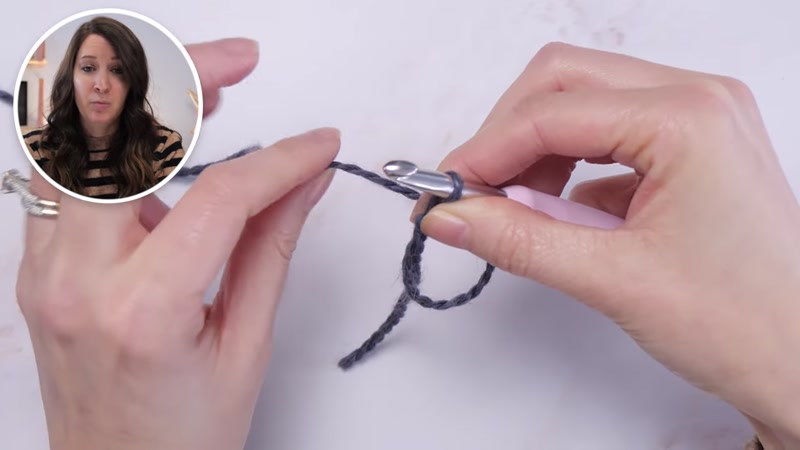
Step 3: Make Your First Chain
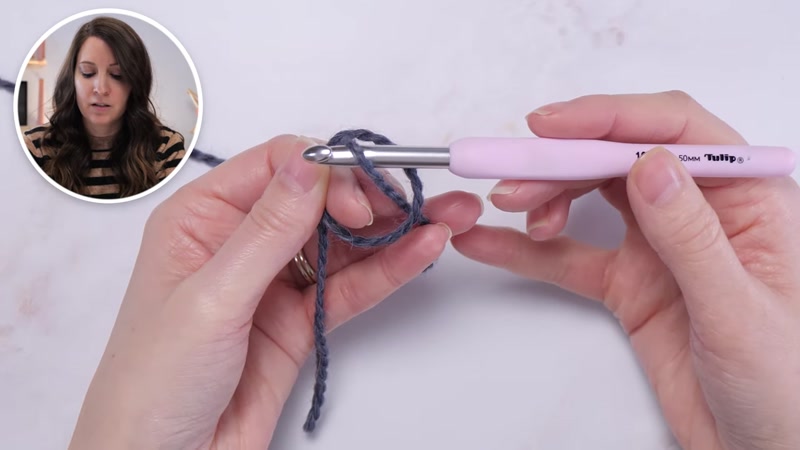
With the loop secured on your hook, yarn over and pull through to make a chain stitch. This secures the ring and prepares it for your stitches.
Step 4: Work Your Stitches Into the Ring
Let's say your pattern calls for 6 single crochets in the magic ring. Here's what to do:
Insert your hook into the center of the ring (not into a stitch), yarn over, pull up a loop, yarn over again, and pull through both loops on your hook. That's one single crochet.
Important: Keep your two middle fingers inside the loop while you work. This maintains tension on the ring and makes it easier to insert your hook.
Continue making stitches: 2, 3, 4, 5, and finally 6 single crochets. Count carefully!
Step 5: Cinch the Ring Closed
Once you've made all your stitches, let go of everything except the base of your work. Pinch the stitches gently with your thumb and forefinger. Now pull on the yarn tail firmly. Watch as the circle cinches closed, leaving no opening in the center.
That's it! You've made a magic ring. Continue with whatever your pattern says to do next (usually working in the round).
Step 6: Practice with Different Stitches
The same technique works for any stitch type. Here's how to adapt:
- Half double crochet: Yarn over, insert hook into ring, yarn over, pull up loop, yarn over, pull through all three loops
- Double crochet: Yarn over, insert hook into ring, yarn over, pull up loop, yarn over, pull through two loops, yarn over, pull through remaining two loops
Tips for Success
- Use thick, smooth yarn – Bulky weight yarn (size 5) in a light color makes it much easier to see what you're doing. Avoid fuzzy or dark yarns until you've mastered the technique.
- Keep your fingers in the loop – Don't let go of the ring while you're working. Keeping two fingers inside maintains tension and prevents the loop from twisting.
- Pull the tail firmly – When you're ready to cinch the ring, pull the tail with confidence. It takes more force than you might expect to close the gap completely.
- Practice 10-20 times – The magic ring rarely clicks on the first try. Plan to practice repeatedly, even if you mess up every time. Eventually, it will suddenly make sense.
- Count your stitches – It's easy to accidentally skip or add stitches in the ring. Use a stitch marker or count out loud to ensure accuracy.


