What You'll Need
Here is a DIY tutorial based on the video transcript provided.
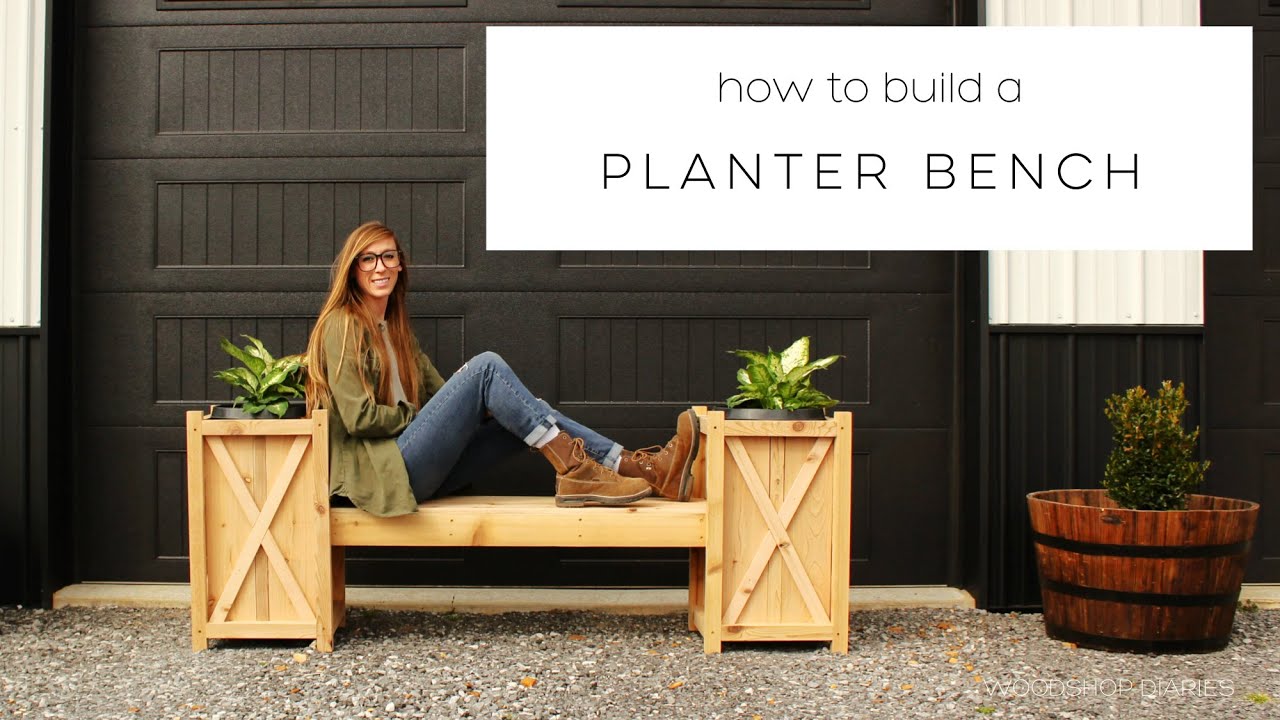
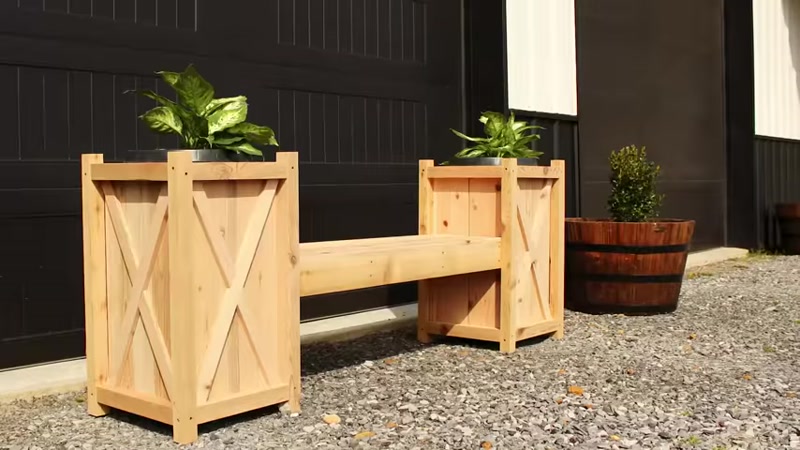
# How to Build a Planter Bench with Decorative X-Trim
This project combines two classic outdoor features: a pair of sturdy planters and a simple bench. It’s a perfect way to add greenery and extra seating to your porch, patio, or garden. The design is flexible, allowing you to build just the planters or add the bench for a complete seating area.
Materials:
- Cedar 2x4s (for legs, frame, and bench supports)
- Cedar fence pickets (for sides and bench slats)
- Cedar 1x2 or ripped strips (for the X-trim)
- 2.5-inch exterior decking screws
- 1.25-inch exterior decking screws
- Exterior wood glue
- Brad nails
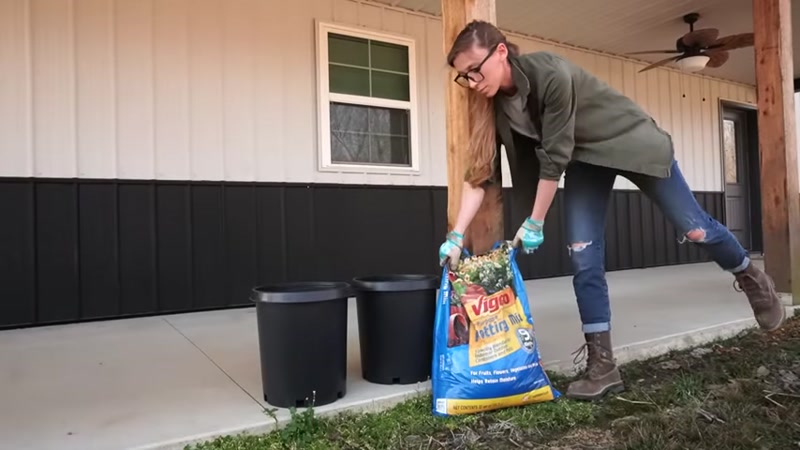
- 6-gallon nursery pots (or pots of your choice)
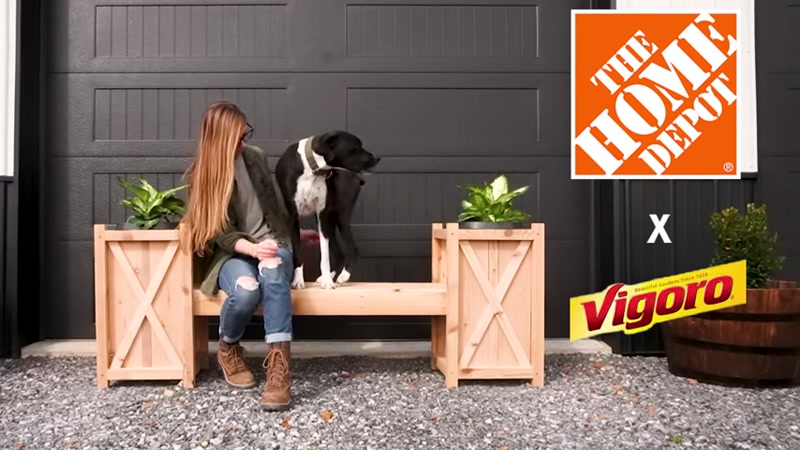
- Vigoro potting soil
- Plants (ferns, flowers, mums, etc.)
Tools:
- Miter saw or circular saw
- Table saw (optional, for ripping wood)
- Drill with drill bits
- Impact driver or screwdriver
- Sander or sandpaper
- Measuring tape
- Speed square
- Pencil
- Clamps (optional)
Step-by-Step Guide
Step 1: Prepare the Wood for the Planter Frames
Start by cutting your cedar 2x4s down to size. You will need to rip them into 2x2 pieces. If you can't find pre-cut cedar 2x2s, you can make your own by cutting a 2x4 in half lengthwise on a table saw.
Once you have your 2x2s, cut them to the following lengths:
- 4 pieces at 27 inches long (for the legs)
- 8 pieces at 12.5 inches long (for the top and bottom frame supports)
Sand all the pieces to remove any rough edges.
Step 2: Assemble the Planter Frame
This frame is simple to build. For each planter, you will create a box structure.
- Take one 27-inch leg and attach two 12.5-inch pieces to form a corner. The bottom piece should be screwed in 1.5 inches up from the bottom
of the leg. The top piece should be screwed in 1 inch down from the top of the leg.
- Use a scrap block of wood to help you measure the 1.5-inch gap at the bottom consistently.
- Pre-drill all holes to prevent the wood from splitting.
- Drive the 2.5-inch decking screws slightly off-center so they don't hit each other at the corners.
- Repeat this process for all four corners to form a complete box frame. Build a second identical frame for the other planter.
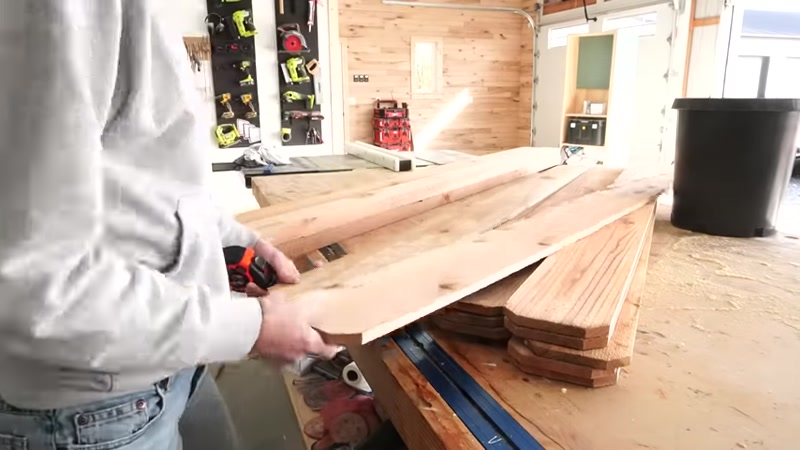
Step 3: Attach the Fence Pickets
The fence pickets will form the outer walls of the planter.
- Cut 8 fence pickets to the correct height for your frame.
- Sand them well, as fence pickets can be rough.
- Use 1.25-inch decking screws
to attach two pickets to each side of the frame. This will leave a gap in the middle of each side.
Step 4: Fill the Gaps
The standard two-picket width leaves a gap in the middle of each side. To fix this and give the planter a finished look, you will add a thin strip.
- Measure the gap on one side. It will likely be around 1.5 inches.
- Rip a strip of wood to that exact width from a fence picket.
- Loosen the two pickets on that side of the frame.
- Slide the new strip into the gap and tighten the screws to secure it in place.
- Repeat this for the opposite side. The other two sides should be gap-free if you adjusted them during assembly.
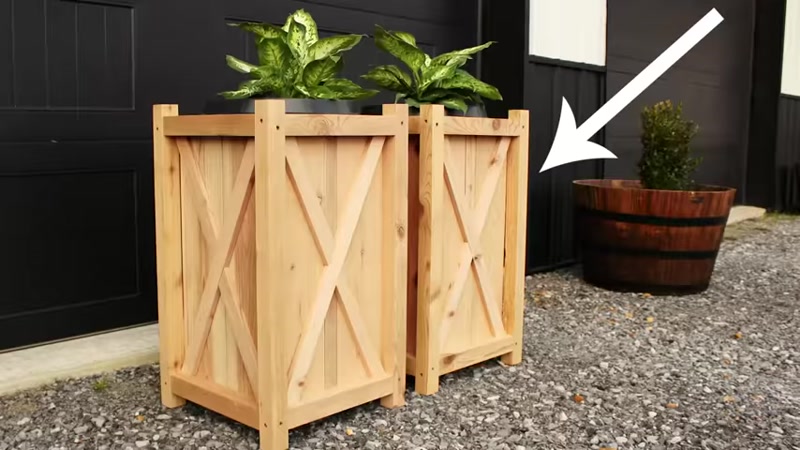
Step 5: Add the Decorative X-Trim (No Math Required!)
This is a simple way to add a stylish X to the sides of your planters. You will do this for three sides, leaving the side where the bench will attach blank.
- Take a 1x2 strip and place it diagonally across one side of the planter, from one corner to the opposite corner.
- Mark where the strip intersects the top and bottom edges of the planter side.
- Draw a line connecting your two marks.
- Use a speed square to find the angle of this line. Place the square's pivot point at the mark and rotate it until the edge aligns with your pencil line. Read the angle (e.g., 26 degrees).
- Set your miter saw to this angle and cut both ends of the strip.
- Test the fit. It should sit perfectly in the corner.
- Cut a second identical piece for the other diagonal.
- To make the small center pieces (where the X crosses), repeat the process:
- Hold a new strip in the center, marking where it intersects the first diagonal piece and the edge of the planter.
- Find the new angle (e.g., 35 degrees) and cut the piece to fit.
- Cut three more identical sets of X pieces for the other sides.
- Secure all X pieces to the planter using exterior wood glue and brad nails.
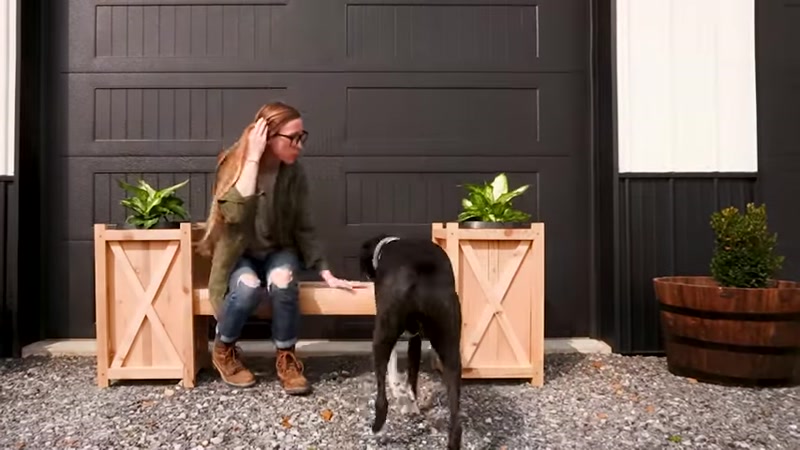
Step 6: Build and Attach the Bench
The bench is a quick addition that connects the two planters.
- Cut two cedar 2x4s to 45 inches long. These are your main bench supports.
- Screw one 2x4 into the inside 2x2 leg of one planter, about 16 inches up from the bottom.
- Screw the other 2x4 into the same position on the other planter.
- Flip the assembly over and attach the other ends of the 2x4s to the second planter.
- Cut four short support pieces to go between the two long 2x4s. Place one at each end and two evenly spaced in the middle. Screw them in place.
- Cut two fence pickets for the seat. Attach them to the support frame with screws.
- If there is a gap between the two pickets, measure, rip, and attach a thin strip to fill it, just like you did for the planter sides.
Step 7: Finishing Touches
Now it's time to add your plants!
- Fill your 6-gallon nursery pots with Vigoro potting soil.
- Add your chosen plants.
- Drop the pots into the planters. You can also add a couple of support slats across the bottom of the planter if your pot is smaller, to raise it up.
Tips for Success
- Pre-drill holes: Cedar is prone to splitting, especially near the ends of the boards. Always pre-drill before driving screws.
- Sanding is key: Fence pickets are inexpensive but rough. A good sanding makes a huge difference in the final look and feel of the project.
- Measure twice, cut once: This is especially true for the X-trim. Because fence pickets have slight variations in width, your gaps may be slightly different. Always measure the specific gap on your planter.
- Use exterior-grade materials: All wood, screws, and glue should be rated for outdoor use to ensure your project lasts.
- Adjust for your pot: You can easily adjust the size of the planter frame to fit any pot you already own. Just measure your pot and build the frame to match.