What You'll Need
Here is a clear, beginner-friendly DIY tutorial based on the transcript you provided.
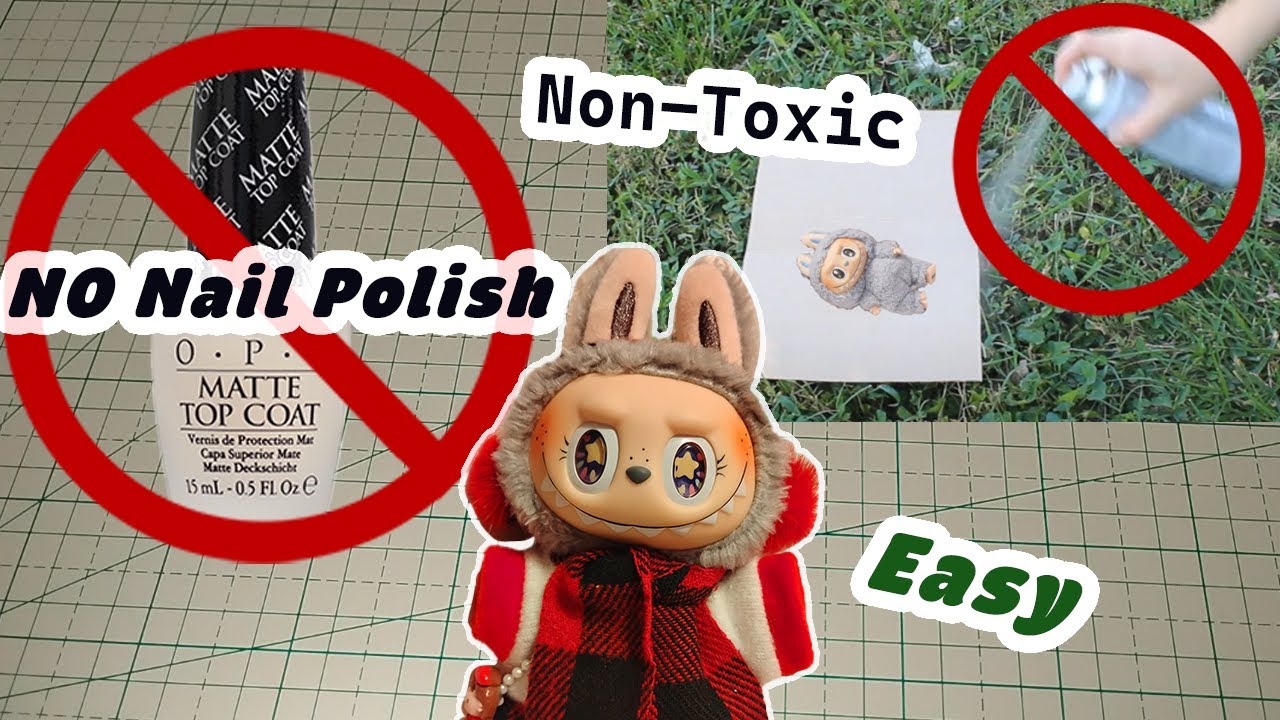
# How to Customize and Touch Up Your Labubu (No Toxic Fumes!)
Do you want to customize your Labubu but hate the smell of nail polish and aerosol sprays? This guide uses water-based, non-toxic materials to help you touch up scuffs, add blush, or even paint new features like freckles and lashes. The key is building up a protective layer of varnish, which acts like a "save point" so you can wipe away mistakes without damaging the toy.
- Your Labubu figure
- Water-based varnish (matte or gloss, your choice)
- Small makeup sponges (for applying varnish)
- Water-based acrylic paints (white, black, and colors for matching)
- Soft pastels (water-based, for blush and shading)
- Small paintbrushes (one for detail, one for pastels)
- Cotton swabs (Q-tips)
- A small bowl or palette (for mixing paint/varnish)
- Scissors (to cut sponges)
- A needle or pin (to remove dust/debris)
- A small cup of water (for cleaning brushes and diluting paint)
Step-by-Step Guide
Step 1: Clean and Prep Your Labubu

This is the most important step. Any dirt, dust, or fur on your Labubu will be sealed in forever once you apply varnish.
- Use a clean, dry cloth to wipe down the entire figure.
- Check for any stray fibers or debris.
- Wash your hands thoroughly before touching the figure.
Step 2: Prepare Your Sponge and Varnish
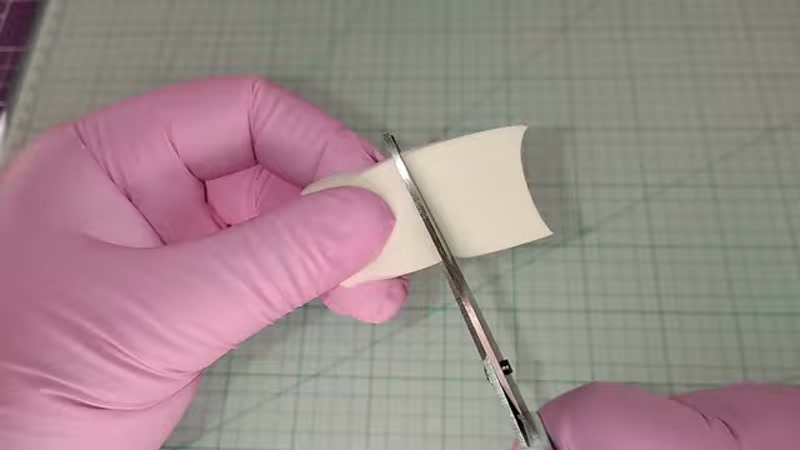
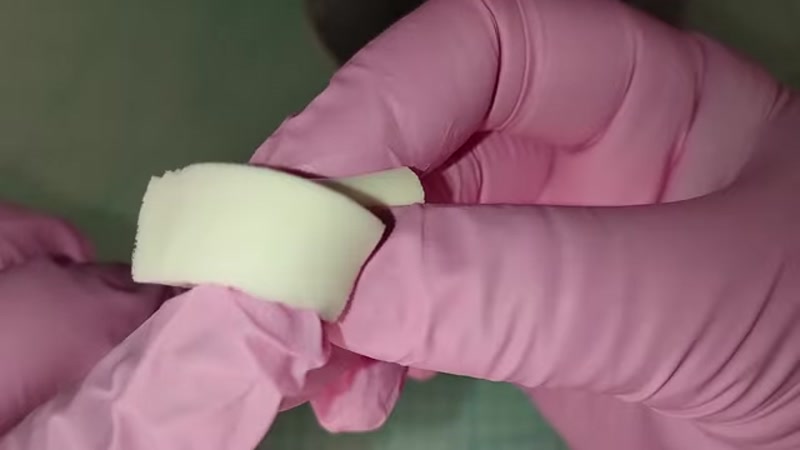
- Cut a small makeup sponge in half to create a fresh, clean surface.
- Shake your water-based varnish bottle well.
- Pour a few drops of varnish onto your palette or into a small bowl.
- Gently dip the sponge into the varnish, then pat it on the dry part of the sponge to spread it out. You want a very thin, even layer on the sponge. Too much varnish will leave a blotchy, shiny mess.
Step 3: Apply the First Layer of Varnish (The "Save Point")

- Using your sponge, gently tap the varnish onto your Labubu's face. Do not smear or swipe—only tap.
- If you see a shiny spot, use the dry side of your sponge to blot it and blend it in, like you would with makeup foundation.
- If a piece of dust lands on the wet varnish, carefully pick it out with a needle.
- Let this first layer dry completely. You will repeat this process to build up 4-5 thin layers of varnish. This creates a protective barrier so your future paint jobs won't stain the original plastic.
Step 4: Color Match and Paint the Nose (For Scuffs)
- Mix your water-based acrylic paints to match your Labubu's nose color.
- Dilute the paint with a little water or flow medium until it has a very watery, "stipple glaze" consistency.
- Using a small brush, apply very thin layers of paint to the scuffed area. Let each layer dry before adding the next. You may need 3-4 layers to fully cover the mark.
- If the color isn't a perfect match, you can paint the entire nose to make it look uniform.
Step 5: Touch Up the Teeth

- Dilute your white water-based acrylic paint with a little water.
- Carefully paint thin layers over the chipped or scuffed teeth.
- Pro Tip: If you paint outside the lines, don't panic! Because you have a varnish layer underneath, you can dip a Q-tip in water and gently wipe away the mistake without staining the face.
- Use a torn, wet Q-tip to clean up the edges of the teeth for a sharp, clean look. Avoid painting over the UV line on the teeth if you want to keep it.
Step 6: Add Blush and Shading with Pastels

- Use a makeup brush or Q-tip to pick up a small amount of water-based pastel powder.
- Gently tap the brush onto your Labubu's cheeks. Because the face is sealed with varnish, the powder will stick and can be easily blended.
- If you add too much, simply wipe it off with a damp Q-tip and start over.
- Once you are happy with the color, you must seal it again with varnish (see Step 8).
Step 7: Paint Freckles and Lashes

- Mix a small amount of black and white paint to match your Labubu's gray tone (or use pure black).
- For freckles: Dip the tip of a ballpoint tool or a toothpick into the paint. Blob the paint onto a palette first to remove the excess, then gently dot it onto the face. This prevents raised bumps.
- For lashes: If you can't draw a straight line, paint a thick line where you want the lash, then use a wet Q-tip to "carve" it into the perfect shape. This is a great trick for shaky hands.
- Important: You can make as many mistakes as you want! Because the blush underneath is sealed, you can wipe away the paint with a wet Q-tip and try again.
Step 8: The Final Seal

- Once all your paint is completely dry, shake your varnish again.
- Apply 3-5 more thin layers of varnish over your entire face to protect your new paint job.
- Don't forget to also seal the hands and feet if you touched them up.
Tips for Success
- Thin Layers are Key: Whether it's varnish or paint, always use thin layers. Thick layers will look lumpy, shiny, and unnatural.
- Avoid Oil-Based Products: Oil can eat away at the plastic and resin of your Labubu. Only use water-based acrylics and pastels.
- Pat, Don't Smear: When applying varnish, always use a gentle tapping motion. Smearing will pull up the previous layer and create a mess.
- Practice on the Feet: If you are nervous, practice your varnishing and painting technique on the hands or feet first. They are less visible.
- Use a "Save Point": The multiple layers of varnish you apply at the beginning are your safety net. They allow you to wipe off mistakes without ruining the original factory paint.


