What You'll Need
I had a pegboard on my shop wall for years. And I grew to hate it. Every time I grabbed a tool, I'd knock another one off. The little pegs would fall out of their slots. It was a constant headache.
Pegboards are designed to be easy to rearrange. That's great if you rearrange your tools every week. I never did. Not once. So I built something better at the one thing that actually matters — holding tools in place.
- Two sheets of plywood (one cheap, one high-quality)
- Screws and Brad nails
- Polyurethane (6 coats)
- Sandpaper (light grit)
- Hot glue
- Magnets (optional)
- Finish nails
- Beeswax (for filling nail holes)
- Saw track (homemade or store-bought)
- Drill with countersink bit
- Level
- Clamps
- Construction crayon or pencil
Step 1: Prep the Wall
I measured the space to figure out the board size I wanted. Then I marked the stud locations just above and below where the board was going.
My garage walls are uneven — probably yours are too. I cut a cheap piece of plywood to act as a backing board. This creates a flat surface for the actual tool board to mount to. I checked the curve of the sheet and flipped it so the convex side faced up — that way I could pull it flat against the studs.
Drill a pilot hole and countersink in each of the two upper corners. Make some oversized marks on the wall to help align the board. Get it roughly in position, fire a few Brad nails to hold it up, then drill through one of your pre-drilled holes into the stud and drive a screw.
Check if it's level. If it's not, adjust it — the Brad nails won't fight you. Once it's level, add the other screw.
Step 2: Flatten the Backing Board
Use a straightedge to mark lines along every stud location. Find the high and low spots — I marked them with pencil first, then went back with a construction crayon so I could see them clearly.
Drive lots of screws into the high spots, pulling them down until the board surface is level. Keep checking for high spots and driving screws until everything sits flat and you've got enough screws to hold the weight.
Step 3: Mount the Good Board
Cut your higher-quality plywood to match the size of the backing board. Create a uniform pattern of marks, then pre-drill pilot and countersink holes. You want each screw head to sit at the right depth.
This second board is heavier. I used clamps to hold it in place — no hammering this time. Check for level, fire some Brads to hold it, add a couple screws to support the weight, then remove the clamps.
Drill the rest of your pilot holes into the studs. Where there are high spots, use short screws that won't reach the stud. They don't need to — the underlying plywood has plenty of holding power from all those screws you already put in.
Step 4: Finish the Surface
I applied six coats of polyurethane, lightly sanding between each coat. The board came out nice and flat.
Step 5: Plan Your Layout
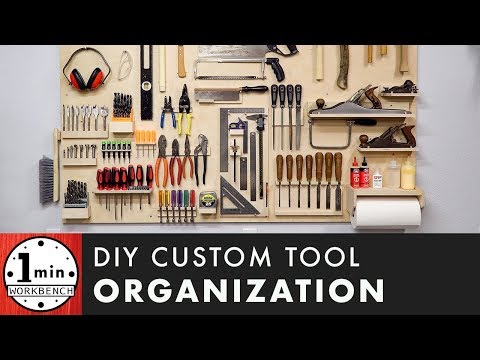
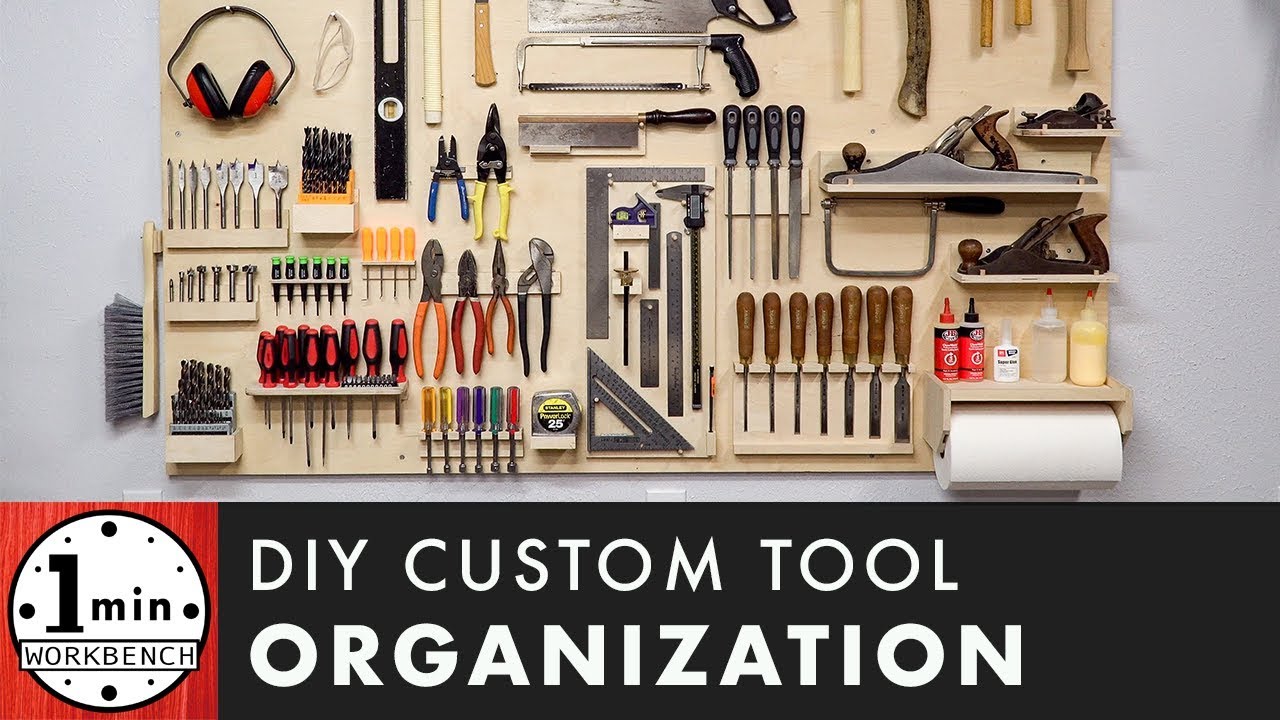
Lay out all the tools you want on the board. Arrange them different ways until you have a good idea where everything goes. I had four rules for every tool holder I built:
- Secure — The tool and its holder can't get knocked off accidentally
- Easy to remove — No fighting to get a tool out
- Minimal — Use as little space as possible
- Clearance — Enough room to grab each tool without bumping into others
Step 6: Build the Holders
Pretty much every holder is custom. That first one might look randomly placed, but I measured carefully and thought about what would go around it.
I secured most holders with pin nails at opposing angles. This holds securely but stays easy to remove. The pin holes are tiny — fill them with beeswax and you won't even see them.
For some tools I used magnets, but they weren't strong enough. So I made little grippy disks with hot glue to add friction. That worked.
Step 7: Handle Heavy Tools
The planes were the only things heavy enough to need screws. Each plane holder is basically an L-shaped shelf with small pegs to stop the plane from sliding off the front. The bottom of each shelf screws into the wall mount portion. For the heaviest plane, I used a thicker wall mount board and staggered the screws — makes for a stronger joint. I also rounded the front corner of that shelf so I could reach the plane below it more easily.
Step 8: Marking Tools and Hammers
Delicate tools need special attention. All the holders keep them easy to grab but hard to knock off.
For hammers, straight dowels with extra dowels to prevent falling worked better than angled ones. Another hammer needed just a small block to sit flat.
Step 9: Add Extra Security
Lots of tools are held with simple finish nails. I came back and added extra nails all over the board to help everything maintain its position. The result? I can blow the dust off with a leaf blower and nothing flies off the wall.
Why It Works
The tools are way more secure than they ever were on my pegboard. And because I'm not limited to specific hole patterns or peg shapes, I fit way more stuff on this wall. It's also helped me figure out which tools I actually use most. Total game-changer for my shop workflow.