What You'll Need
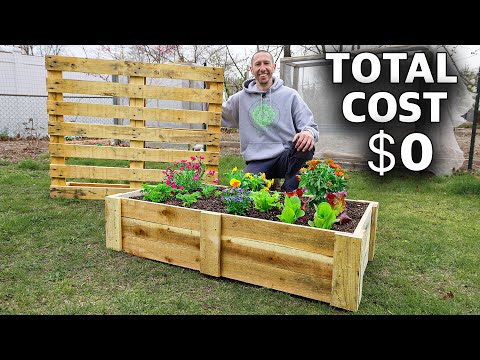
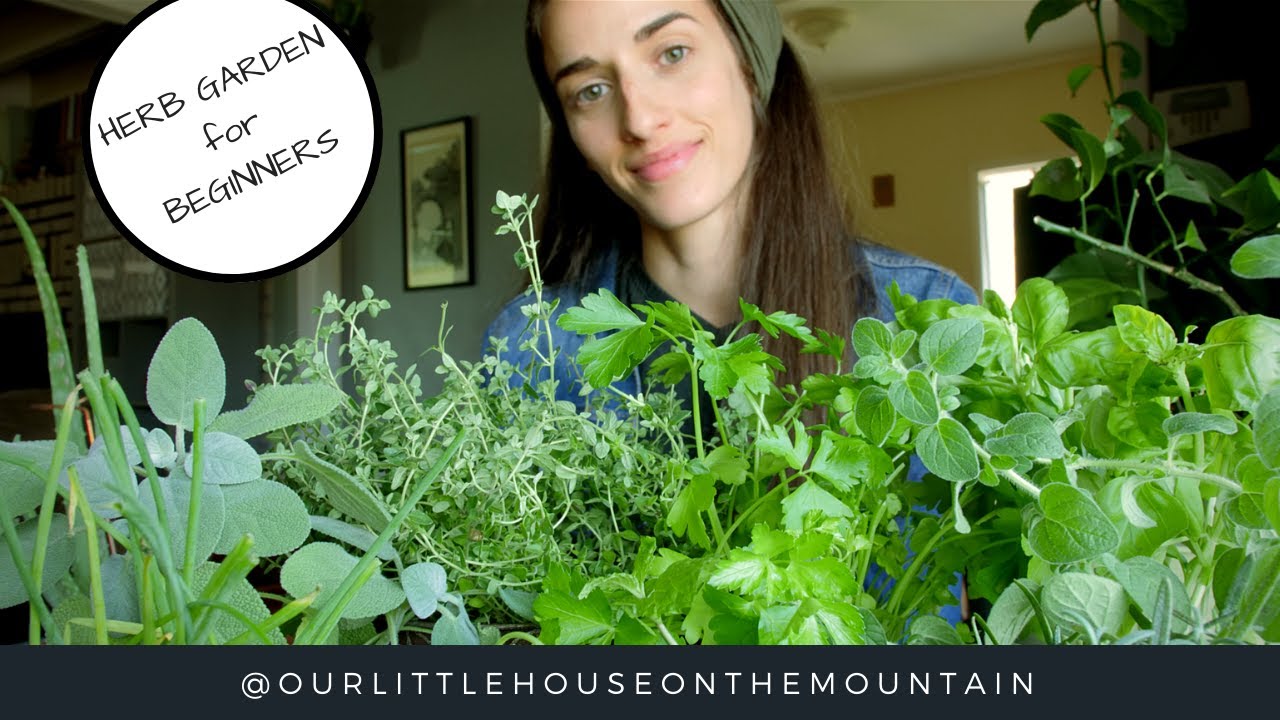
Are you worried you have a "black thumb" and can't grow anything? Do you have limited space but still want to try gardening? Herbs are the perfect place to start! They're forgiving, versatile, and incredibly rewarding. This guide will walk you through everything you need to begin your own herb garden, whether you have a windowsill, balcony, or backyard.
Materials:
- 4-5 hardy herb plants or seed packets (thyme, mint, oregano, rosemary, lemon balm are great starters)
- Organic potting soil
- Pots with drainage holes (at least 6-8 inches deep)
- Plant stand (if growing indoors with limited space)
- Spray bottle for watering seeds
- Garden trowel
- Small scissors or pruning shears for harvesting
Optional:
- Labels for your herbs
- Saucers to catch water under pots
- Liquid organic fertilizer (diluted)
Step-by-Step Guide
Step 1: Determine Your Growing Zone and Location
First, figure out what "zone" you live in. Gardeners use zones to describe climate conditions. This affects what will thrive in your area. You can find your zone by searching online with your location.
Next, choose your growing spot:
- Indoors: A sunny windowsill that gets 6+ hours of light daily
- Outdoors: A spot with filtered light or partial sun
- Balcony/Patio: Any area that gets morning sun and afternoon shade
Most herbs prefer full sun but many tolerate partial shade. If you only have one sunny window, get a small plant stand with multiple levels to maximize space.
Step 2: Choose Your First Herbs
Start with hardy perennial herbs that come back year after year. These are the most forgiving for beginners:
Hardy & Easy to Grow (Perennials):
- Thyme – Survives winter in many zones, used in cooking and teas
- Oregano – Comes back every year, very tolerant
- Rosemary – Perennial in many climates, great for cooking
- Mint – Extremely prolific, great for teas and drinks
- Lemon Balm – Grows vigorously, makes wonderful antiviral tea
Medium Difficulty:
- Sage – Beautiful culinary herb
- Chives – Great in eggs, soups, and cream cheese
- Parsley – Curly parsley is more hardy than flat-leaf
More Challenging (Annuals – replant each year):
- Basil – Needs consistent water and specific soil (the "princess" herb)
- Cilantro – Can be finicky but worth trying
Beginner Recommendation: Start with thyme, mint or lemon balm, oregano, and rosemary. These are very hard to kill!
Step 3: Prepare Your Pots and Soil
Fill your pots with organic potting soil, leaving about 1 inch of space at the top. Don't use garden soil in pots – it's too heavy and won't drain properly.
If you're using pots without drainage holes, drill some in the bottom. Herbs hate sitting in water.
Step 4: Plant Your Herbs
If using starter plants (recommended for beginners):
- Dig a small hole in the center of your pot
- Gently remove the plant from its nursery container
- Place it in the hole at the same depth it was growing
- Fill around the roots with soil and press gently
If planting from seed:
- Sprinkle seeds on top of moist soil (follow packet instructions for depth)
- Cover lightly with soil
- Mist with water using your spray bottle
Step 5: Water Correctly
This is where most beginners make mistakes! Follow these rules:
For seeds: Spray with water twice daily. Keep soil moist but not soggy. Seeds will rot if too wet.
For established plants: Push your finger 2 inches into the soil. If it feels dry, water. If it feels moist, wait. Most herbs prefer to dry out slightly between waterings.
Warning: Overwatering kills more herbs than underwatering! When in doubt, water less.
Step 6: Harvest Regularly
Once your herbs are established (about 4-6 inches tall), start harvesting! Regular harvesting encourages bushier growth. Use clean scissors to cut stems, never pull leaves off.
Tips for Success
- Start small – Pick 4-5 herbs maximum. Don't overwhelm yourself with 20 varieties your first season.
- Watch for spreading herbs – Mint and lemon balm are territorial! They will take over garden beds. Always plant them in containers to control their spread.
- Don't over-nurture – Herbs thrive on a little neglect. Too much water, fertilizer, or fussing often kills them.
- Use your herbs – The more you harvest and use them, the better they grow. Add them to salads, teas, cooking, and even give them to chickens or pets for immune support.
- Expect some failures – If a plant dies, try again! Even experienced gardeners lose plants. Herbs are forgiving teachers.