What You’ll Need
Here’s a DIY tutorial based on the video, written in a direct, conversational style for MakeDIYHub.com.
My son outgrew his old 20-inch Trek mountain bike, but it’s the perfect size for my daughter, who’s turning six. Instead of buying a new bike, we gave this one a makeover and surprised her for her birthday.
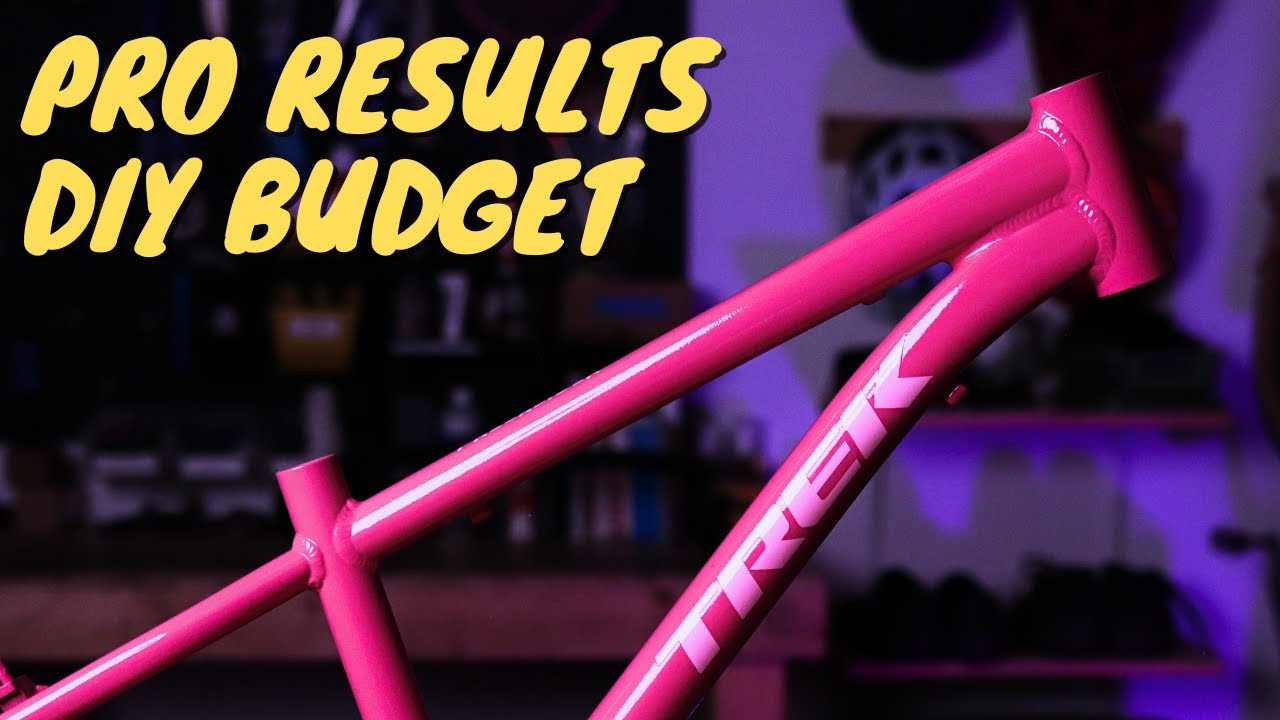
I picked the bike up on OfferUp for $75 a couple years back. It was in good shape, but the bright neon green color had to go. My wife and I never pushed pink on our daughter, but that’s what she gravitates toward. So I repainted the frame, swapped out the cables and brake levers, added a new grip shifter and grips, and changed the decals.
The paint job is the part I want to focus on. I’ve painted nine or ten bikes over the last 15–20 years, and I’ve made every mistake you can make. This frame turned out better than any of them. The secret wasn’t some expensive setup—it came down to one specific product and a few simple techniques.
- 100-grit sandpaper
- Rust-Oleum Automotive primer (1 can for a kids’ 20-inch frame, 2 for adult)
- Rust-Oleum Painter’s Touch 2X in Gloss Berry Pink (1 can for kids, 2 for adult)
- USC Spray Max 2K high-gloss clear coat (1 can)
- Red scouring pad
- Isopropyl alcohol and microfiber cloths
- Respirator and goggles (for the 2K clear coat)
- Dowel rod and a workstand (or something to hold the frame)
Step 1: Strip and Prep the Frame
I didn’t mess with chemical strippers. That stuff is toxic and messy. Instead, I just took 100-grit sandpaper and scuffed the entire frame. I wasn’t trying to get down to bare metal—just rough up the surface so the primer would stick.
Once I was done sanding, I washed the frame with water. After it dried, I wiped it down with isopropyl alcohol and a microfiber cloth.
I clamped a dowel rod into my workstand and hung the frame on it. That let me flip the bike around easily while painting and kept everything ventilated outside.
Step 2: Prime the Frame
I used standard Rust-Oleum Automotive primer. One can was plenty for this small frame.
- First layer: a light misting to get adhesion.
- Next layers: slightly heavier, just enough to get even coverage.
Let the primer dry according to the can’s instructions. Then, here’s the trick I picked up from an automotive YouTube channel: take a red scouring pad, wet it, and give the primer a light once-over. It’s not wet sanding—you’re just knocking down the powdery residue left by the primer. It leaves a smooth surface for the paint.
Wipe it down with a microfiber cloth before you spray the color.
Step 3: Paint the Frame
Same brand, just the color. Rust-Oleum Painter’s Touch 2X in Gloss Berry Pink. One can barely covered this 20-inch frame. If you’re doing an adult bike, get two.
- Light coats. No heavy spraying or you’ll get runs.
- Wait 10–15 minutes between coats.
- Flip the frame around (thanks to the dowel setup) to hit the bottom bracket, dropouts, and brake bosses.
I used the whole can and got full coverage.
Step 4: Add Decals (Optional)
Before the clear coat, my wife cut new decals with her Cricut. The Trek logos are the same as the originals, and I measured the placement. On the top tube, I used a more kid-friendly font for the “Pre-C” logo.
If you do this, put the decals on after the paint dries but before the clear coat. That way, the clear coat seals them in and gives a factory-like finish.
Step 5: The Clear Coat (The Game Changer)
This is the product that makes the difference: USC Spray Max 2K high-gloss clear coat. It’s a two-stage clear coat (that’s what the “2K” means). You shake the can, then pop a plug on the bottom to activate the two components.
This stuff is nasty. I wore a full respirator and goggles.
- First coat: light mist, let dry 10–15 minutes.
- Second coat: slightly heavier, let dry another 10–15 minutes.
- Third coat: slightly heavier again, filling any light spots.
I was nervous the gloss would fade as it dried, but it didn’t. It stayed glossy and shiny. After a few days of curing, it looked even better.
I’ve used standard 1K clear coats from Rust-Oleum and Krylon before, and I’ve never gotten results this good. The 2K clear really does give a professional-looking finish on a budget. Just take the PPE seriously—the warnings on the can aren’t a joke.
The Final Result
There are a couple spots where the clear coat is a little thin (front of the seat tube, bottom of the chain stays), but the head tube, side of the bike, and top tube all came out super glossy. You can’t see any sanding scratches from the 100-grit paper.
If you’re trying to get an elevated paint job without spending a fortune, this method works. Basic hardware store primer and paint, plus that 2K clear coat.
I’ll put links to the products I used in the description. If you have questions about the process, drop them in the comments.