What You'll Need
I saw these mailbox posts selling for over $200 at the big box stores. They're just 4x4s with some decorative cuts and a bit of assembly. So I grabbed a 12-foot pressure-treated 4x4 for about $13 at the lumber yard and made one myself.
Here's exactly how I did it — and you only need a miter saw (or a circular saw) to pull this off.
- 12-foot pressure-treated 4x4
- 3 1/2-inch exterior screws
- Miter saw (with bevel capability) or circular saw
- Speed square or straight edge
- Tape measure and pencil
- Depth stop for your saw (or you can mark the blade)
Step-by-Step Guide
Step 1: Cut Your Main Pieces
From your 12-foot 4x4, cut these lengths:
- Main post: 78 inches (20 inches will go into the ground)
- Cross member: 28 inches
- Support bracket: 14 inches (save the leftover scrap)
Step 2: Mark the Cross Member
Take the 28-inch board. This is the piece the mailbox actually sits on.
Mark the half-lap section (where it overlaps the main post):
- 3/4 inch from the left edge
- 6 1/2 inches
- 10 inches
Draw straight lines at those marks. The section between 3/4 and 6 1/2 is where the cross member overlaps the post — put an X on that section. This gets cut at 30 degrees.
Mark the front end (where the mailbox sits):
- Measure 1 3/4 inches down from the top edge
- Measure 1 3/4 inches in from the end
- Connect those points with a straight line
Mark the groove on the left side:
- 3 1/2 inches in from the left
- 3 7/8 inches in
Draw the lines. This is the groove that goes around the end.
Mark the groove on the right side:
- 3 inches in
- 3 3/8 inches in
Put an X on the end where you created the angle. You only cut those X marks from one side.
Now duplicate all the notch lines and the 30-degree line around all four sides of the board. This is tedious but necessary.
Step 3: Set Up Your Saw
Before cutting, I marked the end of the board at 1 3/4 inches as a reference for where my half-lap cut should stop.
Set your blade depth to 1/2 inch for the grooves. When setting depth, always measure from the longest tooth of the blade.
Step 4: Cut the Cross Member
First cut — 45-degree through cut:
Set your saw to 45 degrees and cut that little corner piece off. This is the bottom of the post cap.
Half-lap cut:
Set saw to 0 degrees. Use the scrap piece from earlier as a backer — it pushes your workpiece away from the blade to prevent tear-out.
Notch cuts:
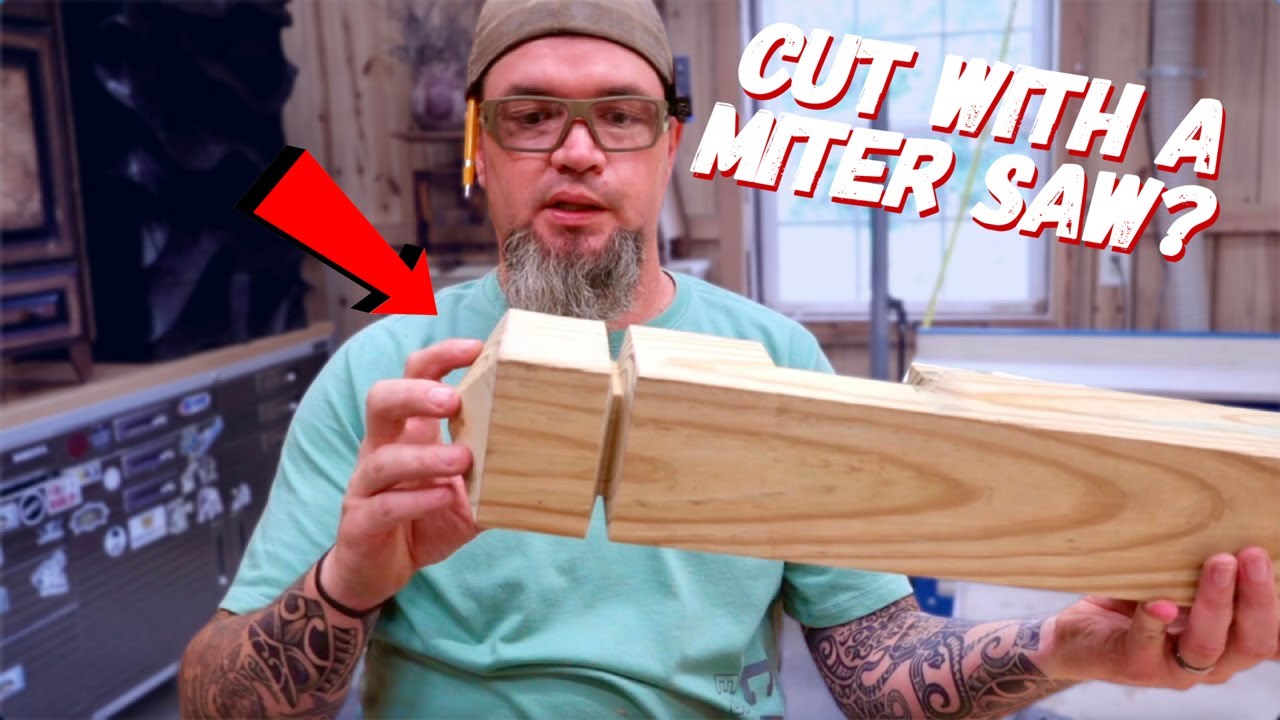
Set depth stop to 1/2 inch. For a nicer look, I beveled my notches at 15 degrees instead of cutting them straight.
- Right-hand bevel at 15 degrees: cut the second line of your notch
- Rotate the board
- Left-hand bevel at 15 degrees: cut from the other line
Repeat for all four notches.
End cap cuts:
Bevel your saw to 30 degrees left. Lift the depth stop. Make sure your fence is slid over enough so the blade doesn't cut into it. Line up with your marks and cut.
Step 5: Mark and Cut the Main Post
From the top of your 78-inch post, measure:
- 3/4 inch
- 2 inches
- 2 3/8 inches
- 3 inches
- 3 3/8 inches
Repeat these measurements all the way around.
Mark the receiving half-lap:
- 16 inches down from the top
- 19 1/2 inches down (this gives you a 3 1/2-inch opening)
Cut the top cap:
With the saw still at 30 degrees, cut the first line on your main post the same way you cut the cross member's end cap.
Cut the notches:
Repeat the 15-degree bevel process for the two lines on the main post.
Cut the half-lap:
Same process as the cross member.
Step 6: Cut the Support Bracket
Take that 14-inch piece of leftover scrap. Cut matching 45-degree angles on each end.
Start the cut from the longest corner, then flip the board over with the pointed side against the fence and make the second cut.
Step 7: Assemble Everything
Use 3 1/2-inch exterior screws.
- Attach the cross member to the main post at the half-lap joint
- Attach the support bracket: Measure 2 inches in from each end of the bracket. Pre-drill your holes — when starting on an angle, start the screw straight, then angle it down.
And that's it. Less than $15 in materials, maybe an hour of your time, and you've got a mailbox post that looks like it cost $200.
The trick with these "expensive" store-bought items is just figuring out what cuts they made. Once you break it down, it's not complicated at all.