What You'll Need
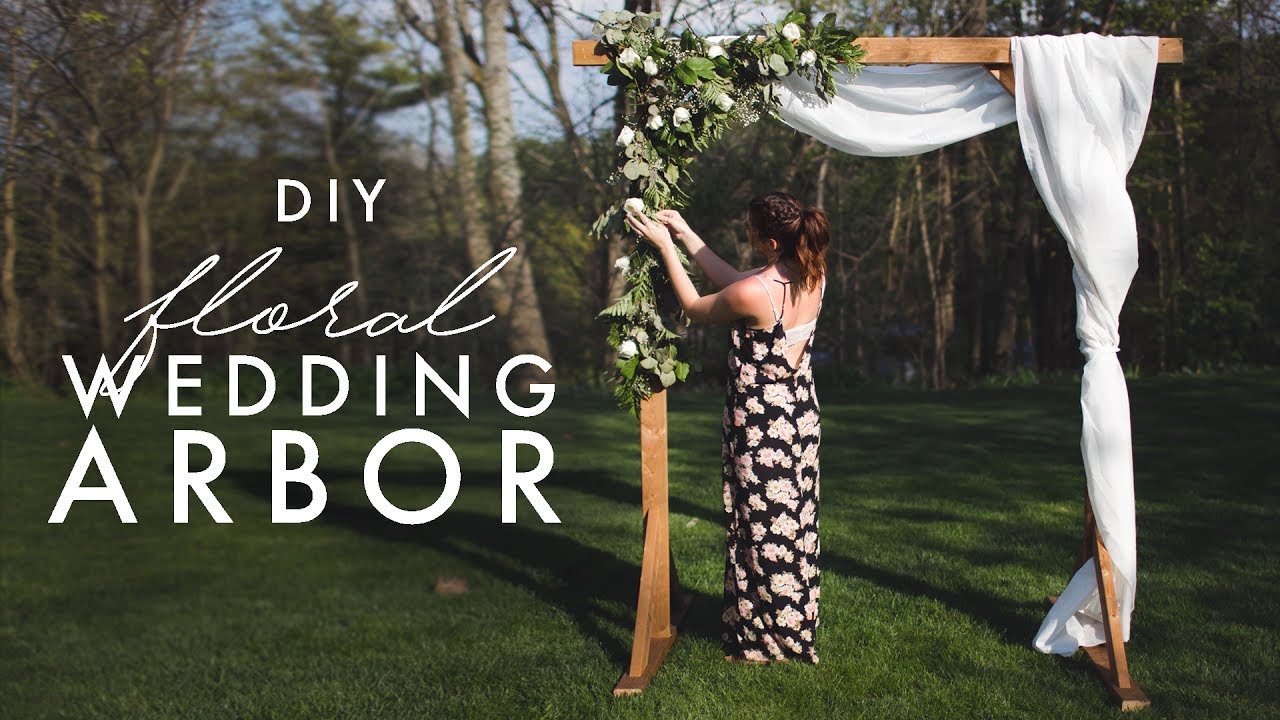
My friend Becky and I built this arch for around $30 in lumber, and people at the wedding thought we paid hundreds for it. The best part? You can use it as a photo backdrop, party decoration, or whatever else you want afterward.
Here's how we did it.
- Three 2x4 x 12ft pressure treated boards
- One 2x4 x 8ft board
- 2.5 inch wood screws
- Miter box (or circular saw)
- Hand saw
- Staple gun
- Drill with bits
- Speed square
We had the hardware store cut our 12ft boards into three 7ft pieces and three 5ft pieces. That saved us a lot of work.
Step 1: Build the Basic Arch Shape
Lay your three 7ft pieces on the ground. The top horizontal piece needs marks 1ft in from each end. Line up your vertical pieces on the outside of those marks.
Drive two screws diagonally from each other through the vertical piece into the top piece. Do this on both sides.
Step 2: Cut the Brace Pieces
Take one of your 5ft pieces. You need six brace pieces total, each 26 inches long with 45-degree angles on both ends.
The easiest way to cut 45-degree angles is with a miter box. It's a plastic box with slots at 90 and 45 degrees. Line up your wood, put your saw in the slot, and cut.
You'll get two brace pieces out of each 5ft board if you measure carefully. Cut the opposite angle on the other end so they're parallel.
We used the miter box to mark our cuts, then switched to a circular saw for speed. If you don't have a circular saw, the hand saw works fine — it just takes longer.
Step 3: Attach the Top Braces
Flip your arch over so the back faces up. Put that 8ft piece of wood under one corner as a flat work surface.
Line up a brace piece so it sits flat against both the vertical and horizontal pieces. Screw through the brace into the top cross piece first — two screws, easy.
For the side attachment, you need to come in at an angle. Pre-drill a hole smaller than your screw going at an angle into the vertical piece. This makes driving the screw way easier than trying to force it straight in.
Do this on both sides. Your arch should feel solid now.
Step 4: Add Bottom Support Braces
Cut your 8ft 2x4 in half so you have two 4ft pieces. These go under the vertical sides to keep everything stable.
Mark the halfway point on each 4ft piece (2ft). That's where your vertical piece sits.
Use your speed square to make sure everything's at a perfect 90-degree angle. Add two of your remaining brace pieces — one toward the front, one toward the back. Same angled pre-drill technique for the screws going into the vertical piece.
Two screws into the bottom piece, two into the side piece. Repeat on the other side.
The arch should stand up by itself now. If you're worried about wind, you can sandbag the bottom braces or drill holes and stake them into the ground.
Step 5: Decorate
We stapled long pieces of white fabric across the top and let it drape down the front. That was leftover fabric from another project.
For the other side, we added a greenery garland. Wire or staple gun — both work fine.
The whole thing took us about two hours, and the lumber cost less than a nice dinner out. Not bad for something that'll be the centerpiece of your ceremony or party photos.