What You'll Need
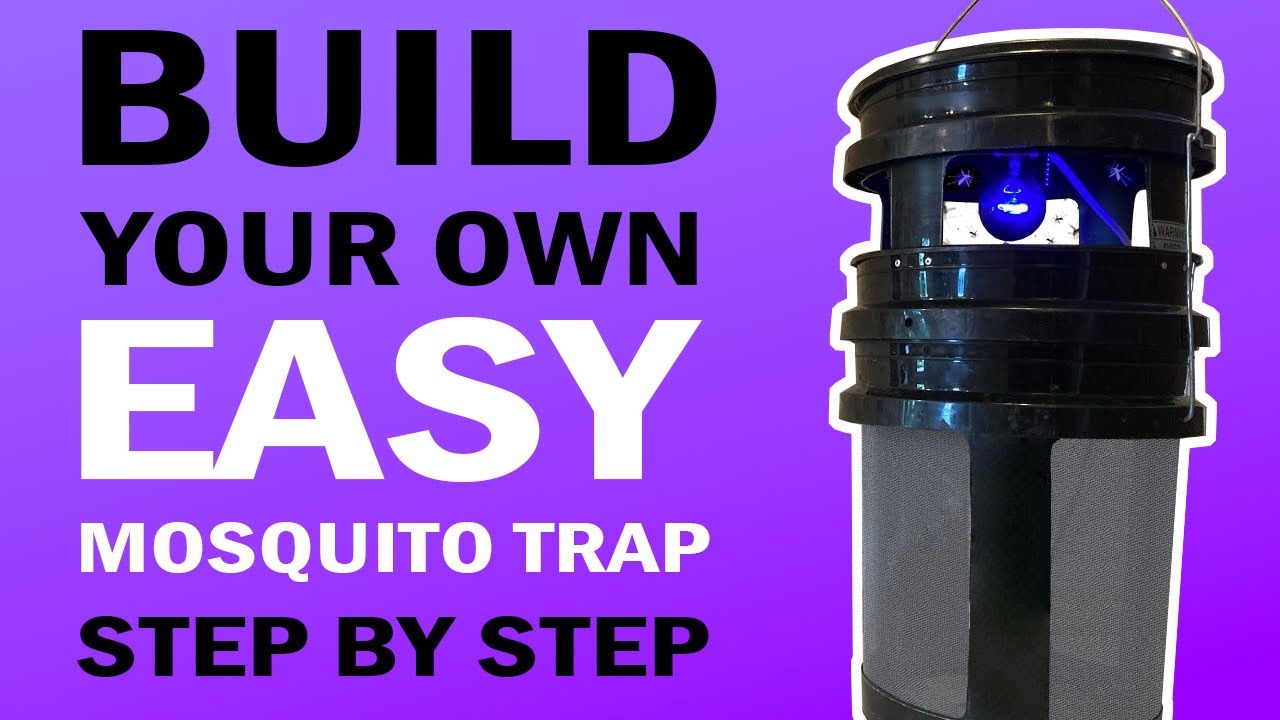
My daughter made me one of these for a gift. Pretty cool, right? Let me show you how to build your own.
This trap uses a UV black light to attract mosquitoes, a fan to suck them in, and mesh to keep them trapped. No chemicals, no propane, no expensive refills.
- 3 five-gallon pails (standard home improvement store style — I used white, blue, and white so you can follow along easier)
- 1 snap-on pail lid (nothing fancy, just the regular kind)
- 1 incandescent black light bulb (60 watt — don't use LED, you want the heat)
- 1 extension cord (cheapest 6-foot 16-gauge you can find — we're cutting the end off)
- 1 keyless ceiling lamp holder (lamp base, about $2 at the hardware store)
- Aluminum screen door mesh (about $6 — I like aluminum over fiberglass, lasts longer and easier to work with)
- 1 nine-inch high-velocity fan (this specific size is key — it fits exactly inside a 5-gallon bucket)
- Hot glue
- A couple small bolts and screws
Total cost: about $38-$40.
Step-by-Step Build
Part 1: The Top Pail
Take the lid off your top pail and set it aside. Draw a line around the pail 4 inches down from the bottom of that top ridge. Cut along that line.
Now you need to cut four windows out of this top section. Each window is 6.5 inches wide. Leave 2-inch wide columns between them — those become the legs that support the top on the middle pail.
Draw a dotted line 1 inch up from the bottom of each leg. You'll use that as a positioning guide later.
Wire Up the Light
Snip the female end off your extension cord. Strip the two wires, twist them, and connect them to the lamp base. Cut a small notch in the edge of the lamp base so the wires can pass through when you mount it.
Drill two holes in the pail lid, 3.5 inches apart. Bolt the lamp base to the underside of the lid using 3/4-inch long 8-32 bolts. Put a dab of hot glue on the top side of the bolts to keep water from getting through and to stop the nuts from vibrating loose.
Snap the lid onto the top pail. Now you've got a light mounted inside the top section.
Part 2: The Middle Pail
Remove the handle from this pail — try not to damage it, you might need it later. Draw a line 2 inches down from the top ridge and cut all the way around. This short section will house the fan.
Disassemble the fan. Remove the base and the front guard. Save the two screws that held the fan to its base — you'll use these to mount it to the pail. The rest of the screws can go. Be careful with the fan blades, they're aluminum and delicate.
Look at your pail — there are two holes where the handle was mounted. Drill through those holes with a 1/8-inch bit so you can pass the fan mounting screws through. The fan should fit snugly inside the pail. Line up the mounting bracket with the screws and tighten them down.
The fan will still have a little wiggle room. Hit each side with hot glue to lock it in place.
Join Top and Middle
Slide the top pail's legs inside the middle pail. That 1-inch line you drew earlier shows exactly where the top should sit. Use whatever fasteners you have — I used popper bits because they're cheap and easy. Make sure the cords come out the back together.
This top-and-middle assembly is now one unit that doesn't come apart.
Part 3: The Bottom Pail
Cut three windows in this pail. Each one is 9 inches wide by 10.25 inches tall. The bottom of each window sits 1.5 inches from the bottom of the pail. The supports between windows are 2 inches wide.
Cut the bottom out of the pail, leaving 1 inch of material around the outer edge. Use a step bit to start your holes and create nice rounded corners for the windows.
Add the Mesh
Use the pieces you cut out as patterns for the mesh. Leave about half an inch overlap all the way around. Rough cuts are fine — you just need enough to glue to. Use tin snips for aluminum mesh, not your good scissors.
Glue the mesh to the bottom first, then work around each window. Hold it while the glue dries — the mesh has a curl from being rolled and it'll try to pull away.
Make the Latches
Remove the white plastic piece from the handle. Snip the handle in half with heavy pliers. Straighten the pieces out — leave the little divot at the bottom and the kink at the top, just flatten the middle.
Line up the handle holes on your bottom pail with the handle on your top assembly. Mark where you need to bend each latch piece so it folds over the top handle. Bend the latch just past center so it locks over-center when you close it.
This takes some tweaking. That's why I told you to save the extra handle — you might break one getting the bend right.
Final Assembly
Put the top-middle assembly into the bottom pail. Snap the latches into place. Screw in the black light bulb. Plug it in.
You're done.
Tips
- Put it outside at dusk, away from where people hang out
- Empty it regularly — it'll get gross in there
- If you have a really bad mosquito problem, stay tuned — we're working on a bigger solution