
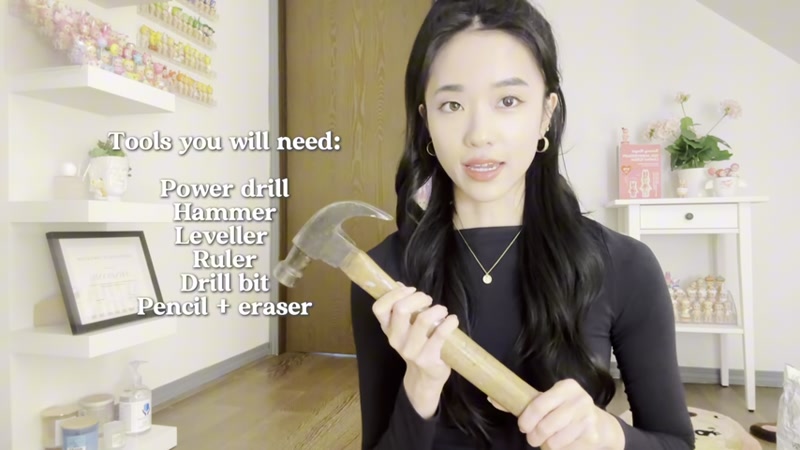
What You'll Need
Looking for the perfect way to display your Sunny Angels collection? Clear acrylic nail polish shelves are an excellent choice—they're transparent, stylish, and fit the figures perfectly. In this tutorial, I'll show you how to install these shelves properly, with tips to avoid the mistakes I made along the way.
Materials:
- Clear acrylic nail polish shelf set (includes shelves, side panels, screws, anchors, and screwdriver)
- Anchors (included with shelf kit)
- Screws (included with shelf kit)
Tools:
- Power drill
- Drill bit (check your anchor size—likely a 3/16" diameter)
- Hammer
- Level (with liquid bubble)
- Ruler or measuring tape
- Pencil and eraser
- Safety goggles (recommended)
Step-by-Step Guide
Step 1: Prepare Your Workspace

Remove all Sunny Angels figures from any existing shelves nearby. Hammering and drilling can cause vibrations that might knock figures over and damage them. Also, clear the area below where you'll be working—wall dust and debris will fall during drilling.
Step 2: Mark Your Shelf Positions
Start from the top and work your way down. Here's why: when you drill, wall dust and powder will fall downward. If you start from the bottom, the dust will land on your newly installed shelves.
- Use your pencil and level to draw a straight horizontal line where you want the top of the first shelf to sit.
- Place the shelf against the wall, aligning its top edge with your line.
- Put the level on top of the shelf. Adjust until the bubble sits centered between the lines on the level—this means your shelf is straight.
- Mark the two screw holes on the wall by pushing your pencil through each hole.
- Erase the horizontal line, leaving only the two dot marks.
Step 3: Drill Pilot Holes
Select the correct drill bit size. If you're unsure, check the anchor packaging for the recommended drill bit diameter. For most small anchors, a 3/16" bit works well.
- Fit the drill bit into your power drill.
- Drill into each pencil mark, going straight into the wall. Drill deep enough to accommodate the anchor length.
- Wipe away any wall dust with a dry cloth.
Step 4: Insert Wall Anchors

Anchors provide extra grip for the screws, especially if you're drilling into drywall.
- Take a plastic anchor and tap it gently into the hole using your hammer.
- Stop when the anchor is flush with the wall surface.
- Pro tip: Don't hammer too hard! If the anchor flattens or bends, remove it and try a fresh one. A too-small drill bit makes anchors harder to insert—use the correct size for smooth installation.
Step 5: Screw in the Mounting Screws

- Take a screw from your kit.
- Use the included hand screwdriver (or your drill with a screwdriver bit) to tighten the screw into the anchor.
- Don't overtighten—stop when the screw head is snug against the wall.
- Repeat for the second screw on the same shelf.
Step 6: Attach the Shelf

- Slide the shelf onto the two screws. Most acrylic shelves have keyhole slots on the back that lock onto screw heads.
- Push the shelf downward slightly to lock it into place.
- Attach the clear side panels by sliding them into the grooves on each side of the shelf.
Step 7: Repeat for Remaining Shelves

Continue installing the remaining shelves, working from top to bottom. Use your level to check each shelf before marking holes. If you're stacking shelves in a column, measure equal spacing between each shelf using your ruler.
Step 8: Clean Up and Display

- Wipe down each shelf with a microfiber cloth to remove any dust or fingerprints.
- Erase any remaining pencil marks from the wall.
- Place your Sunny Angels figures on the shelves, spacing them evenly for a clean look.
Tips for Success
- Always start from the top shelf first. Wall debris from drilling will fall downward, so working top-to-bottom keeps your finished shelves clean.
- Use the correct drill bit size. Check the anchor packaging for the recommended bit diameter. Using a bit that's too small makes hammering anchors nearly impossible and can damage your wall.
- Drill during daytime hours. Hammering and drilling can be loud. Avoid disturbing neighbors or family members by working at reasonable times.
- Don't overtighten screws into anchors. Snug is enough. Overtightening can strip the anchor or crack your drywall.
- If a hole ends up too big, you can use a larger anchor, but you can't undo a hole that's too large. Measure twice, drill once.


