
What You'll Need
Learning how to double crochet is a fundamental skill that opens up countless patterns and projects. The double crochet stitch is twice as tall as a single crochet, making it perfect for creating quick, soft, and drapey fabric. In this tutorial, you'll learn the first two rows—everything you need to master this essential stitch.
- Yarn – medium weight (worsted) yarn works best for learning
- Crochet hook – size H-8 (5mm) or recommended size for your yarn
- Scissors – for cutting yarn when finished
- Stitch markers (optional) – helpful for marking your first stitch
Step-by-Step Guide
Step 1: Make a Slip Knot and Chain 20
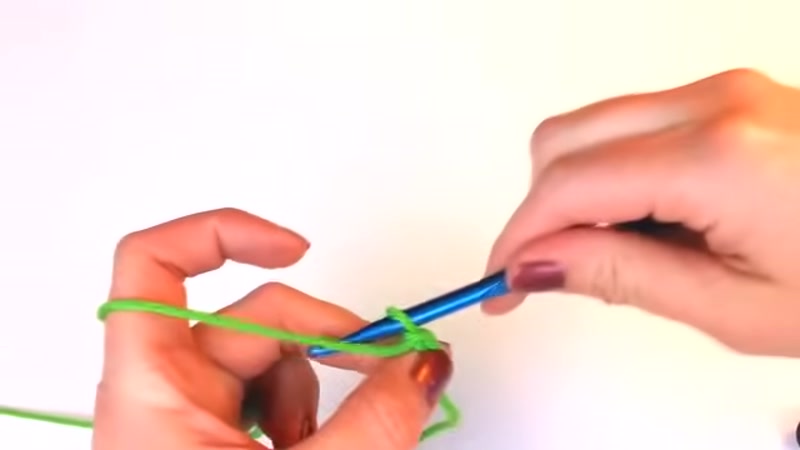
Start by making a slip knot on your hook. Then chain 20 stitches. If you need a refresher on how to make a slip knot or chain stitch, review those basics before continuing.
Step 2: Find the Fourth Chain from Your Hook
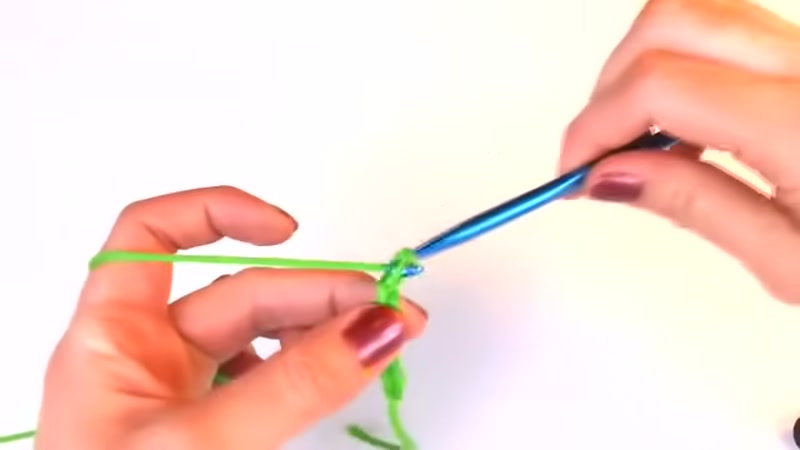
Count four chains away from your hook. This is where you will place your first double crochet. The chain 3 at the beginning acts as your first stitch (the turning chain) and matches the height of the double crochet stitches.
Step 3: Yarn Over and Insert Hook
Wrap the yarn over your hook from back to front (this is called "yarn over"). Insert your hook into the fourth chain from the hook.
Step 4: Yarn Over and Pull Through

Yarn over again, then pull the yarn through the chain stitch. You should now have three loops on your hook.
Step 5: Yarn Over and Pull Through First Two Loops

Yarn over once more. Pull the yarn through the first two loops on your hook. You will now have two loops remaining.
Step 6: Yarn Over and Pull Through Last Two Loops
Yarn over again. Pull through the last two loops on your hook. You have just completed your first double crochet stitch!
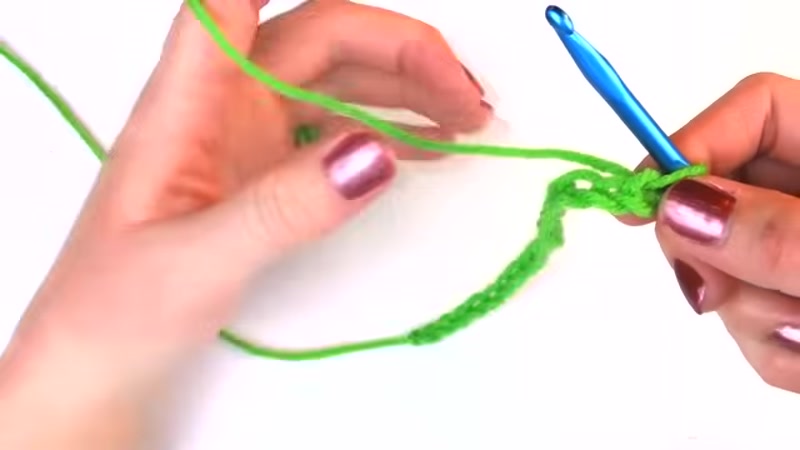
Step 7: Continue Across the Chain

For your second double crochet:
- Yarn over
- Insert hook into the next chain
- Yarn over and pull through (3 loops on hook)
- Yarn over and pull through first two loops (2 loops on hook)
- Yarn over and pull through last two loops (1 loop on hook)
Repeat this process across the entire chain until you reach the end.
Step 8: Chain 3 and Turn Your Work

Once you finish the first row, chain 3. This chain 3 counts as your first double crochet of the next row. Turn your work around so the back of the piece faces you.
Step 9: Skip the First Stitch
Because your chain 3 counts as the first stitch, skip the very first double crochet stitch that is connected to the turning chain. This prevents adding an extra stitch.
Step 10: Double Crochet into the Second Stitch

Yarn over, then insert your hook into the second double crochet stitch from the previous row. Remember, each stitch has two strands of yarn on top (forming a V shape). Insert your hook under both strands.
Complete the double crochet as before:
- Yarn over and pull through (3 loops)
- Yarn over and pull through first two loops (2 loops)
- Yarn over and pull through last two loops (1 loop)
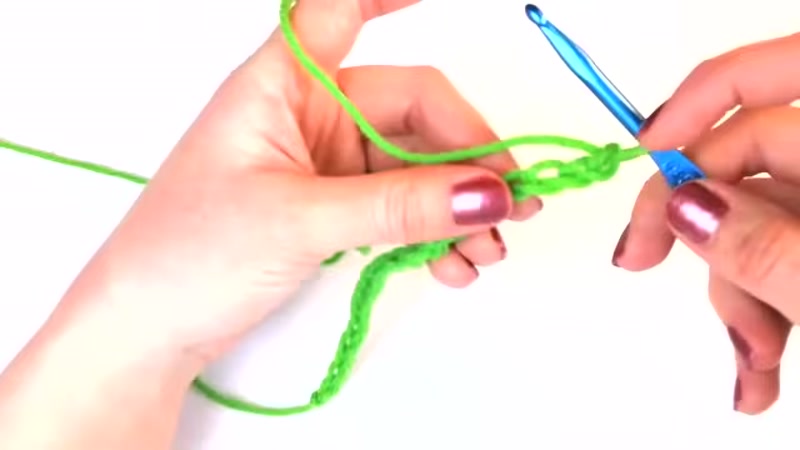
Step 11: Continue Across the Second Row

Repeat double crochet stitches into each stitch across the row. When you reach the end, you will need to double crochet into the top of the turning chain from the previous row. This chain looks like a stitch—make sure to work into it so your edge stays straight.
Step 12: Finish the Row

After you've double crocheted into the last turning chain, your second row is complete. You can continue adding rows by repeating steps 8–11.
Tips for Success
- Count your stitches – After each row, count your double crochet stitches to make sure you haven't accidentally added or skipped any. The chain 3 counts as one stitch.
- Keep consistent tension – Try to keep your yarn tension even. Too tight makes it hard to insert the hook; too loose creates uneven stitches.
- Use the fourth chain – Always place your first double crochet in the fourth chain from the hook. This ensures your stitch height matches the turning chain.
- Don't forget the last turning chain – At the end of each row, make sure to work a double crochet into the top of the chain 3 from the previous row. This keeps your edges straight.
- Practice makes perfect – Your first few rows may look uneven. That's completely normal. Practice a few swatches to build muscle memory.


