What You'll Need
Want to give your Sunny Angels a personal touch? Customizing these adorable figures is easier than you think! Whether you have second-hand figures that need some love or you just want to match your aesthetic, this guide will walk you through the entire process.
Materials:
- Sunny Angel figurine (second-hand works great!)
- Spray or brush-on primer
- Acrylic paints (white, black, pink, purple, gray, brown, ivory)
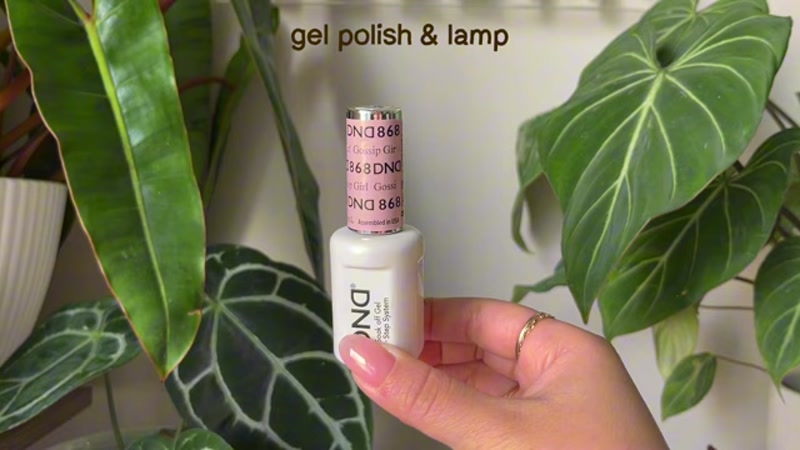
- Gel polish (optional, for blush and top coat)
- Gel polish LED lamp (if using gel polish)
Tools:
- Set of paint brushes (various sizes)
- Small mixing palette or plate
- Paper towels
- Water cup for cleaning brushes
- Toothpick (for fine details)
Step-by-Step Guide
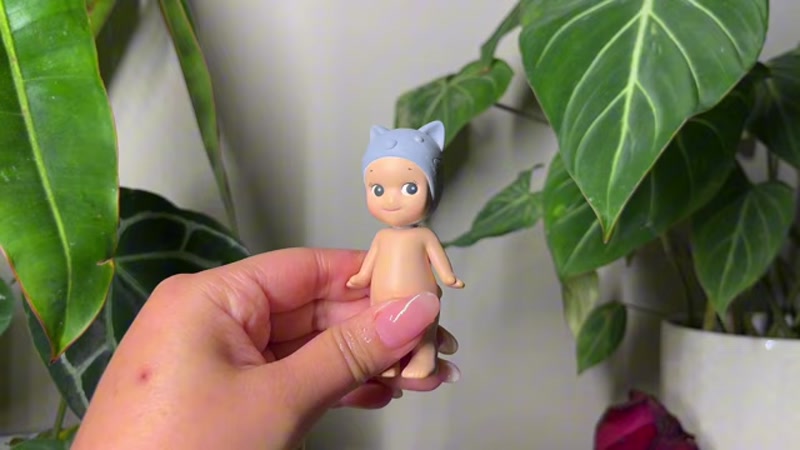
Step 1: Prepare Your Sunny Angel
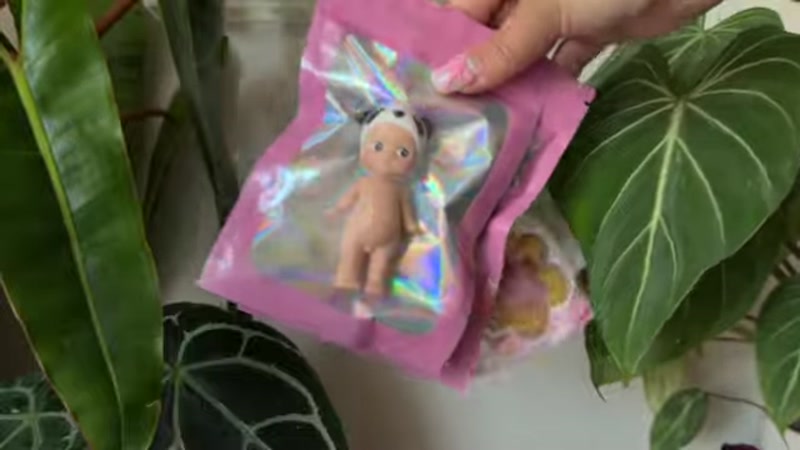
Start with a clean, dry Sunny Angel figure. If you're using a second-hand figure, check for any scuffs or damage. You can break off any attached accessories (like food boxes) to make painting easier. This gives you better access to all areas of the figure.
Step 2: Apply Primer
Apply two thin coats of primer to your Sunny Angel. This step is essential because it:
- Creates a smooth, uniform base for painting
- Helps the paint adhere better to the plastic
- Neutralizes the original color so your new colors show true
Let each coat dry completely before applying the next.
Step 3: Mix Your Base Colors
Mix your custom colors using acrylic paints. Remember: acrylic paints tend to dry darker than they look when wet, so mix your colors slightly lighter than your desired final shade.
For example:
- To make gray: Mix white with small amounts of black
- To make tan: Mix brown with ivory
- For soft pink: Mix white with a tiny bit of pink
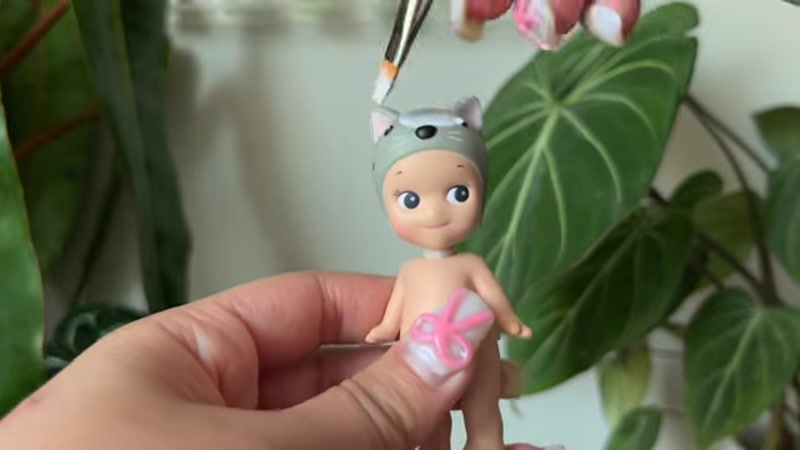
Step 4: Paint the Base Coat
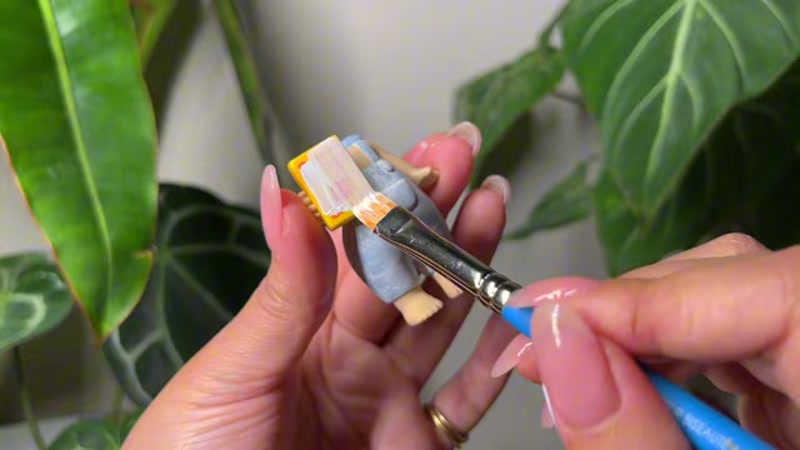
Apply your base color to the main body of the Sunny Angel. Most figures need two coats for full coverage. Don't worry if you see brush strokes—these will disappear when you apply the top coat later.
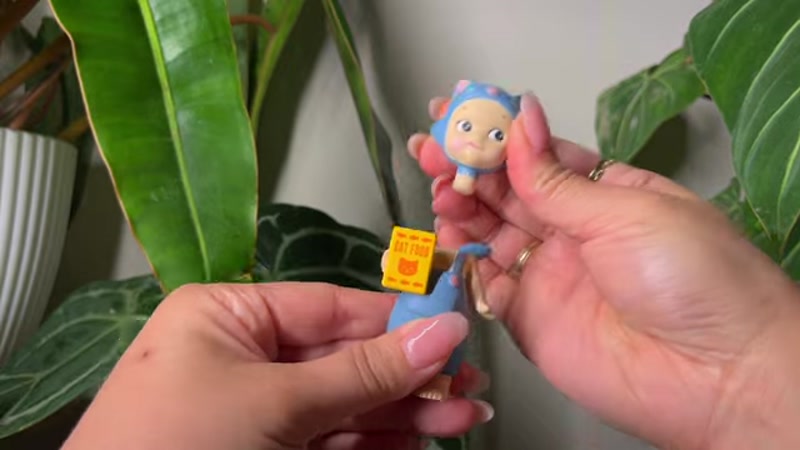
Step 5: Add Details and Patterns

Once the base coat is dry, add your custom details:
- Freehand stripes, spots, or other patterns
- Paint the figure's accessories (like boxes or bows)
- Add stomach pouches or other body details
Use a small brush for precise work. If you make mistakes, let the paint dry and then use your base color to clean up the edges.
Step 6: Paint the Face
Paint the facial features in this order:
- Eyes (base color first, then pupils)
- Ears and nose (usually pink)
- Whiskers (white, going slightly outside the lines)
- Clean up whiskers with base color after they dry
- Add highlight dots to eyes (small white dots)
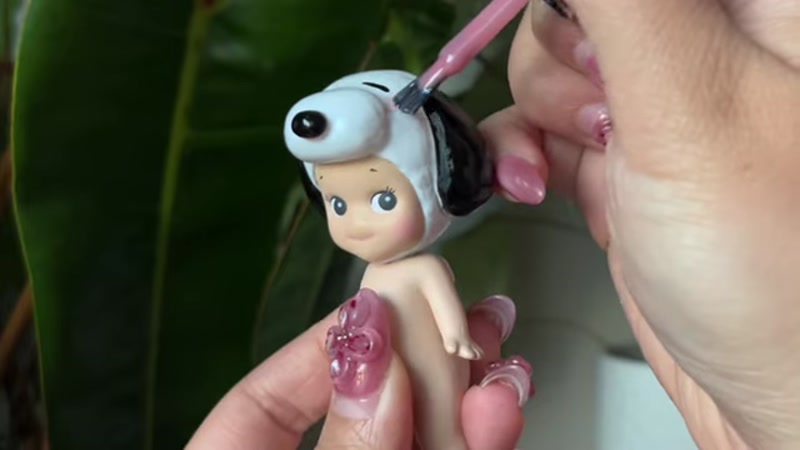
Step 7: Add Blush (Optional)
For a softer, cuter look, add a blush effect to the cheeks. Use:
- Sheer pink gel polish (cured under LED lamp for 60 seconds)
- Or thinned pink acrylic paint
Apply very lightly and build up the color gradually.
Step 8: Apply Top Coat
Finish your customized Sunny Angel with a sealant:
- Matte finish: For a soft, natural look
- Glossy finish: For a shiny, polished look
If using gel polish, cure it under an LED lamp for 60 seconds. Let the figure dry completely before handling.
Tips for Success
- Work in thin layers – Multiple thin coats look much better than one thick coat. Be patient and let each layer dry completely.
- Use a primer – Never skip this step! Primer dramatically improves paint adhesion and color vibrancy on plastic surfaces.
- Mix colors lighter – Acrylic paint darkens as it dries, so mix your colors a shade lighter than you want the final result to be.
- Embrace imperfections – Brush strokes and slight texture will disappear under your top coat. Don't stress about perfect smoothness during painting.
- Practice on scrap first – If you're trying a new technique (like freehand stripes), practice on paper or an old figure first.


