What You'll Need
Here is a clear, step-by-step DIY tutorial based on the video transcript provided.
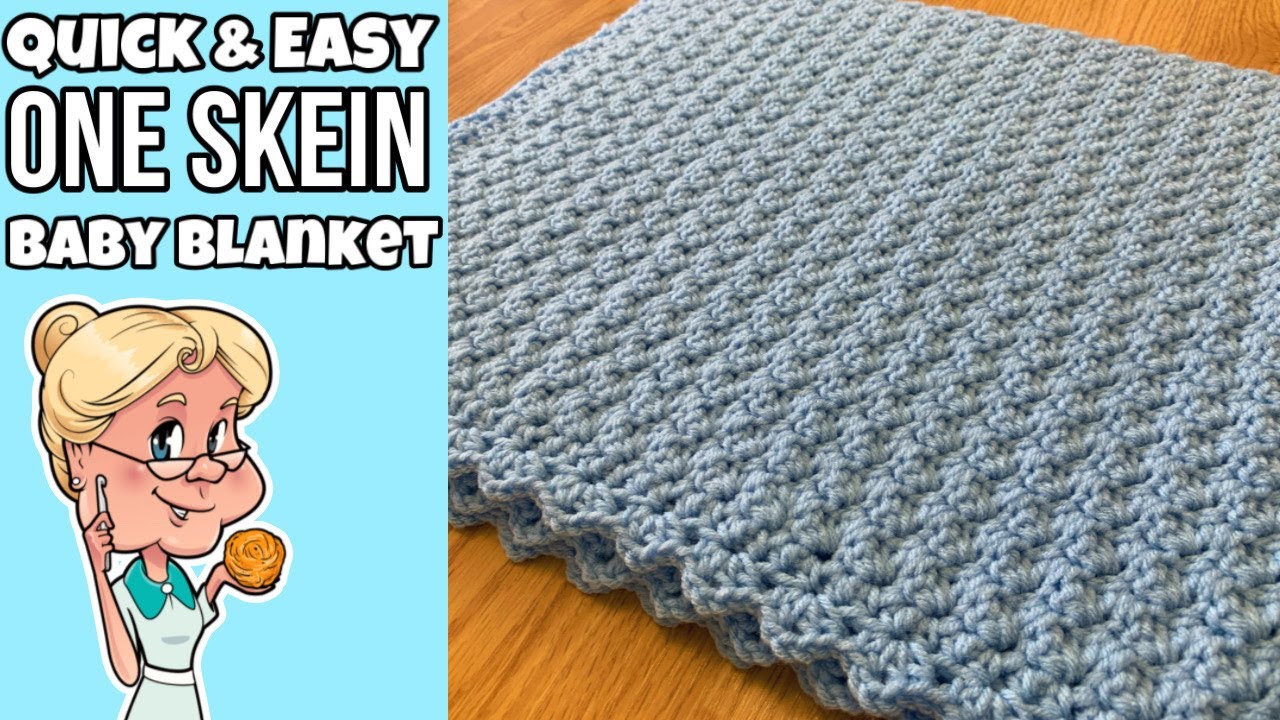
# How to Crochet a Delicate Shell Border Baby Blanket
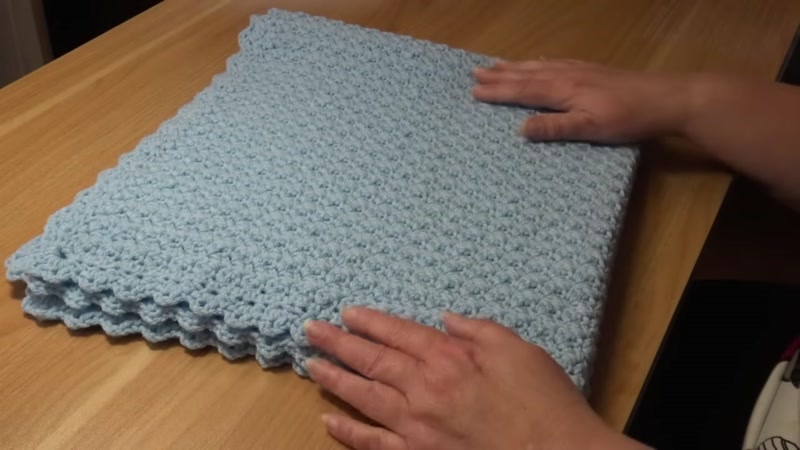
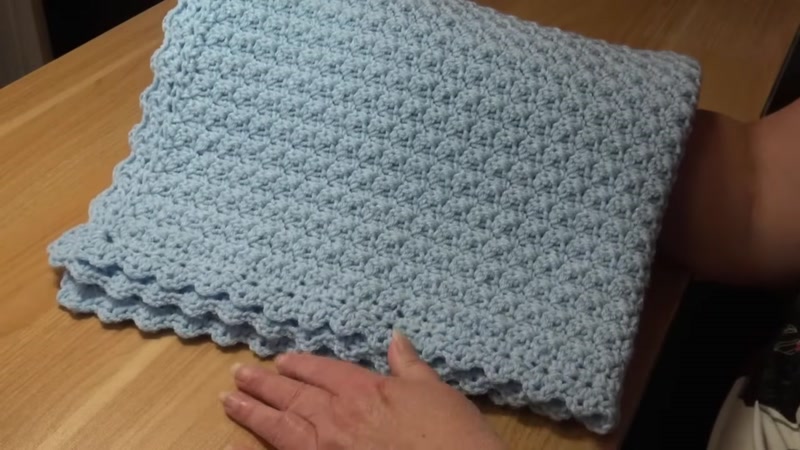
This tutorial will guide you through creating a beautiful, soft baby blanket using a simple one-row repeat stitch pattern. The finished blanket is perfectly sized for a newborn (approximately 28.5 inches wide by 30.5 inches long) and features a lovely shell border. This project is a great way to use a single skein of yarn.
- Yarn: 1 skein of Premier Just Yarn Value Yarn (or any #4 Medium Weight/Worsted Weight yarn). The sample uses 875 yards (800 meters) of Light Blue (color 2125-11).
- Crochet Hook: Size I/9 (5.5 mm).
- Yarn Needle: For weaving in ends.
- Stitch Markers: Optional, but highly recommended for keeping track of rows.
Step-by-Step Guide
The blanket is worked in rows from the bottom up, and then a border is added in the round.
Step 1: Create Your Foundation Chain
Start by making a slip knot on your hook. Chain 84 stitches. Remember, the loop on your hook does not count as a chain.
Step 2: Work Row 1 (Base Row)
This row establishes the stitch pattern.
- Skip the first chain from your hook.
- Insert your hook into the second chain.
- Work a Single Crochet (sc) into that chain.
- Work a Double Crochet (dc) into the same chain. You now have a (sc, dc) cluster in one chain.
- Skip the next chain.
- In the next chain, work a Single Crochet (sc) and a Double Crochet (dc) in the same stitch.
- Repeat this pattern (skip a chain, then sc + dc in the next chain) all the way across the chain.
- When you have 2 chains left, skip the next chain and work 1 Single Crochet (sc) into the very last chain. This is your final stitch.
Step 3: Repeat Row 2 (The One-Row Repeat)
This is the pattern you will repeat for the entire body of the blanket. You will work this row a total of 81 times.
- Chain 1 and turn your work.
- Skip the chain-1 turning chain from the previous row.
- Insert your hook into the first stitch (under the top two loops).
- Work a Single Crochet (sc) and a Double Crochet (dc) into the same stitch.
- Skip the next stitch (which will be a Double Crochet from the previous row).
- In the next Single Crochet stitch, work a Single Crochet (sc) and a Double Crochet (dc) .
- Repeat this pattern (skip a dc, then sc + dc in the next sc) across the row.
- At the end of the row, you will have two stitches left. Skip the Double Crochet stitch and work 1 Single Crochet (sc) into the last Single Crochet stitch.
- Repeat this row until you have a total of 81 rows. Using stitch markers every 10th row will help you count.
Step 4: Begin the Border (Round 1)
Fasten off your yarn after row 81. We will now work a border in the round.
- Join your yarn in the top-right corner stitch with a slip stitch.
- Chain 1 (does not count as a stitch).
- Work 1 Half Double Crochet (hdc) into each stitch across the top edge. You should have 83 hdc stitches.
- At the corner, Chain 2.
- Work 1 Half Double Crochet (hdc) into each row-end stitch down the left side. You should have 81 hdc stitches.
- At the next corner, work a hdc into the first chain of the foundation row, then Chain 2. Work another hdc into the same chain to complete the corner.
- Work 1 Half Double Crochet (hdc) into each chain across the bottom edge. You should have 83 hdc stitches.
- At the next corner, Chain 2.
- Work 1 Half Double Crochet (hdc) into each row-end stitch up the right side. You should have 81 hdc stitches.
- At the final corner, work a hdc into the last row-end stitch (at the base of the first hdc of the round), Chain 2, and join with a slip stitch to the top of the first hdc of the round.
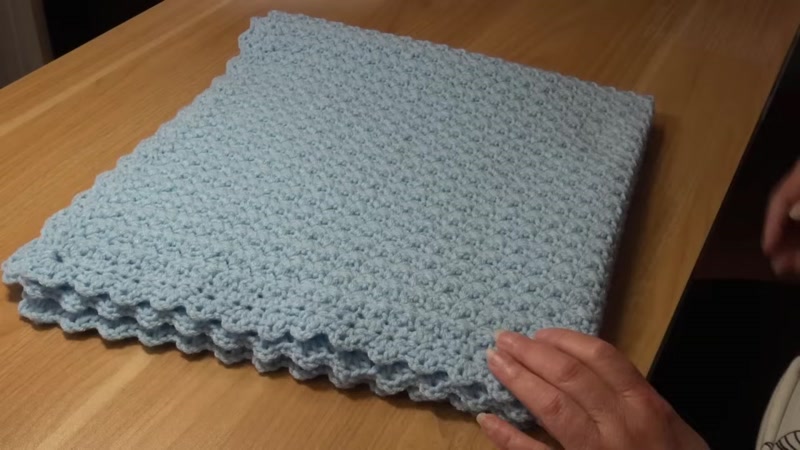
Step 5: Work the Shell Border (Round 2)
- Slip stitch into the next two stitches to move your starting position.
- Chain 1 (does not count as a stitch).
- In the same stitch, work: 2 hdc, Chain 2, 2 hdc. This is your first Shell Stitch.
- Skip the next 2 stitches.
- In the next stitch, work another Shell Stitch (2 hdc, ch 2, 2 hdc).
- Repeat this pattern (skip 2 stitches, shell stitch in the next stitch) all the way across the top edge. You should have 2 stitches remaining before the corner.
- At the corner chain-2 space: Work 4 hdc, Chain 2, 4 hdc.
- Continue the pattern down the side: Skip 2 stitches, work a Shell Stitch in the next stitch. Repeat until you have 3 stitches remaining before the next corner.
- Skip all 3 stitches and work the corner (4 hdc, ch 2, 4 hdc) into the corner chain-2 space.
- Repeat the pattern across the bottom edge (skip 2 stitches, shell stitch in the next) until you have 2 stitches left before the corner.
- Work the corner (4 hdc, ch 2, 4 hdc) into the corner chain-2 space.
- Repeat the pattern up the final side (skip 2 stitches, shell stitch in the next) until you have 3 stitches left.
- Skip the last 3 stitches and work the final corner (4 hdc, ch 2, 4 hdc) into the corner chain-2 space.
- Join with a slip stitch to the top of the first hdc of the round.
- Fasten off and weave in all ends securely with a yarn needle.
Tips for Success
- Stitch Count: For the body of the blanket, use a stitch multiple of 2. For example, a chain of 84 stitches will give you 41 (sc, dc) clusters + 1 final sc.
- Row Counting: Place a stitch marker every 10th row. This makes it much easier to count your progress and ensures you reach the correct 81 rows.
- Identifying Stitches: In the one-row repeat, you only work your (sc, dc) clusters into the Single Crochet stitches from the row below. The Double Crochet stitches are always skipped.
- Border Tension: When working the border down the sides of the blanket, work into the row-end stitches evenly. Pulling your work gently will help you see the stitches more clearly.
- Corner Adjustments: The special corner technique in Round 1 of the border helps prevent the corners from pulling and distorting. Follow the instructions carefully for a neat, flat finish.


