What You'll Need
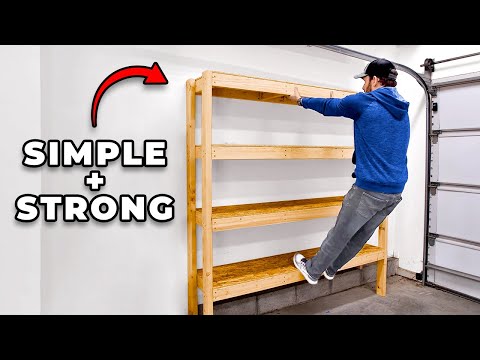
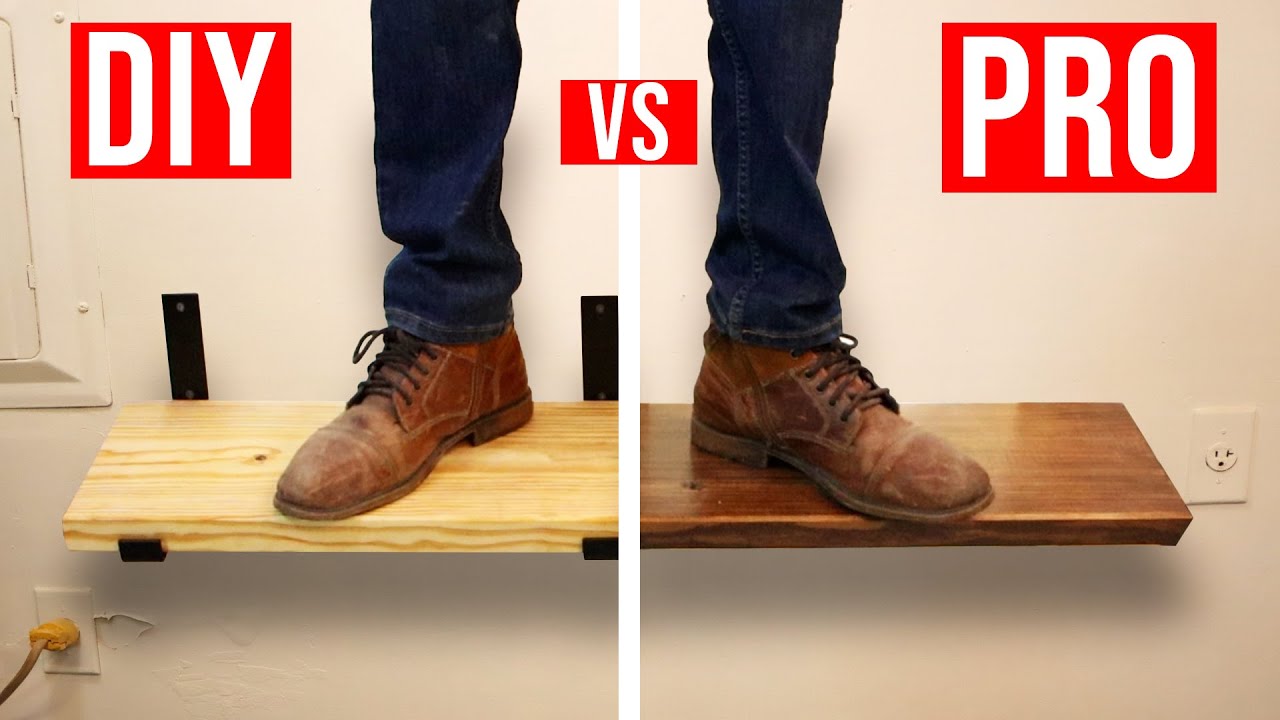
I built two kinds of floating shelves recently — a dead simple one that anyone can make, and a much stronger version that takes a bit more work. Then I jumped on both of them until something broke. Here's what happened.
For the beginner shelf:
- 2x10 dimensional lumber
- Store-bought shelf brackets (the kind that wrap around the board)
- 120 grit sandpaper
- Boiled linseed oil
- Stud finder (or a magnet and a flashlight)
- Screws
- Drill
For the heavy-duty shelf:
- 1/2-inch threaded rod
- Hardwood or dimensional lumber
- Dowel jig (or a DIY guide block)
- Stain and polyurethane
- Drill with long bits
Beginner Floating Shelf
Start by cutting the nasty end grain off your 2x10, then measure from that fresh cut. I marked mine at 40 inches and made the cut on a sheet of insulation foam so the saw blade wouldn't hit my workbench.
Sand the surface with 120 grit. I added a chamfer to the edges — totally optional, but it gives the shelf a clean, finished look. For finish, I went simple: boiled linseed oil. Wipe it on liberally, wait a minute, wipe off the excess. The oil hardens the wood a bit, which helps protect against scratches.
One warning about boiled linseed oil: It has additives to speed drying, and rags soaked in it can spontaneously catch fire. I laid my rag out flat on concrete to dry after using it.
Finding Studs
Grab your phone, turn on the flashlight, and hold it close to the wall. Look for a slight dimple in the drywall. If a magnet sticks to that spot, you've found a drywall screw going into a stud. Studs are usually spaced 16 inches apart, sometimes 24. Once you find one, you can measure to find the rest.
Mark all the screws in the area, then draw a level line where the shelf will go. Pre-drill holes for the brackets and screw them into the studs.
These brackets go on upside down — that's the trick. When the shelf sits on top, the brackets are hidden underneath. If you don't like the look of visible brackets, just put stuff on the shelf to cover them. Personally, I liked how the exposed brackets looked.
Heavy-Duty Floating Shelf
This one uses 1/2-inch threaded rod for support.
Draw a level line and use a nail to probe for studs. Push the nail through the drywall — if it goes through with no resistance, move over and try again until you hit wood.
Drilling Straight Holes
I used a dowel jig to keep the drill bit straight. Drill as far as the jig allows, then finish the rest without it.
If you don't have a dowel jig, here's a simple DIY version: take two scrap pieces of plywood and screw them together at a 90-degree angle. Start the hole by hand, then use the jig to guide the bit. You'll need to extend the bit a little to account for the jig's thickness.
Transfer the hole locations to your shelf board and drill those out with the dowel jig too.
Cut the 1/2-inch threaded rod into 8-inch sections and insert them into the wall holes. Test fit the shelf — mine fit great.
Finishing Touches
For this shelf, I cut a 17-degree angle on the edges and chamfered the top. Stained it with dark walnut and put on two coats of polyurethane.
Getting the shelf onto the rods took some persuasion, but once it was on, it felt solid.
The Destruction Test
I rigged up a test wall and jumped on both shelves.
The beginner shelf with the store brackets held up way better than I expected. I thought the brackets would bend like crazy, but they barely moved.
The heavy-duty shelf surprised me in a different way. It snapped.
After pulling out the bent threaded rods, I realized the rods had bent pretty badly. But honestly, I was basically using them as a trampoline. For normal shelf use — holding books, plants, whatever — either option is plenty strong.