What You’ll Need
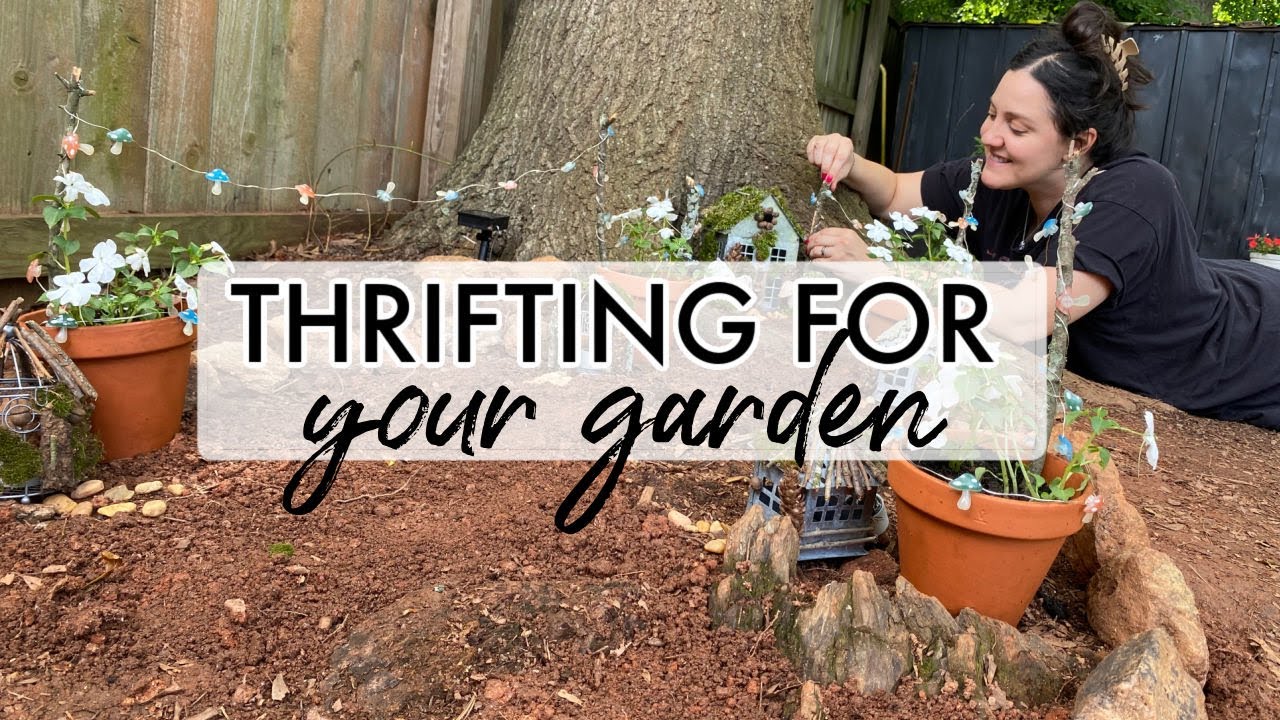
I have a spot in my yard that’s always been kind of scruffy — not quite an eyesore, but close. So I decided to turn it into a fairy garden. The whole thing is built from thrifted stuff, foraged bits from the yard, and whatever I had lying around. Here’s how it went.
- Thrifted metal houses or small birdcages
- Garden stakes (I found some with springy cup tops)
- Spray paint (white, for the stakes)
- Solar fairy lights
- Foraged items: bark, acorn tops, sticks, moss, small rocks
- Small terracotta pots
- White flowers
- Hot glue (for repairs and doors)
- Shovel or hand trowel
Step 1: Clean Up the Spot
I started by clearing out all the debris around the base of the tree. There were a bunch of little baby trees sprouting up everywhere. I decided to pull them — they were making the area feel messy and crowded. The main tree should be the focal point.
While digging, I uncovered a big tree root that was partially buried. I cleared the dirt around it so it’s visible and less of a tripping hazard. It also adds some natural character to the space.
Step 2: Thrift and Prep Your Decor
I hit up Fur Kids (a local thrift store) and scored four garden stakes with springy cup tops for $4.95 each, plus 15% off. I’m not sure if they’re meant to hold drinks, but I’m using them as fairy garden stakes. I spray-painted them white so they’d stand out against the greenery.
I also picked up a few metal houses and small birdcages. I decided not to paint them — I’m going for a woodland/mushroom fairy theme, and the raw metal fits that vibe better.
Step 3: Forage for Natural Elements
My daughter helped me collect things from the yard:
- Bark for making doors on the houses
- Acorn tops (perfect tiny fairy hats or roof details)
- Moss for ground cover
- Sticks to use as poles for the solar lights
- Rocks from the fire pit area for stepping stones
I glued a piece of bark onto one of the metal houses to make a front door, and added an acorn cap above it. It looks handmade and fits the theme.
Step 4: Assemble and Arrange
I strung the solar lights first to see how they’d lay. Untangling them is the worst part, so be patient.
Then I placed the houses. I originally tried putting the white garden stakes next to each house, but it looked off — the stakes were too tall and everything else was low. The scale was all wrong. So I pulled the stakes out and saved them for another spot.
Instead, I used the foraged sticks as poles for the solar lights. I placed them close to the houses and tucked the lights around the area.
I used the rocks as stepping stones and added small terracotta pots with white flowers. I tried red and white flowers at first, but it looked too Christmas-y. White only.
Step 5: Let the Kids Help
My daughter got into it. She decided the fairies need food — “flavor,” not sticks. So we added a few tiny acorn caps as fairy bowls. Let them decide what goes in them.
Tips
- Don’t force a vision. I had to ditch the garden stakes and change the flowers. The final look was better because I let it evolve.
- Use what you have. Foraging the yard saved money and made it feel more natural.
- Scale matters. Tall stakes next to tiny houses looked ridiculous. Keep things proportional.
The Final Look
The fairy garden is tucked under the tree with solar lights, moss, rocks, and little houses. It’s subtle — not over-the-top — and my daughter loves checking on it at night when the lights come on.


