What You'll Need
I've been wanting to build this for a while. Over the years I've gotten several requests for a simple shoe bench plan, and my only existing design wasn't my favorite. So I revisited the idea with a fresh approach.
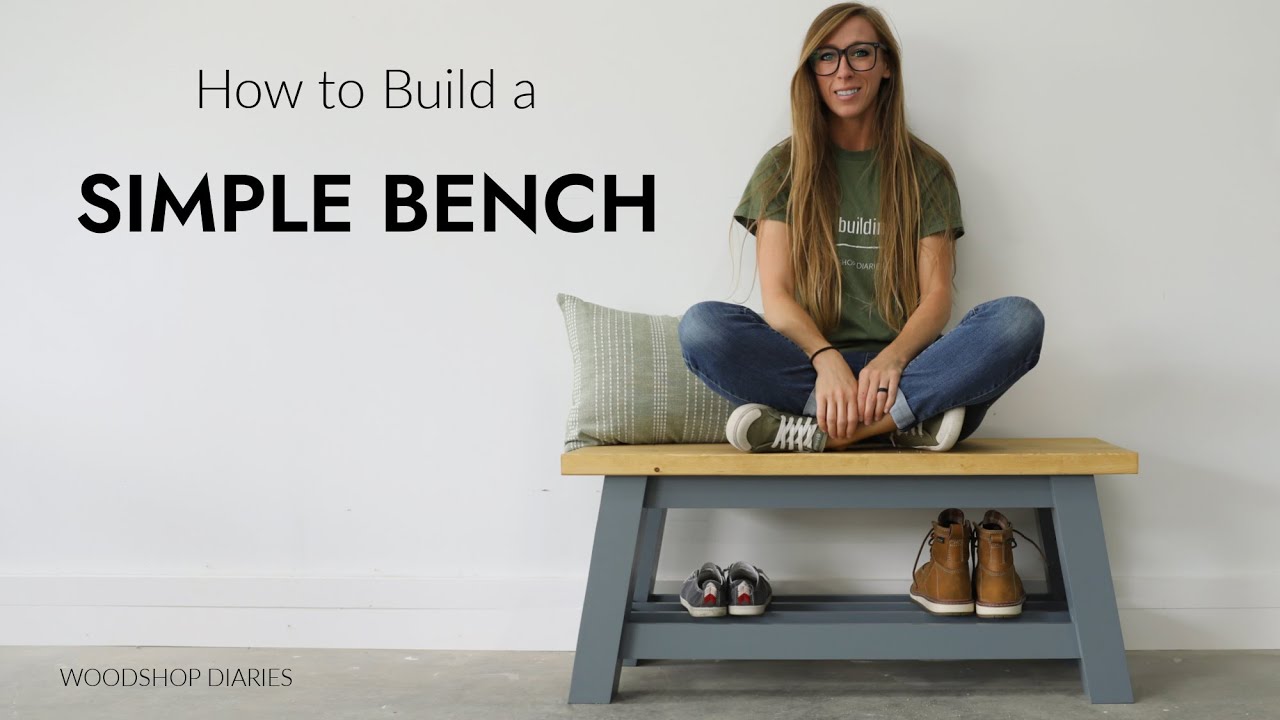
This bench uses basic materials, has clean lines, and comes together pretty easy.
- 2x4s (for legs)
- 1x3s (for frame)
- 2x6s (for seat)
- Wood glue
- Pocket hole screws
- Figure eight fasteners
- Paint and primer
- Wood stain and polyurethane (optional)
- Sandpaper
Tools
- Miter saw
- Table saw (optional but helpful)
- Pocket hole jig
- Drill
- Chisel
- Forstner bit
Step-by-Step Guide
Step 1: Make the Legs
I glued up 2x4s to make the legs instead of using 4x4s. Where I live, untreated 4x4s aren't available unless you special order them, and when I have gotten them they looked terrible. Gluing up 2x4s is cheaper and gives you better-looking legs. If you can get good 4x4s at your store, go ahead and use those.
Cut your 2x4s to about 72 inches long. Glue two together with the flattest sides facing each other. I didn't plane these first — just glued them up.
Once dry, you'll have a 3-inch thick by 3.5-inch wide post. Run it through the table saw to cut about 1/4 inch off each side to make it square. This removes the rounded edges and cleans up glue squeeze-out. No table saw? Use 4x4 posts or look for pre-glued 3-inch square posts at the big box store (they're pricey but available).
Cut the post into four legs. I mitered the ends 10 degrees so the legs slant inward at the top. I like subtle angles, but you can cut them square if you prefer.
Step 2: Cut the Frame Pieces
Grab your 1x3s. You'll need:
- 2 long top pieces (front and back)
- 2 longer bottom pieces (front and back)
- 4 short side pieces
The front and back pieces get mitered ends at 10 degrees. The side pieces get square cuts.
Step 3: Sand Everything
Give all the pieces a good sanding before assembly.
Step 4: Drill Pocket Holes
Yes, you can drill pocket holes into boards with mitered ends. Just make sure the edge of the board sits flat on the edge of the jig. The board will sit at an angle, but the edge will be flat, so your holes come out square to the edge.
Drill pocket holes into the ends of all the 1x3 pieces.
Step 5: Assemble the Short Sides First
This part isn't difficult, but the positioning takes a little care.
Take one leg and one top side support. You want the top edge of the support square to the top of the leg, inset about 1 inch from the outside edge. Use a marking tool set to 1 inch to draw a line along the edge of the leg.
For the bottom side support: also 1 inch inset from the outside edge, and 3 inches up from the bottom of the leg. Mark that intersection.
Position the bottom piece so its bottom edge hits that corner and the edge follows your line. Repeat for the other side.
Step 6: Attach Front and Back Pieces
This part is easier. Install the top pieces flush to the top and 1 inch inset from the outside of the legs. Install the bottom pieces 3 inches up from the bottom and 1 inch inset.
Attach one side, flip the frame over, and attach the other.
Step 7: Fill Pocket Holes
Not required, but it looks cleaner once painted. I used pre-cut plugs, but a 3/8-inch dowel or wood filler works too.
Step 8: Paint Before Installing Shelf Rails
Here's the trick — I cut two more 1x3s for the shoe shelf to fit, then painted everything separately before attaching them. If you install those rails first, it's a pain to paint between them with a brush. If you're using a sprayer or staining, attach them first.
For painting: primer on the legs and exposed wood, sand, then two coats of paint. Brush the corners first, roll the rest.
Step 9: Install the Shelf Rails
Once paint is dry, tap the two rails into the frame, equally spaced. Counter-sink holes and secure with screws.
Now here's where I wish I'd planned better — I drilled my holes without spacing them neatly. If I'd been smarter, I could have used wood plugs as a contrasting feature. Instead I filled them with dowel pieces and touched up the paint.
Step 10: Build the Seat
Cut three 2x6 pieces about 42 inches long (you'll trim them to 40 inches later). Run them through the table saw to remove the rounded edges — totally optional but it makes for a cleaner glue-up.
Glue them together. This was the easiest glue-up I've ever done, which surprised me.
Once dry, trim the ends to 40 inches long and sand well to remove glue squeeze-out and flatten the surface.
Step 11: Attach the Seat
I used figure eight fasteners to attach the top. You could use pocket holes and screws, but that method doesn't allow for wood movement. Honestly, on a bench seat like this, even if the seat split a little it wouldn't affect function.
Drill four shallow holes in the top of the bench frame with a forstner bit. Use a chisel to open up the holes a bit — the fastener needs to swivel. Secure with wood screws.
Flip the base over onto the seat, center it, and attach the other side of the fasteners to the top with screws.
Step 12: Finish the Seat
I went back and forth on this — stain or just poly? I ended up with Golden Oak stain and a few coats of polyurethane.
Final Thoughts
This bench sits at the end of the bed, by the front door, or in the hallway. Clean, simple, practical. Not my biggest build, but one of my favorites.