What You'll Need
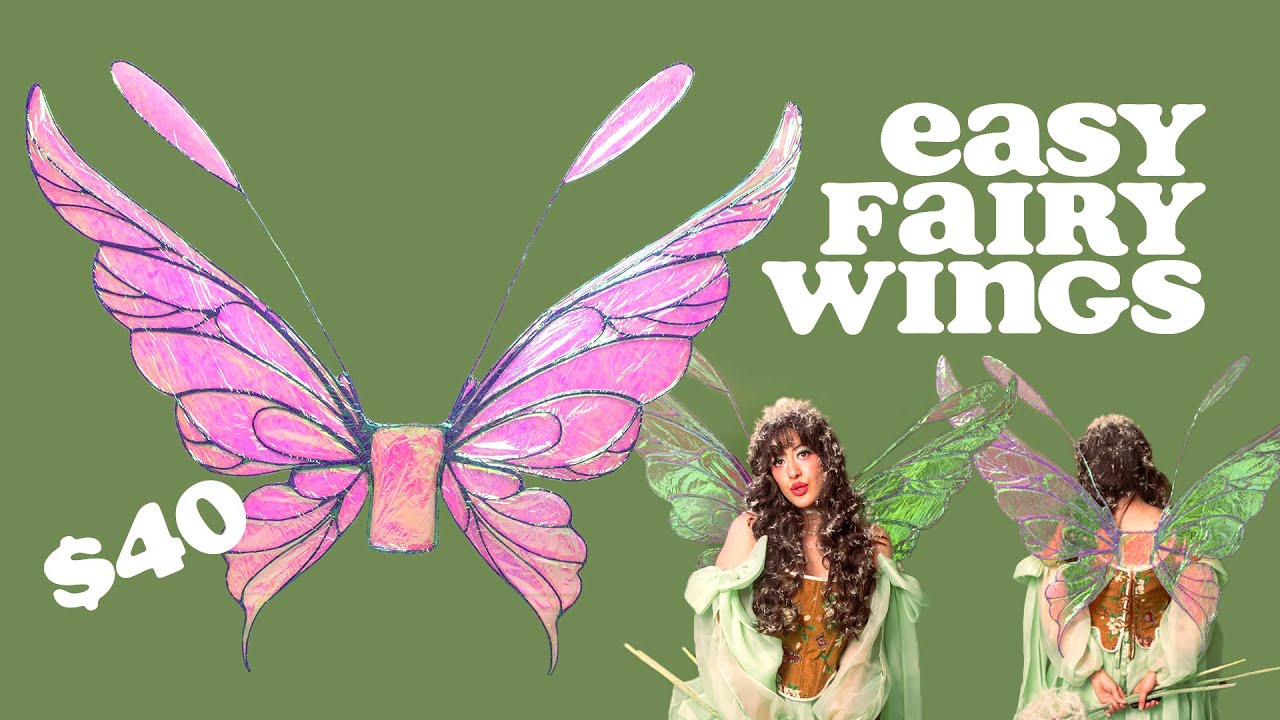
I wanted fairy wings for a photo shoot, but I also figured they'd work for a ren fair or just walking around the house being whimsical. The whole thing cost me about $40 in materials, maybe a bit more if you need to buy tools I already had.
Let me show you how I made them.
- Spray adhesive
- Wire (I used 2mm bonsai wire — easy to bend and holds shape well)
- Masking tape (this becomes the color of your veins/structure — I went with purple)
- Iridescent cellophane (at least 17 inches wide — check the dollar store)
- Wire cutters, pliers, scissors
- Heat gun or blow dryer (optional but helpful)
- Template (I linked mine in the description, or you can draw your own)
Step 1: Prep Your Template
If you're using my template, print it out on letter-sized paper at full scale so the lines match up. Lay the pages in order and cut off the white edges where they overlap so the template is seamless. Tape it all together.
One thing on my template — there are two options: one for a corset back and one without. If you're wearing a corset, use the corset back option. It tucks into the back of the corset and adds a ton of stability. For the no-corset option, you'll need straps or ribbon to attach it to your body.
Step 2: Shape the Wire
Tape your template down so it doesn't shift. Start bending your wire to match the shape of the wing. I worked bottom to top so I could keep checking the structure as I went. Tape the wire to the template as you go so it doesn't bend out of shape while you're working on other parts.
For sharp curves (like the bottom of the wing), use pliers to crimp the wire close to the shape you need.
When wire ends meet, tear a small piece of masking tape and wrap it around the connection. It doesn't have to be perfect — you'll wrap everything again later. Just make it sturdy enough to keep working.
Step 3: Build the Structure
Do the big shapes first, then add the small inner lines. For extra stability, double or triple up the wire at key points — especially where big pieces meet. I had multiple spots with two or three wires taped together.
Once all your wire is shaped and taped, wrap the entire wing structure in masking tape. This makes everything purple and cleans up the messy connection points.
At this point the wings will feel flimsy. Don't worry — the rigidity comes when you add the cellophane.
Step 4: Make the Back Piece
Same process, but I made the template twice and doubled up the wire so it's extra thick and sturdy. This is what connects both wings together.
Step 5: Attach the Wings to the Base
Once you have two wings and a back piece, attach them together. I wrapped the connections in a ton of tape. Make sure it's solid before moving on.
Step 6: Wrap in Cellophane
Flatten your cellophane and get the wrinkles out. Set your wing on top to check sizing, then cut off the extra.
Move anything you don't want sticky away from your table — the spray glue gets everywhere. Follow the instructions on your spray adhesive (usually shake it up, spray onto the film, let it dry until tacky).
Carefully lay your wing onto the tacky film and press it down. Then spray glue onto the purple wire structure. Let that dry slightly, then add the top layer of cellophane. Go slow. Some wrinkles are fine — cellophane has natural texture. I actually like the look it gives. Just avoid huge wrinkles.
Optional: Apply heat with a heat gun or blow dryer to shrink-wrap the film. Don't get too close or it'll melt.
Once the glue is fully dry, cut off the extra cellophane around the outside of the wing. Then flip it and repeat the process for the other side.
Step 7: Add Straps
These wings are top-heavy, so you need some kind of strap support. I used fishing line — totally invisible for photos. If you want something more aesthetic, use ribbon. The fishing line is light enough that it works fine for me.
Final Thoughts
These wings came out exactly how I wanted. If you make a pair, tag me — I want to see where you wear them.
Template and materials list are in the description.


